Add MobilityArena as a preferred source on Google
The most esteemed career in society is arguably medicine. It is also one of the most demanding careers. Medical applications can sometimes be a fantastic ally to delve into challenging issues, in addition to manuals, textbooks, and guides that students read to obtain knowledge.
Learn about the best apps for medical students in this post so you may use them on your Android or iPhone smartphone. Let’s get started with our list.
1. Visual Anatomy
First-year students or medical professionals who want to interactively discuss a specific disease to their patients should use this app. Its operation is pretty straightforward: after downloading, you’ll have access to 3D models of every body part.
You can use your fingers to rotate these models to see them from various perspectives. Its catalog contains only high-definition photographs with detailed descriptions of each component (nerves, origin, insertion and others). Its interface can be changed to German, English, Spanish, or French with just one click.
2. MIR MirMe App
If you’re getting ready for your upcoming exam, MirMe App is a tool you should consider. The app incorporates a database with all of the MIR exams that have been administered since 2001, which is why.
By doing this, you will be able to access roughly two decades’ worth of past questions allowing you to evaluate the difficulty, the nature of the questions, and your level of understanding. Depending on the situation, some MIRs also include images, immediately as they are being created.
The program categorizes the questions by topic so that you can advance methodically (Cardiology, Allergology, Neurology…). You can complete the entire test and then review your results, or you can find out the solution as you go.
3. ReachMD
It’s an application where experts can communicate with one another to share, discuss, discover, and even research anything related to medicine.
You can always access live broadcasts on a variety of medical subjects through ReachMD, including cardiology, nutrition, and oncology. Naturally, since they are all kept in the database as podcasts, you can also playback older streams.
It primarily uses audio broadcasts, but you can also access a ton of text, slide, and video information. It features specific areas where community members may set up virtual meetings by creating discussion tables on particular subjects. Count on the top medical specialists!
4. Dosispedia
A comprehensive pharmacological guide is the ideal tool for doctors to have at their disposal. The Hospital da Costa de Lugo’s personnel meticulously analyze the app’s whole portfolio, ensuring that all recommendations made by it are founded on verifiable scientific standards.
In order to manage everything more efficiently, its main interface organizes the medications by category (Dermatology, Cardiology, and 16 more). When you locate the medication, it will come with pages with instructions for use, storage, interactions with other medications, and a recommended dose.
Additionally, it has a weight calculator tool that adjusts the suggested dose based on the outcome. A separate component of this calculator that takes pathologies into account and conditions the prescription is designated for Emergencies. Most importantly, it’s completely free .
5. Prognosis: Your Diagnosis
This is one of the top programs for medical students, according to Discover Magazine and the Royal College of Surgeons of England. His approach is to make the material fun while yet educating you so that you are ready to enter the workforce.
A total of 1,500 patient cases make up Prognosis, which you must visit in an effort to make the right diagnosis. The instances are categorized and are based on actual events. When making your final diagnosis, you will be given the whole clinical history to support this.
6. Medscape
This is ideal tool for continuing your training after receiving your medical degree. You can read news articles about recent pathologies, browse workshops and seminars, access hundreds of current research articles, and consult clinical studies on medications still in the development stage, among other things.
With its aid, you will be familiar with the medical literature that is most frequently used in the top academic institutions and hospitals around the globe. Additionally, you will have access to specialized tools like a pill identifier, a dose calculator for the patient, or an interaction checker that will let you know if two or more medications are compatible.
7. Epocrates
One of the earliest medical apps to appear on Google Play and the App Store was Epocrates. It is a tool that makes it easier for you to manage your prescriptions by giving you all the details you want about a drug, including the recommended dose, any contraindications, and how it interacts with other medications.
On the other hand, it provides you with tips, suggestions, and guidance so you may make your initial diagnoses. Additionally, it contains a section with the most recent medical news so you may be informed at all times.
The pill detector, which considers the color, shape, and code when recognizing them, is one of the features that made the application popular. It’s also crucial to keep in mind that your results are tailored to you and take into account a variety of factors, including your age, pregnancy, weight, and any other underlying medical concerns.
- Don’t miss our mobile phone reviews .
- Follow our news on Google News .
- Join our WhatsApp Group , to be notified of the most important articles and deals,
- Follow us on Instagram , Facebook , Twitter , and YouTube .
Author:James moses
Add MobilityArena as a preferred source on Google
For several reasons, spam calls rank among the most irritating occurrences in the world of smartphones. They could also be harmful to those who don’t know better in addition to being annoying. Thankfully, Google has created a clever workaround called “Call Screen” that allows you to delegate call management to the Google Assistant while secretly listening in on the caller.
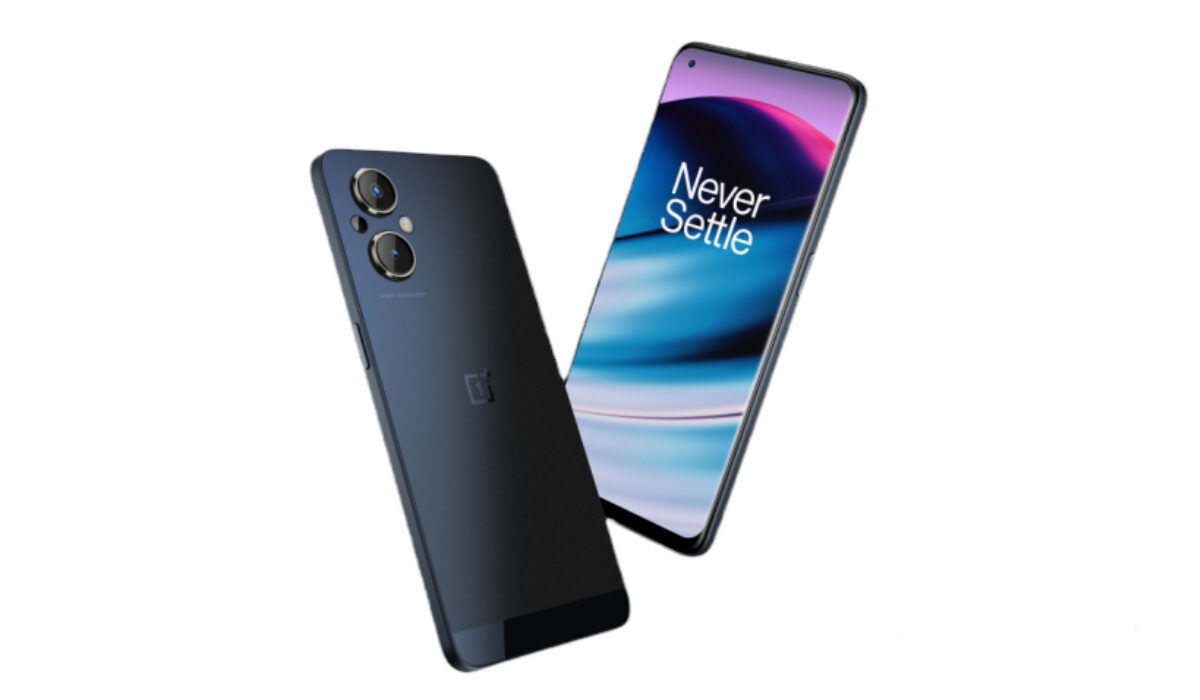
Note that Google’s Call Screening feature, while very helpful, doesn’t do much for other Android smartphone models because of its exclusive nature. However, it’s possible to replicate its function if you’re using a OnePlus smartphone. We’ve provided the instructions to do this on your OnePlus phone, so keep reading through this guide.
- How the Google Call Screening Feature Works
- How To Get the Google Call Screening on your OnePlus phone
How the Google Call Screening Feature Works
With Google’s Call Screening feature, it is pretty clever that you can instruct the Assistant to communicate with the caller without ever picking up the phone. This way, you get to give them the run-around if you ever get a real human con artist on the other end. The wisest course of action is still going to be to ignore strange callers, but this is an excellent backup plan in case you get inquisitive.
How To Get the Google Call Screening on your OnePlus phone
Now, let’s move to the main reason you’re here, which is to find out how to install the Call Screen feature that is only available on Google Pixel phones on your OnePlus phone.
A procedure has been developed by XDA developer stealth658 to enable the Call Screen feature on OnePlus smartphones. It takes a combination of several Magisk modules and a few additional procedures to get everything to work, but once it does, the OnePlus phone functions precisely like a Pixel phone.
Follow these steps:
Step 1 : You must first download the Call Screening Magisk module from the link provided below. Click on this link using your OnePlus smartphone:
Download Google Call Screening Module
Open Magisk Manager now, navigate to “Modules,” then hit the hamburger menu button on the left. Find the Call Screening module ZIP file you downloaded by clicking the plus button at the bottom, granting the required permissions, and then doing so. Once you tap the file, Magisk will begin installing the module. Tap the back arrow to go back to the initial screen once you’re done.
Step 2 : Like earlier, click the hamburger menu, then select “Downloads.” To find the following module of this tutorial, type “busybox” into the search bar. Once you’ve tapped the download arrow, select “Install” to launch the install procedure. Tap the back arrow to go back to the former screen once you’re done.
Step 3 : Repeat the previous steps to install the module by performing another search for “app systemizer” in the “Downloads” section’s search field. You can restart your device by selecting the “Reboot” button at the bottom once this one has finished installing.
Step 4 : The final module needs to be installed in order for Call Screen to function now that you have recovered from a fresh reboot. As if you were using a Pixel phone, the framework from this module enables you to download the Google Phone app straight from the Play Store. The best way to obtain the software and keep it up to date without having to go through any hoops or use any modified APKs is through this technique.
You’ll be one step closer to using the Call Screen function on your OnePlus phone if you follow through with professional advice to get that all taken care of! To prevent any future problems, don’t forget to make the Google Phone app your preferred dialer.
Step 5 : You’ll need to visit a terminal in order to use the App Systemizer module you installed in Step 3. The Busybox module was also required because the module is totally command-line oriented and enables you to use more sophisticated commands with superuser access. Because Termux is really well made and comes from a reliable source, we suggest it as a good option.
Step 6 : It’s time to make the Google Phone app a system app so that it resembles a Pixel phone and appears to have been preloaded on your device. Open the Termux app, then enter after typing the following command: “su”
When prompted, select “Grant” to grant Termux complete superuser rights on your computer. Once you’ve received superuser permissions, click Enter after typing the next command: “systemize”.
With this command, the App Systemizer module interface will be presented for the first time right away. This is undoubtedly the easiest approach to convert any user-installed app into a system app.
As soon as you are at the module’s main screen, select “Systemize Installed Apps” by typing “1” and then pressing the Enter key to confirm your selection. It will start loading all of the apps you presently have installed and will automatically compile them into a numerical list. Once your apps list has been created, choose the “Phone” app, enter the relevant number, and then hit enter to confirm it.
Enter “2” in the “Where to install” box to send the Phone app to your device’s “/system/priv-app” directory. Press “y” and enter to come back to the main menu once that is complete. Click on “0” (zero), then press Enter to end the App Systemizer module. Now that the section of the guide dealing with the command line is complete, you can also leave the Termux application.
Step 7 : You must uninstall the OnePlus dialer that came preloaded on your phone in order for the Call Screen option to appear in the Google Phone app.
Settings > Apps & notifications -> View All [X] Apps > Phone
Click the “Phone” icon in the abovementioned location of your system settings (not the round icon, but the other one). When the warning notice appears, select “Disable” and then “Disable App.” If you decide to return to the OnePlus dialer in the future, you can always enable it again.
To ensure that all of the modifications you’ve made up to this point have an impact, you should reboot your device right away. It’s always a good idea to reset the system after making any sizable modifications to it because there are so many things that may go wrong with all of the modules being utilized for this Call Screen method.
Step 8 : Launch the Google Phone app and touch the three-dot menu on the right after you’ve recovered from your reboot. If everything went as planned, you should now be able to see the new “Call Screen” option near the bottom of the “Settings” page. You should get the “Activating Call Screen” prompt as soon as you enter the Call Screen settings.
This step could be a little challenging because you’ll probably need to exit the Phone app and wait a while for Call Screen to activate. Some individuals get stuck here, but they keep returning to check on it while reopening the app each time. If nothing else, you might try turning off and back on again your Wi-Fi connection to assist things get going.
Once it has properly activated, you will eventually be able to notice that the “Voice” option is now accessible. Currently, there are two voice models from which you can choose. You’ll see a new option on the phone popup called “Call Screen” once you get your next call from any number. By selecting that option, you may start screening your calls just like on a Pixel smartphone.
- Don’t miss our mobile phone reviews .
- Follow our news on Google News .
- Follow us on Instagram , Facebook , Twitter , and YouTube .
