Add MobilityArena as a preferred source on Google
Nobody is safe from plagiarism in this day and age, and it’s almost impossible to protect your photos and videos when you share them on social media. The risk of having your images claimed by others can never be eliminated, and it can be disheartening to see others take the credit after putting a lot of time and effort into taking professional photos.
Luckily, you can add a watermark to photos on Android, making it harder for your photos to be used without permission. Furthermore, using your initials, company or website name, or logo as a watermark allows you to gain online recognition. It’s easy to add a watermark to photos on Android, and I’ll show you how to do so in this guide.

How Do I Add a Watermark to Photos on Android?
There are different ways to add a watermark to your photos on Android, and each method is equally effective. Here’s how to watermark your photos on your Android device.
Method 1: Create a Watermark With the Add Watermark on Photos App
Add Watermark on Photos is a great app option to add a watermark to photos on Android. It’s completely free and includes all of the necessary watermarking features. You can also use it for batch processing, so you can watermark several images from your gallery at a time. You can even use it to add a watermark to your videos.
How to Use the Add a Watermark App to Watermark Photos on Android
Open the app after you’ve installed it. Allow it access to the camera and storage when it asks for permission.
Choose the photo(s) you want to watermark and then select Apply on Images . You can choose from a few different watermark options on the following screen. Choose your favorite.
As an alternative, you can use a watermark you’ve already created or make your own in the app.
You can design a watermark using a variety of tools, including Art , Text , Background , and Effects , if you choose the Create Watermark option. Use these to create your own personalized watermark, then check the box to add the watermark to your chosen image(s).
The watermark can now be resized by pressing the resize icon, and you can then drag it to the precise area of the picture you want it to be on. To download the photos to the gallery app on your phone once you’re done, tap the Download button in the top-right corner.
The Add Watermark folder in your phone gallery will contain all of your stored pictures. Also, you can locate them in the app’s Your Creation section.
Method 2: Add a Watermark to Photos on Android With the “Shot On” Watermark
The Add Watermark on Photos app is great as a watermarking tool. However, when you want the “Shot on” watermark to appear automatically on smartphone camera pictures so that it identifies the camera you used, the Shot On Stamp software is a good alternative.
How to Set Up and Use the Shot On App
Here’s how to use the Shot On App to add a watermark to photos on Android once it’s been installed:
- On your smartphone, launch the Shot On Stamp app.
- Tap the Logo button from the home page, then pick your device’s logo and check the box to use it as your watermark.
- Select Shot On , and then input your device name in the Device Name field on the following screen. This is optional, and you can deactivate it by turning off the Shot On button.
- In the same manner, you can add your name to the stamp. Simply enter your name in the Your Name box under the Shot By option.
- Shot On Stamp by default contains the date and time of capture, but you can change these details by navigating to the Date & Time option. You can also deactivate it if there’s no need for it.
- Go to Advance , and from there, you can adjust the values of various watermark properties, such as location, size, font style, and color, to make your watermark look however you like.
- To see how your watermark appears on an image, press the Preview button (indicated by the eye icon), which is the last step.
This procedure only needs to be completed once. The next time you open your phone’s Camera app, you’ll be able to capture a picture with a “ Shot on ” watermark.
Now, you don’t need to know how to edit a photo before you can watermark it. You can add a watermark to photos on Android without any hassles, just try the simple options I’ve described above.
Author:Joan Agie
Add MobilityArena as a preferred source on Google
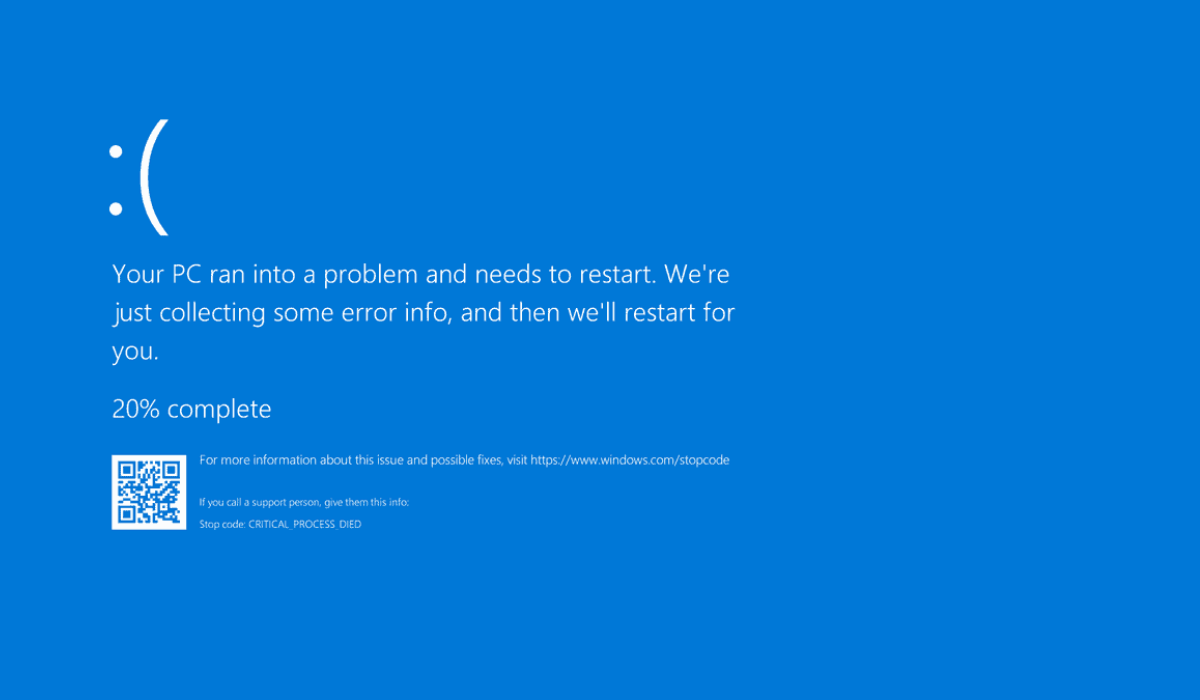
Blue screen errors are common and every Windows user may encounter them at some point. The Blue Screen of Death (BSOD), also known as the Stop Error, is without a doubt one of the most well-known and frustrating issues faced by the community of Windows users.
In this article, I’ll go over some generally useful tips to fix a blue screen error in Windows 10. It’s a frustrating issue because it’s often difficult to troubleshoot and can appear out of nowhere. Nonetheless, with the troubleshooting tips in this guide, you should be able to fix a blue screen error in Windows 10 in no time.
- How Can You Fix A Blue Screen Error in Windows 10? Examine Recent Computer Changes Check for Windows and Driver Updates Scan for Malware Run an SFC Scan Run a System Restore Reinstall Windows
How Can You Fix A Blue Screen Error in Windows 10?
The blue screen of death is a well-known error screen that appears when Windows encounters a serious hiccup, causing the system to crash. You should be aware that a blue screen occurring only once is not necessarily a problem. Windows computers display a BSOD sometimes and then resume normal operation following a reboot.
So, unless you keep getting blue screens constantly, there should be little or no need to look into the solutions listed below. Nonetheless, here are a few ways to fis a blue screen error in Windows 10.
Examine Recent Computer Changes
After making a modification to your system, you may sometimes begin to experience blue screen errors. Such changes may bring undesirable components into an otherwise stable setting. It might therefore be useful to know what changed in order to successfully fix a blue screen error in Windows 10.
Consider unplugging a new printer, for instance, if you recently installed one, to see if the blue screen still shows. Also, try visiting Settings > Upgrade & Security > Windows Update > View Update History if you recently performed a Windows upgrade. To see if removing the most recent update will fix the issue, select Uninstall updates on the next page.
The same holds true for software. After installing a new program, if you started experiencing blue screens, try uninstalling it from Windows and see if that helps to fix a blue screen error in Windows 10.
Check for Windows and Driver Updates
Even though erroneous updates can occasionally cause problems, Microsoft and other companies frequently release updates to address issues of this nature. Apply any pending updates from Settings > Update & Security > Windows Update just in case they contain the solution to fix a blue screen error in Windows 10.
It’s also critical to check your drivers, as they are frequently the source of Windows 10 blue screens. To access the power user menu, press Win + X (or right-click on the Start button). Then select Device Manager to access that tool.
Look for yellow triangle icons on any listings that indicate a driver issue. You can also check for updates by right-clicking an entry and selecting the Update driver , but this isn’t always effective.
Scan for Malware
Malware can corrupt your Windows system files, resulting in a blue screen. To rule out anything like this, you should run an infection scan since that might help fix a blue screen error in Windows 10.
I recommend running a scan with Malwarebytes . This will search for and remove all types of malicious software. If it finds anything, reboot and check to see if your blue screen errors have gone away.
Run an SFC Scan
SFC (System File Checker) is a command-line tool included with Windows. When you run it, it looks for and attempts to repair damaged Windows system files. This could help to fix a blue screen error in Windows 10.
To open the power user shortcut menu, press Win + X again (or right-click on the Start button). Select Command Prompt ( Admin ), Windows PowerShell ( Admin ), or Windows Terminal ( Admin ), and then type: sfc /scannow
Run a System Restore
You can restore your system to an earlier state using the System Restore feature in Windows. It’s a great tool for troubleshooting because it’s user-friendly and lets you figure out whether an issue is caused by software or something else.
In the Start menu, type “ recovery ” and then select the Recovery Control Panel option. To start the tool, click Open System Restore . After you click Next once, you’ll see a list of restore points to which you can return. Choose one and then select Scan for affected programs to see what software will change.
System Restore has no impact on your files, but it will uninstall any drivers or software that you have installed since the restore point was created. It will also reinstall anything you have deleted since that time.
Boot Into Safe Mode
You might be able to complete all the aforementioned troubleshooting steps while using Windows as usual, depending on the seriousness of your problem. The blue screen errors, however, might prevent you from performing your duties normally if you have a serious problem. You’ll need to restart in safe mode in that situation in order to fix a blue screen error in Windows 10.
Reinstall Windows
If everything else fails, you will have to reinstall Windows on your computer to fix a blue screen error in Windows 10. There must be a deeper underlying issue with your system at this point since you’ve ruled out hardware, software, malware, and driver problems.
The bottom line is that dealing with blue screen errors can be frustrating, especially since they can prevent you from properly troubleshooting. But, with the information provided above, I believe you now understand the different options available to successfully fix a blue screen error in Windows 10.
