Add MobilityArena as a preferred source on Google
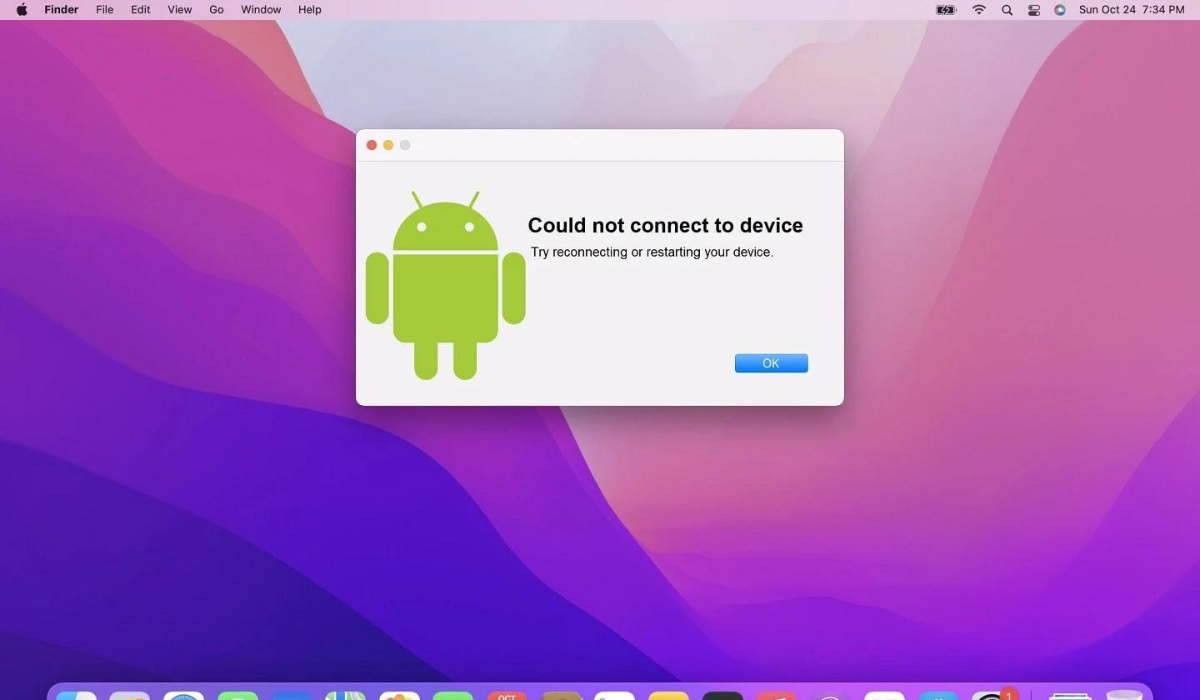
Android File Transfer is the official tool that allows Mac users to transfer all of their documents, images, movies, and other media from their Android phones to their Macs. Even though Android File Transfer is quite simple to use, it stops working sometimes.
In this article, I’ll walk you through several ways to fix Android file transfer not working on Mac. Since it’s an effective tool for transferring files, I’m sure you’ll benefit from the suggestions I’ve provided in this guide.
- How Can You Fix Android File Transfer Not Working on Mac? Update Your Phone’s USB Preferences Try a Different Port or USB Cable Stop Apps Accessing USB Devices on Your Mac Uninstall and Reinstall Android File Transfer Update Your Software Restart your Mac and Android phone
How Can You Fix Android File Transfer Not Working on Mac?
There are numerous reasons why the Android File Transfer stops working on Mac devices. When you have problems with Android File Transfer, it is often due to errors, wrong settings or faulty cables or USB ports. Whatever the reason, here are several options you can try to fix Android File Transfer not working on Mac.
Update Your Phone’s USB Preferences
After connecting your USB cord to both your Android phone and your Mac, the first thing to try when you’re looking to fix Android File Transfer not working on Mac is to update your USB preferences. This fix also applies to Max devices even though it may seem more like a Windows and Android thing.
Android does not use the File Transfer mode by default when you connect a transfer cable, so you’ll have to initiate it yourself if you want to fix Android File Transfer not working on Mac. If you encounter an error with the title “ Can’t access device storage ,” it means that USB preferences are the root cause.
Follow these steps:
- Open your Android device after plugging in the cable, then swipe down from the top to see the notification shade.
- Search through the list of notifications for Charging this device via USB , then double-tap the option to access USB Preferences in the Settings app.
- When the page opens, click File Transfer / Android Auto (you may see the name MTP on some Android models) under Use USB for .
Note that the steps needed to alter USB settings may differ across devices, but the fundamental guidelines remain the same.
After you’ve selected this option, your Android phone will make its internal memory accessible via USB cable. As a result, you’ll be able to access files and folders on your Mac from your Android phone. To avoid any further problems with the file transfer, I’d advise that you keep your Android phone unlocked throughout the transfer procedure.
Try a Different Port or USB Cable
Another solution to fix Android File Transfer not working on Mac is to try a different USB cable or switch to a different port on your Mac. First, start by troubleshooting your cable. Some USB cables can’t transfer files, as you may already be aware. Some are solely meant for charging.
By attaching it to a different device, you can test the cable to see if it works. Also try a different cable. I highly recommend using the original cable that your Android device came with. Smartphone manufacturers provide high-quality USB cords that can be used for charging and file transfers.
The port on your Mac or Android phone is something else to consider. File transfers will be impossible to perform if either port is faulty. Try using a different port as Macs have more than one. Most Android smartphones won’t have that option, so connect your phone to another computer to see if the USB port works properly.
Stop Apps Accessing USB Devices on Your Mac
So let’s say you’ve updated your USB preferences as described above, yet you’re still having issues. There’s a good chance that another application is already reading your USB-connected devices. As such, because it doesn’t have access to those linked devices, Android File Transfer won’t be able to see your files.
To fix Android File Transfer not working on Mac in this case, close all Mac apps that are using your USB devices. Examples include built-in macOS apps like Preview (for macOS Ventura and the latest), as well as cloud backup apps like Google Drive , OneDrive , and Dropbox . You can also force quit certain Mac apps if closing them doesn’t help.
The main disadvantage of this option to fix Android file transfer not working on Mac is that it can be difficult to determine whether open apps on your Mac can read USB. Cloud backup apps are common culprits, however if shutting such apps does not resolve the issue, using trial and error is your last option. Close all open apps on your Mac one by one; try Android File Transfer after you close each app to see which one helps to fix Android File Transfer not working on Mac.
Uninstall and Reinstall Android File Transfer
When transferring files between an Android device and a Mac using Android File Transfer, you could experience issues like cache errors or resource conflicts. They are difficult to see, but they may be to blame if the program was functioning before but suddenly stopped for no reason.
Try uninstalling the Android File Transfer app and then reinstalling it if you’ve tried everything up to this point and are still unable to fix Android File Transfer not working on Mac. Instead of merely dragging the app into the Trash, I advise using AppCleaner to delete it entirely from your system. This way, you’ll have a fresh start free of transfer issues.
Update Your Software
The developers of Android File Transfer claim that it is supported by macOS 10.7 devices and later. So consider that the app might not be functioning if your device is using an outdated macOS version for which there is no official support. So to fix Android File Transfer not working on Mac, make sure you’re using the most recent macOS version.
Also ensure that you’re using the most recent version of the Android File Transfer tool, so download from the official website to ensure this. You need to update your Android phone to complete the task.
In general, I’d say it’s a good idea to regularly keep your software up to date. Software updates can enhance the user experience by adding new features, improve security, and fixing any bugs you may be experiencing.
Restart your Mac and Android phone
It sounds cliche, I know, but there’s a reason why restarting a smartphone fixes most issues. Furthermore, this is not limited to phones; it also applies to other devices and software programs.
Restarting both devices will give you a fresh start if the root cause of your issue is conflicts between accumulated temporary files and cache data that prevent Android File Transfer from functioning properly. So to fix Android File Transfer not working on Mac, first restart your Android device, and then try again. If the issue remains, restart your Mac and try transferring files again.
To conclude, using the solutions I outlined above will help you fix Android File Transfer not working on Mac. If nothing works, it might be time to try transferring your files using a different approach. I recommend the open-source, free software called OpenMTP .
You could also try LANDrop , it works for Android transfers to Macs and other Apple devices. If you have reliable, unrestricted internet connectivity, another option is to use cross-platform cloud storage services like Google Drive and Dropbox .
Author:Joan Agie
Add MobilityArena as a preferred source on Google
Email generally works well on Android. However, if you haven’t received any alerts for incoming emails in a while and you think this is unusual, you could have a problem. Sometimes, your device may not be synchronizing your emails, and this would prevent you from getting any email messages on your device.
In this article, I’ll show you some simple ways to fix email not syncing on Android. Problems like this can cause you to miss out on important emails for job applications or event schedules, which can be detrimental if you don’t address them right away.
- How to Fix Email Not Syncing on Android Confirm That Automatic Email Sync Is Enabled Manually Sync Your Emails Enter the Correct Password on All Devices Clear Your Android Device’s Storage Clear the Cache and Data Remove and Re-Add the Email Account(s) on Your Email App Update Your Email App
How to Fix Email Not Syncing on Android
Here are several techniques you can try to easily fix email not syncing on Android.
Confirm That Automatic Email Sync Is Enabled
Most of the popular email applications allow automatic sync so that you can get emails instantly. You won’t receive emails on your Android device, though, if the email app’s sync settings are disabled.
To fix email not syncing on Android, you can just turn on your email app’s auto-sync feature. The app should then check for new emails on its own and notify you when one is received.
From your email app’s Settings menu, you can enable auto-sync. The processes should be similar for the majority of other email clients, but I’ll show how to do it with Gmail below. You should do the following:
- Open your email app (we’re using Gmail for this example)
- In the top-left corner, click the hamburger icon (three stacked lines), then choose Settings .
- If you have multiple accounts on your phone, select the email account for which sync is disabled.
- Make sure the slider for “ Sync Gmail ” (or similar option) is turned on when you scroll down.
Also confirm that your device’s Battery Saver mode is on and disable it if you see the sync option enabled. Background syncing disables when your phone is in battery or power-saving mode. Navigate to Settings > Battery or Settings > Battery and device care > Battery and disable Power saving . Don’t forget that these options will differ slightly between devices and models.
Manually Sync Your Emails
If automatic sync fails, you can perform a manual sync instead to fix email not syncing on Android. Your email app will be forced to sync, locate, and download new emails to your device.
Manually syncing is like the regular sync, the only difference is you’ll need to manually navigate to the settings and select an option. Follow the steps below to fix email not syncing on Android through a manual sync:
- Navigate to the Accounts section of your device’s settings. On a Samsung phone, go to Settings > Accounts and backup > Manage accounts .
- Select the email account with sync issues
- Confirm that the slider for your email app is turned on. This option may appear as Sync now on some devices.
Afterward, your phone should start syncing your data, including emails. You’ll also see any new emails in your email clients if they are available.
Enter the Correct Password on All Devices
It’s important to update your email account’s password in your phone’s email app whenever you change it. Your phone will be unable to sync new emails otherwise because it lacks the necessary permissions to do so.
Open your email app, and then enter your new password to fix email not syncing on Android. After that, the app will connect to the email servers and retrieve new messages for you.
Note that you’ll eed to update the password on all devices where you use your email accounts. To better manage your passwords, you can use a tool like Google Password Manager .
Clear Your Android Device’s Storage
Downloaded emails use up some memory on the device. If your device is running out of storage space, it could cause emails to stop syncing (especially if trying to download emails with large attachments).
This means that to fix email not syncing on Android, you may need to delete unnecessary files from your phone. Here’s how you do it:
- Navigate to the Storage section of your device’s settings. On Samsung phones, they should be under Settings > Battery and device care > Storage .
- You’ll see your device’s total available memory space.
- To get rid of files that are clogging up your device, select Optimize now or Free up space .
- Additionally, you can manually search for files that you can delete to free up space on your device.
This option to find and delete space-hogging files is not available on all Android phones. If yours does not have the option, you can delete files using Files by Google instead so you can fix email not syncing on Android .
Clear the Cache and Data
Your email app, like your other device apps, saves data and caches files on your phone. These files normally don’t cause problems, but it’s worth deleting them to see if this helps to fix email not syncing on Android.
Your emails are stored on the server of your email provider; they won’t be deleted if you delete data or cache files, so no worries there. To clear the cache, follow the instructions listed below:
- Proceed to Settings on your device and select Apps (or Apps & Notifications for some devices).
- Locate and click on your email app, such as Gmail . Then, select the Storage option.
- You’ll see how much storage space your email app takes up. To clear cached data, select Clear cache .
- You can also choose Clear data , but keep in mind that this will delete all of the app’s data from your phone, as if you reinstalled it. You’ll have to repeat the sign in process and do an initial message sync.
- Open your email app and adjust its settings if necessary.
Remove and Re-Add the Email Account(s) on Your Email App
If your email still hasn’t synchronized despite all the above fixes, there might be a problem with account settings. You’d therefore need to remove and re-add your account to the app. This may help fix email not syncing on Android, and here’s how to do it:
- To begin, delete your email account from the app on your smartphone. If you aren’t using Gmail, follow the on-screen instructions in the app.
- You may also go to Settings > Accounts and backup > Manage account , click on an account, then select Remove account to remove it from your phone. Remember that these settings will differ between devices.
- Then, using the option in your email client, re-add the same account.
Update Your Email App
All smartphone applications should always be at their most current versions. If you haven’t updated your email app in a while, check if an update is available in the Play Store as this may help to fix email not syncing on Android.
Many existing flaws in the app are fixed in new releases. If your emails aren’t synchronizing due to a glitch like this, this will fix the problem. Do the following:
- On your phone, access the Google Play Store .
- Tap the account symbol in the upper-right corner, then choose My apps & games from the dropdown menu.
- To download and install an update if one is available, select Update .
If you’ve been missing emails because your phone hasn’t been synchronizing them, hopefully the troubleshooting options discussed above helps you fix email not syncing on Android.
It also helps to ensure that your email client’s notifications are turned on. You could also turn on email reminders so you never miss another important email.
