Add MobilityArena as a preferred source on Google
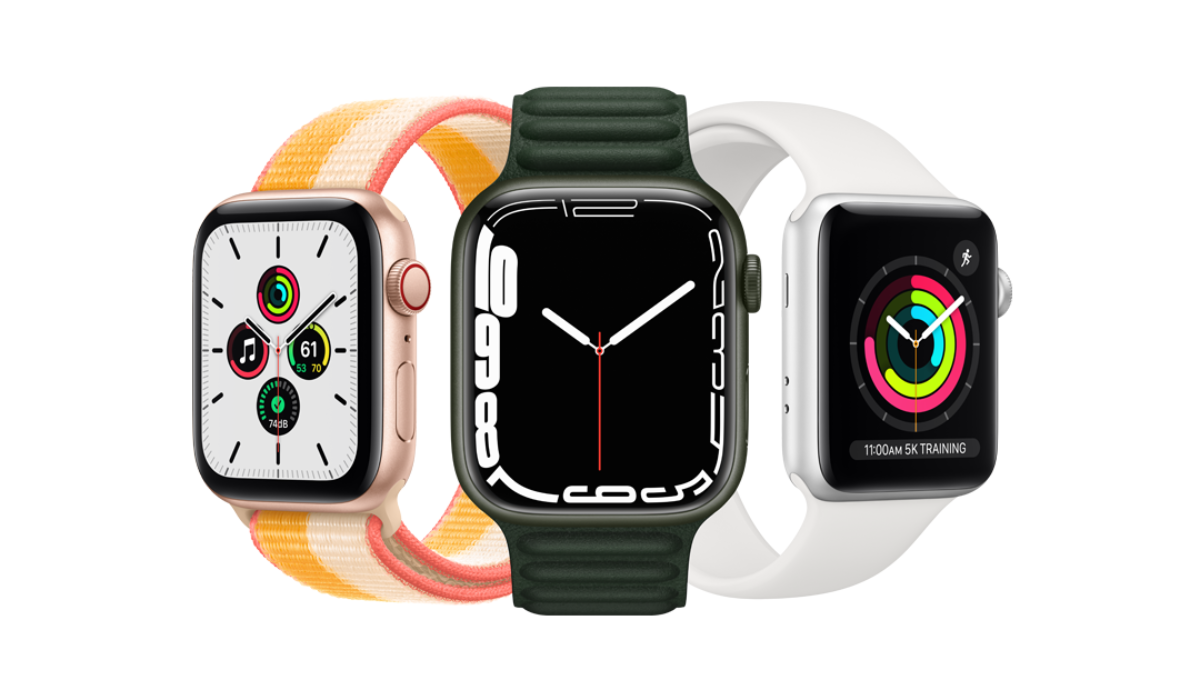
Recently, I started using my iPhone SE 2020 again, and I needed an Apple accessory to go with it. So, I picked the Apple Watch SE and I came to discover a feature called assistive touch. Let’s talk about how this feature can change the entire way you use your Apple Watch.
Ever since I started using smartwatches, I always tend to shy away from interacting with the touch interface, since it is small and can easily get smudges. I always wished for a smartwatch that I could control without touching its tiny screen. For a while now, Samsung Galaxy watches had a feature that could help you do this (control your smartwatch without touching the screen), but what you can do with it is limited to picking and rejecting calls. This is where Apple topped its smartwatch game up a notch with assistive touch.
- What Is Assistive Touch on Apple Watch?
- How To Set Up Assistive Touch On your Apple Watch
What Is Assistive Touch on Apple Watch?
This feature was introduced to the Apple Watch Series with the Watch OS 8 software update. The update came with a lot of cool features for Apple lovers and users. Although designed with one-armed people specifically in mind, assistive touch can be used by any and every one. What is needed to get this feature on your Apple smartwatch? Will the feature be coming to your Apple smartwatch?
First, your Apple Watch needs to be running on Watch OS 8.3 (on Series 4 or later), while your iPhone must be running on iOS 15 for you to be able to get this feature. The technology implemented in assistive touch uses features on your Apple Watch such as tracking of your blood pressure and motion sensors to detect the movement of your hand, and then translates this motion into commands.
It is really practical and cool. Let us say you are cooking and have your hands stained. You can change the music playing on your iPhone or even pick an incoming call without using your stained hands to touch the watch display. Just by flexing your muscles in a somewhat effortless manner, you will have passed a command that will be executed immediately.
How To Set Up Assistive Touch On your Apple Watch
It is important to note that not all Apple watches have this feature already, it is limited to Series 4 or any Apple Watch that was released after it (5, 6, SE, 7). Ensure that your iPhone is also running iOS 15 or newer.
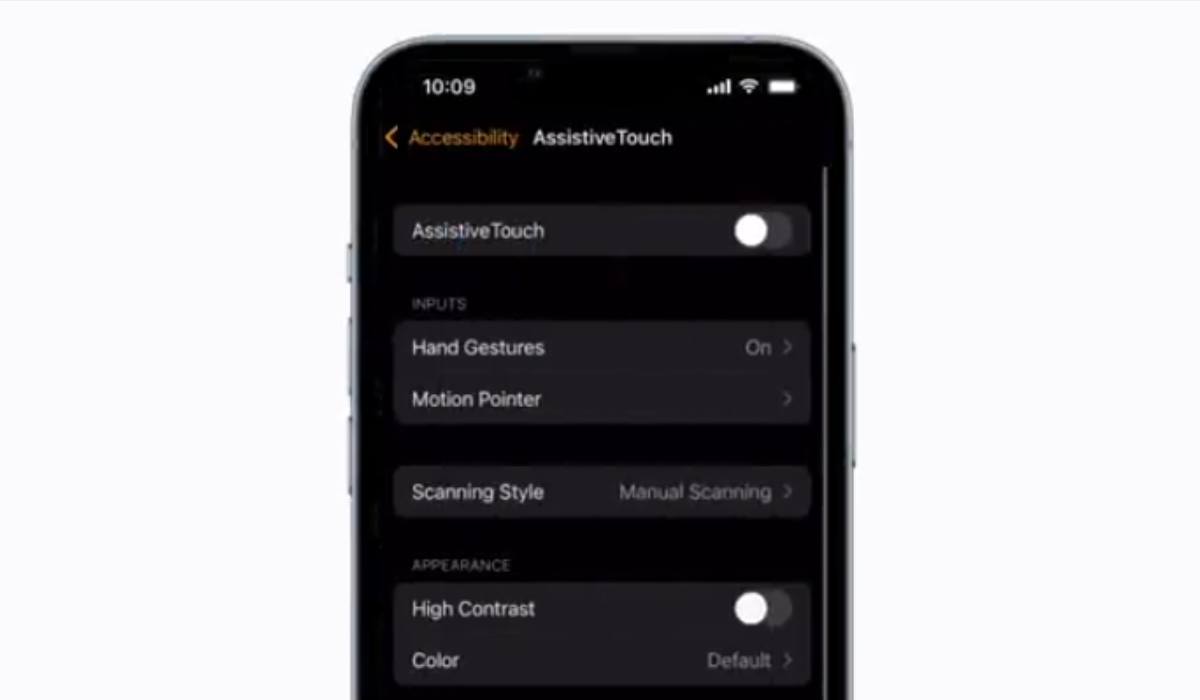
Once you have met these two requirements, on your Apple Watch or iPhone, open the Apple Watch app and select accessibility and then select assistive touch. Now toggle on the assistive touch feature. You can go on to customize the menu or looks of the interface. I will advise that you increase the contrast so that you can better see options on your Apple Watch from a good distance.
Now, there are a few hand gestures and each performs a specific role. You can as well customize this from the assistive touch settings (each gesture plays an important role by default, so changing it might not be important). What are the gestures, and what do they do by default?
The actions by default are as follows:
- Pinch (index finger against thumb) : To move forward while selecting between options on your Apple Watch.
- Double Pinch (index finger against thumb) : To go back while selecting options on your Apple Watch.
- Clench (tighten your fist) : To select an option on your Apple Watch interface.
- Double Clench (tighten your fist twice) : To activate assistive touch on your Apple Watch or open the action menu.
To use assistive touch on the go, simply raise your arm or wrist to wake the watch and double clench your fist to activate it. A blue ring will appear on the first icon on the interface. Pinch to move forward or double pinch to move backwards.
To perform more complex actions double clench to activate the action menu, by pinching or double pinching you will be able to navigate the menu then clench your fist to select a particular item or option. Double clenching your fist when a call comes in will help you answer the call or even stop an alarm.
Author:KittysTech
Tech analyst, Collins Eshiet, writes about technology. Follow me on Twitter @KittysTech.
Add MobilityArena as a preferred source on Google
Why should you clear your iPhone’s cache? Your Apple iPhone is a powerful computer that helps you get a lot done day after day. And like all computers, it accumulates junk or dead weight that impacts performance, if left lying around long enough.
A cache is a temporary storage designed to keep tiny bits of data to help your device or browser work faster. However, these bits of data can grow large to clog things up. Which is why you need to clear your iPhone’s cache at intervals. Think of it as some form of Spring cleaning.
Every app you install and delete leaves some junk behind. Every website you visit, and download you make, contributes to this too. So, we are looking at two different caches here: the app cache, and the browser cache.
When is a good time to clear any of the caches on your iPhone? I say, anytime you begin to notice a degradation in performance. If your phone begins to run slower, that might be an indication that the cache needs clearing. If your phone’s Safari browser becomes sluggish, you should consider clearing its cache as well.
Usually, a restart of your device can resolve some of the sluggishness you experience on your smartphone, and it is recommended that you do that regularly. Once a week is a good cycle. In my experience, a phone reboot makes magic happen.
But sometimes, even a reboot isn’t enough. At those times, you should consider clearing your iPhone’s caches. Below are the steps for clearing the respective caches.
How to clear your iPhone’s cache: Clear the app cache
Important : clearing an app’s cache means deleting the app from your iPhone but leaving its data and documents intact, so that if you chose to reinstall the app later, nothing is lost. Execute the steps below only for apps that you do not currently use and won’t be needing for a while.
- Go to your iPhone’s Settings menu.
- Tap on General.
- Tap on iPhone Storage.
- You will see a list of all the apps on your phone. Tap the one you’d like to clear, and tap Offload App.
- You’ll get a message stating that the app will be deleted, but its documents and data will remain. Confirm.
You have now cleared the cache for that app and freed up some resources.
How to clear your iPhone’s cache: Clear the history and data from Safari browser
- Open Settings, and scroll down. Tap Safari.
- Scroll down till you see ‘Clear History and Website Data’. Tap on it.
- A popup will ask you to confirm your decision. Tap ‘Clear History and Data’ to confirm.
You have now cleared the cache and history of your iPhone’s Safari browser.
Those are the two ways to clear your iPhone’s cache to free up resources and improve device performance.
- Don’t miss our reviews .
- Join our WhatsApp Group , to be notified of the most important articles and deals,
- Follow us on Instagram , Facebook , Twitter , and YouTube .
Author:MobileChic
That motivated, gadget-loving geeky chic who tries to stay on top of things. Unapologetic iFan.
