Add MobilityArena as a preferred source on Google
Losing track of your belongings can be frustrating, but thankfully, technology has made it easier than ever to keep tabs on our stuff. Apple’s AirTags have been making headlines as a great solution for locating lost items. However, if you’re an Android user, you might be feeling left out.
No need to worry though, there are plenty of great alternatives that can help Android users keep track of their belongings just as well. In this article, I’ll explore some of the best AirTag alternatives for Android users, so you can find the perfect option that suits your needs.
What are the Best AirTag Alternatives For Android?
An AirTag is a small, circular device created by Apple that helps you keep track of your belongings. You can attach an AirTag to your keys, backpack, purse, or any other item you want to keep tabs on. The AirTag uses Bluetooth technology to communicate with your Apple device, allowing you to locate your lost item on a map using the Find My app. It also has a built-in speaker that plays a sound to help you locate your item if it’s nearby.
Unfortunately, however, like many devices in Apple’s ecosystem, AirTags are not available for use by Android users. That’s why it’s a good thing that there are plenty of great AirTag alternatives that provide similar functionality that Android users can take advantage of. So, check out these best AirTag alternatives for Android devices.
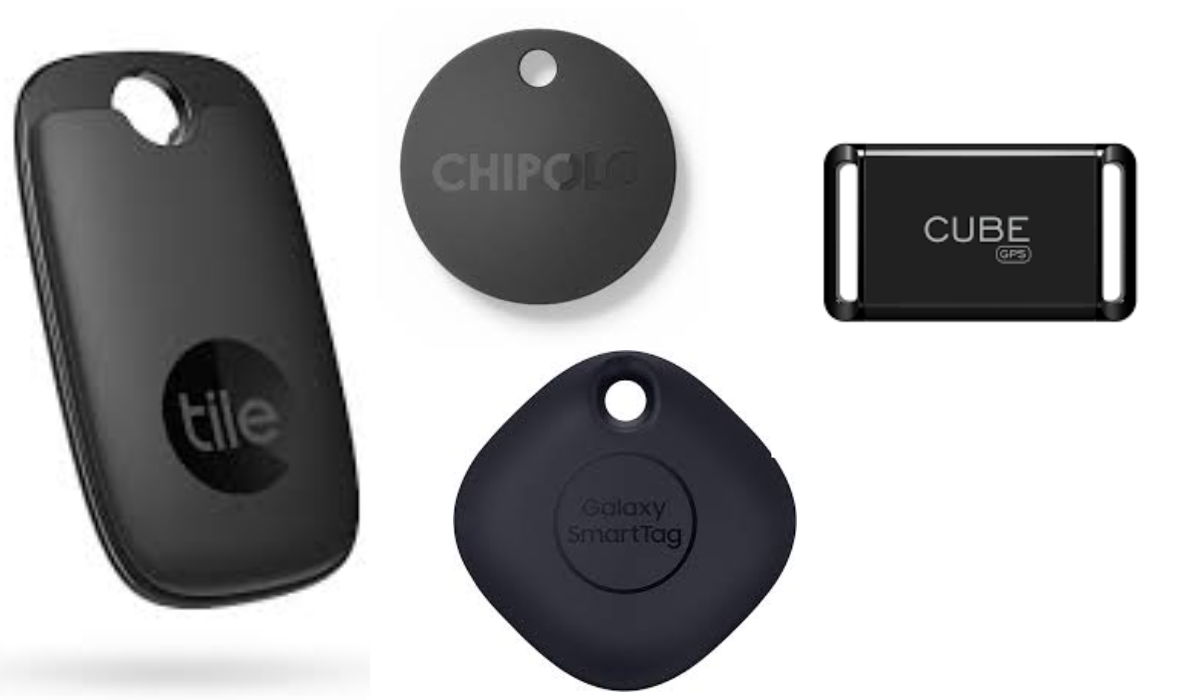
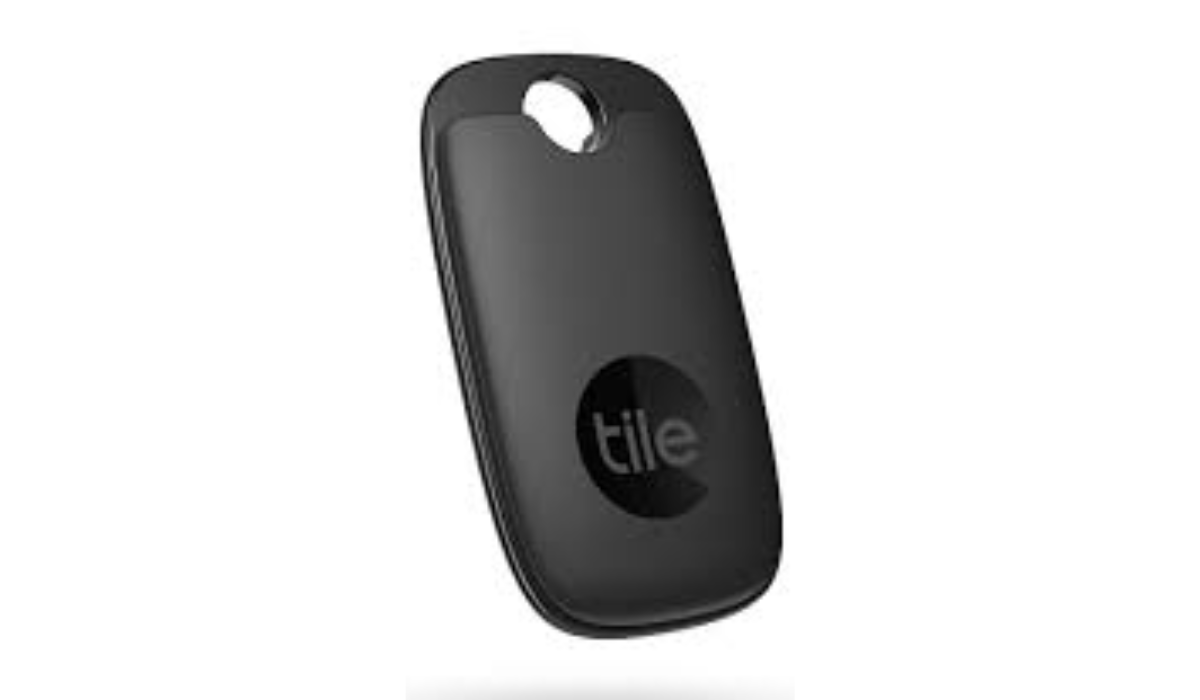
Tile Pro
Samsung Galaxy SmartTag+
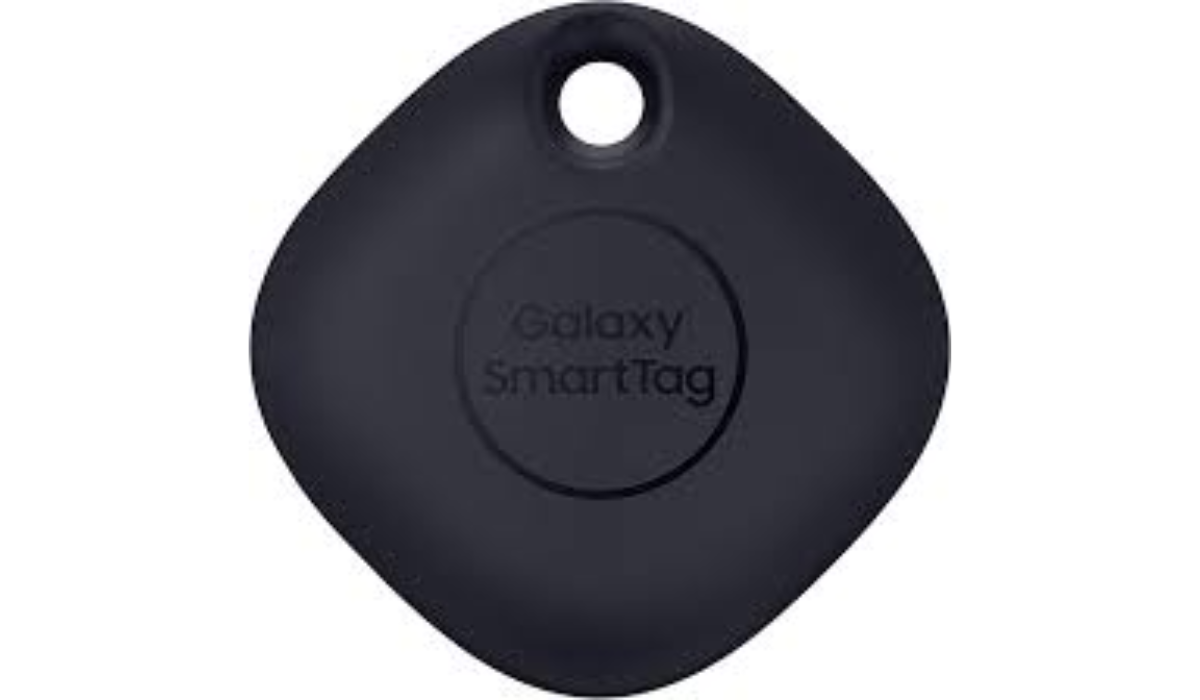
The Samsung Galaxy SmartTag+ is a tracking device that works well with the Samsung ecosystem. It connects with the Galaxy Find Network, allowing you to locate the SmartTag with any compatible Samsung phone nearby. The SmartTag can track lost items over an impressive range of 360 feet, even offline.
The SmartTag has a single tap-to-find feature paired with the SmartThings app, allowing you to control various Samsung smart products in your home. For instance, you can switch on your lights by tapping the SmartTag button. To get optimal functionality, you need a Samsung account and a UWB-enabled Galaxy smartphone running Android 11 or higher.
It also comes with a loop that makes it easy to attach to keys or bags. The battery is a replaceable CR2032 lithium coin cell with an average lifespan of up to four years. Note that it only works with Samsung devices, but still, Samsung SmartTag is one of the best AirTag alternatives on the market.
Chipolo One
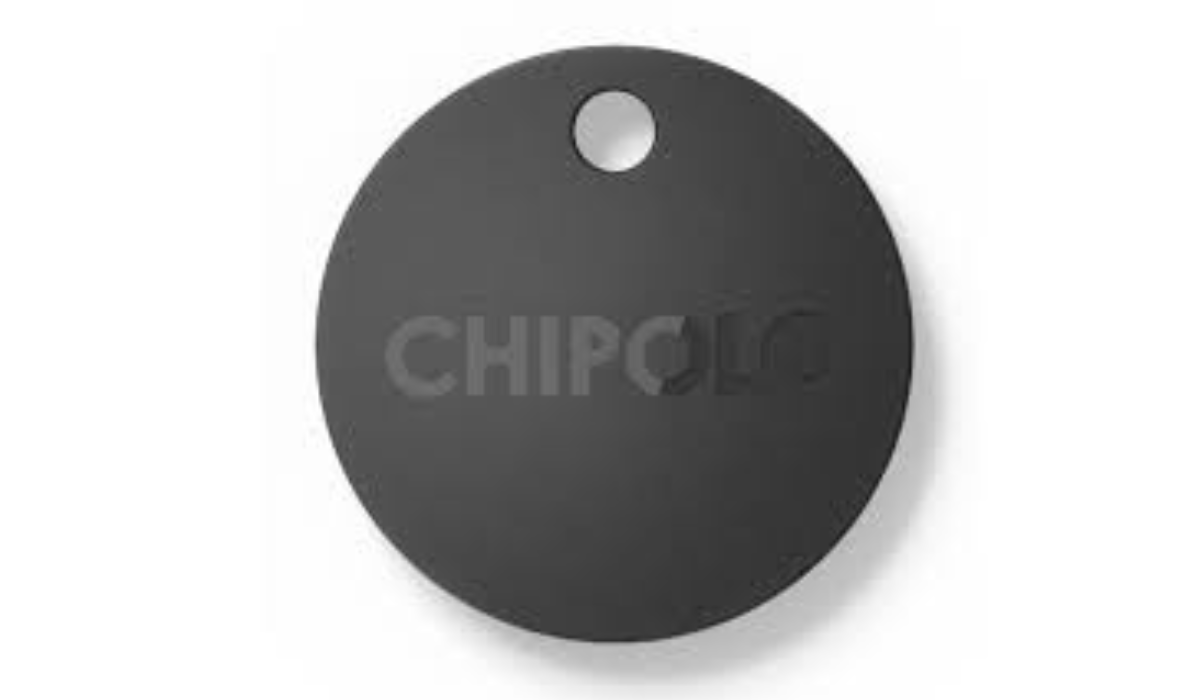
The Chipolo One is yet another exceptional tool for monitoring your possessions, such as keys and bags, and it features a 200-foot range and a loud sound. This Bluetooth tracker is compatible with both Android and iOS devices and is convenient to carry around. The Chipolo app sends a ping notification when the tracker goes out of range, which ensures that you don’t misplace your belongings. Additionally, the Chipolo community helps locate the tracker when it’s out of range, and it’s reasonably priced, water-resistant, and has a backup battery that lasts for two years.
Sadly, the Chipolo community isn’t as extensive as those of Apple, Samsung, or Tile, and this limits its usefulness beyond the 200-foot range. However, the app updates the lost device’s location and provides the last known location for easier tracking. If the tracker is within range, you can activate a loud alarm, which Tile only offers with a paid subscription. As such, Chipolo trackers can be considered a fantastic option for keeping track of your belongings in close range.
Cube
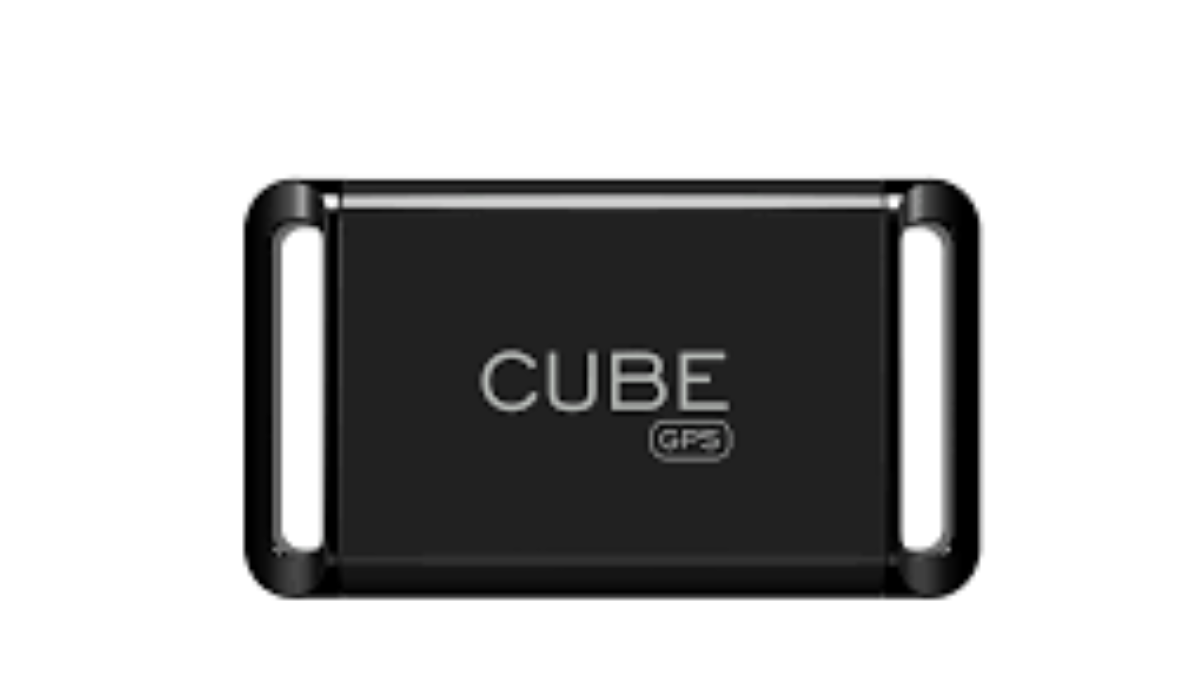
The Cube provides a distinct approach to tracking devices, offering Bluetooth trackers such as Cube Pro , Cube Shadow , and Cube Tracker with limited range. These devices function similarly to those provided by Apple, Samsung, and Tile, but Cube also provides GPS trackers for long-range applications. The Cube GPS Tracker includes built-in GPS and LTE hardware, allowing global tracking regardless of nearby networked devices. GPS eliminates blind spots when no nearby devices are available, and Wi-Fi, LTE, and Bluetooth connectivity aid in device location when GPS is unavailable.
However, a notable downside for this option is the expense — Cube’s regular trackers cost between $24.95 and $39.95, with no subscription fee. The Cube GPS Tracker costs $29.95, including the SIM card, and requires a monthly or yearly subscription at $198 per year or $19.95 per month. But despite being expensive, the Cube GPS Tracker is a great alternative to the AirTag for specific use cases and includes an SOS button for reliable tracking. However, the Cube GPS Tracker’s battery life is rated between 10-60 days, depending on usage and reporting.
To sum up, while AirTags are excellent Bluetooth trackers for Apple users, they’re not compatible with Android devices. Fortunately, the alternatives I’ve discussed above are all excellent options that offer similar features to AirTags, such as Bluetooth tracking, location tracking, and anti-loss features, and are compatible with Android devices. Make your choice depending on your specific needs, and feel free to consult other buying guides if you need further device recommendations.
Author:Joan Agie
Add MobilityArena as a preferred source on Google
The camera is one of the most important features of an iPhone, and it’s essential to know how to use it effectively to take stunning photos. Whether you’re taking pictures of your family, your pets, or your travels, you want your photos to look their best. However, with so many camera settings and options available, it can be challenging to know which ones to use to get the best picture quality.
In this guide, we’ll explore the best iPhone camera settings to improve picture quality. Whether you’re an amateur photographer or a seasoned pro, this guide will help you take your iPhone photography skills to the next level.
What Are the Best iPhone Camera Settings to Improve Picture Quality?
In today’s world, it’s not uncommon to see people use iPhones as their go-to camera since the lenses on modern smartphones can capture high-quality images. While the default camera settings are often satisfactory, there are certain settings that can be adjusted to further improve the quality of your photos and videos.
So, if you’re someone who enjoys taking pictures with your iPhone, keep reading to find out how to adjust specific settings on your iPhone to achieve better picture and video quality.
Preserve Settings
If you have a favorite camera mode or custom filter, it can be frustrating to have to set it up from scratch every time you open the Camera app. By the time you have your camera ready, the moment you wanted to capture may have already passed.
However, there is a solution: the iPhone’s Preserve Settings feature. With this feature, you can save any preferred camera settings so you don’t have to reconfigure it every time you need to take pictures. To enable the feature, navigate to Camera > Preserve Settings in your Settings app. You can choose from several options, such as Camera Mode , Creative Controls , Exposure Adjustment , Night Mode , and Live Photo .
Enable Grid Lines
If you’re a photography enthusiast, you’re probably already familiar with the Rule of Thirds. This principle is one of the essential guidelines when composing a photograph. In simple terms, it states that the subject of a shot should be placed in one of the four intersections of lines on a 3×3 grid.
To take full advantage of this rule, you must, however, enable an on-screen grid in your iPhone camera settings so you can see the four intersections. Gridlines are also helpful for fixing other compositional problems, including keeping the horizon level or ensuring walls and buildings are at precisely 90 degrees.
To activate these gridlines, navigate to Settings > Camera > Grid and slide the toggle switch to the On position.
ProRAW and ProRes
Apple has introduced a new feature in the Camera app since the iPhone 12 Pro that allows users to capture images in ProRAW format. ProRAW photos are the original images that are captured from the camera sensor, without any modifications. They hold important data like brightness, shadows, and colors that can be edited later using software like Adobe Lightroom .
Additionally, iPhone 13 Pro supports ProRes video, which is a codec that has minimal compression, ensuring that the files are of higher quality for post-editing. You can turn on both ProRAW and ProRes in the Camera app’s settings. iPhone 14 Pro users can also choose between taking ProRAW photos with 12-megapixel or 48-megapixel resolution.
Once you turn on the options, you’ll see ProRAW and ProRes buttons in the Camera app that you can tap to take photos and videos using these formats. However, non-Pro iPhone models don’t have these options, and it’s important to know that ProRAW photos and ProRes videos take up more storage space than regular formats.
Macro Control
The ultra-wide lens on the iPhone 13 Pro and iPhone 14 Pro includes a Macro setting that enables users to take extremely close-up pictures. Some users might find it annoying as this mode activates automatically based on the distance between the iPhone and the subject you’re pointing at. Fortunately, you can decide to manually activate this option only when you need it.
To do this, turn on the Macro Control feature in the Camera app’s settings. The Macro button will now appear when the iPhone is very close to an object, and it will only activate if you click on it.
Enable Live Photo
You can also use Live Photo to your advantage when trying to get the perfect shot. Although a Live Photo appears to be a regular picture in the Photo Library, it comes to life when you long-press it. To activate Live Photo , simply tap the circle icon in the top right corner of the Camera app.
If you don’t want dozens of identical images cluttering up your photo albums, it’s a good alternative to burst shots. This is due to Live Photo’s ability to capture the 1.5 seconds immediately before and after a photo capture. You can also convert your Live Photo to a still image later.
Lock the Focus and Exposure
If you want to take professional-grade snaps, you need to understand how focus and exposure work. Exposure refers to how much light reaches your phone’s electronic image sensor, while focus determines the sharpness of your photo. If you don’t learn these essential iPhone camera settings, your smartphone photography will suffer.
Luckily, you can manually lock both focus and exposure on your iPhone’s camera, which allows you to customize your shots more effectively. This means you don’t have to worry about the app automatically overriding your settings. To do this, open the Camera app, then tap and hold your photo’s focal point. After a few seconds, you’ll see the AE/AF Lock banner appear at the top of the screen. To unlock these features, just tap anywhere on the screen.
Enable Geo-Location on Your Photos
If you’re a frequent traveler, you might find it useful to tag your photos with the location at which you took them. It’ll help you stay on top of all your memories in the years to come.
Your iPhone lets you turn on geotagging, but it’s not immediately obvious where to find the setting as it’s not in the Camera app or its Settings menu. Instead, you need to head to the Privacy menu. Go to Settings > Privacy > Location Services > Camera and select While Using the App .
Use Portrait Lighting for a Studio Effect
Portrait Lighting is a great feature that lets you customize the lighting in your photos. You can make your image look like it was taken on a stage or in a studio by tapping the iPhone camera screen.
To use Portrait Lighting , you’ll first need to select Portrait Mode in the camera app. You’ll find a variety of lighting effects at the bottom of the screen, including Natural Light , Studio Light , Contour Light , Stage Light , and Stage Light Mono .
If you don’t want to add any lighting effects, you can choose the default iPhone setting, Natural Light . For more dramatic portraits, you can try Contour Light . And for professional-looking results, you can select Stage or Studio Light .
To sum up, mastering the best iPhone camera settings is the key to taking stunning photos. By following the tips discussed above you can take your pictures to the next level. So, don’t be afraid to play around with your iPhone’s camera settings and discover what works best for you. With a little practice, you’ll be taking professional-grade snaps in no time. If you need other useful tips to get the best of your iPhone, check out this category .
