Add MobilityArena as a preferred source on Google
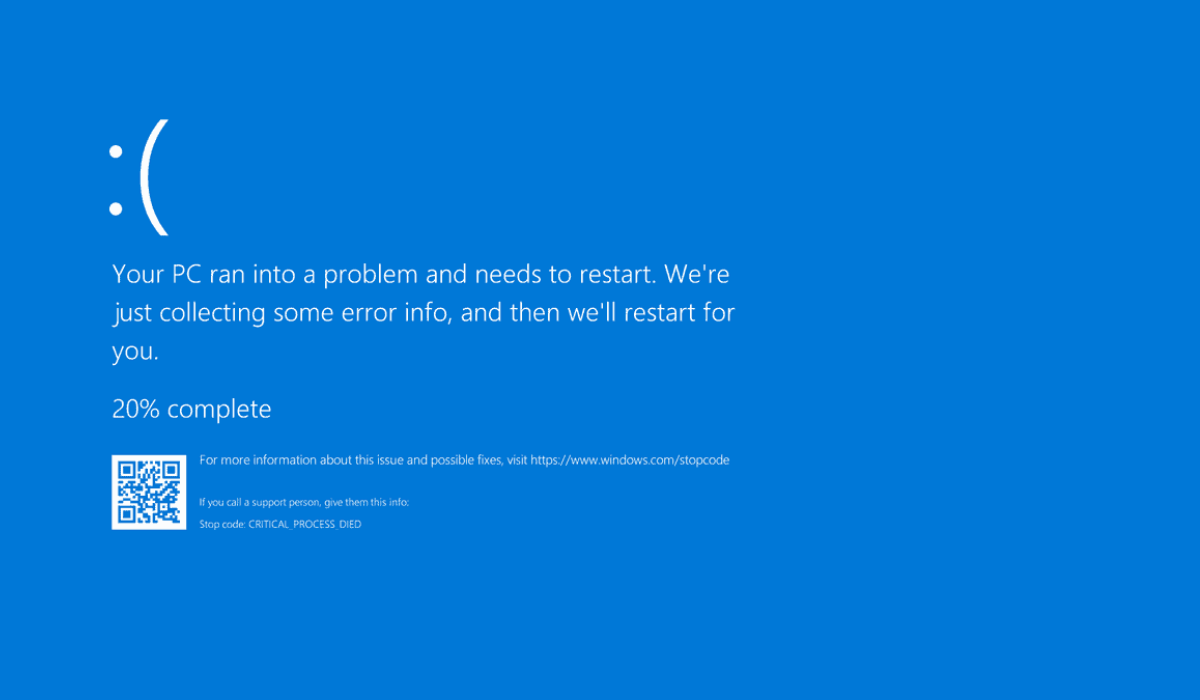
Blue screen errors are common and every Windows user may encounter them at some point. The Blue Screen of Death (BSOD), also known as the Stop Error, is without a doubt one of the most well-known and frustrating issues faced by the community of Windows users.
In this article, I’ll go over some generally useful tips to fix a blue screen error in Windows 10. It’s a frustrating issue because it’s often difficult to troubleshoot and can appear out of nowhere. Nonetheless, with the troubleshooting tips in this guide, you should be able to fix a blue screen error in Windows 10 in no time.
- How Can You Fix A Blue Screen Error in Windows 10? Examine Recent Computer Changes Check for Windows and Driver Updates Scan for Malware Run an SFC Scan Run a System Restore Reinstall Windows
How Can You Fix A Blue Screen Error in Windows 10?
The blue screen of death is a well-known error screen that appears when Windows encounters a serious hiccup, causing the system to crash. You should be aware that a blue screen occurring only once is not necessarily a problem. Windows computers display a BSOD sometimes and then resume normal operation following a reboot.
So, unless you keep getting blue screens constantly, there should be little or no need to look into the solutions listed below. Nonetheless, here are a few ways to fis a blue screen error in Windows 10.
Examine Recent Computer Changes
After making a modification to your system, you may sometimes begin to experience blue screen errors. Such changes may bring undesirable components into an otherwise stable setting. It might therefore be useful to know what changed in order to successfully fix a blue screen error in Windows 10.
Consider unplugging a new printer, for instance, if you recently installed one, to see if the blue screen still shows. Also, try visiting Settings > Upgrade & Security > Windows Update > View Update History if you recently performed a Windows upgrade. To see if removing the most recent update will fix the issue, select Uninstall updates on the next page.
The same holds true for software. After installing a new program, if you started experiencing blue screens, try uninstalling it from Windows and see if that helps to fix a blue screen error in Windows 10.
Check for Windows and Driver Updates
Even though erroneous updates can occasionally cause problems, Microsoft and other companies frequently release updates to address issues of this nature. Apply any pending updates from Settings > Update & Security > Windows Update just in case they contain the solution to fix a blue screen error in Windows 10.
It’s also critical to check your drivers, as they are frequently the source of Windows 10 blue screens. To access the power user menu, press Win + X (or right-click on the Start button). Then select Device Manager to access that tool.
Look for yellow triangle icons on any listings that indicate a driver issue. You can also check for updates by right-clicking an entry and selecting the Update driver , but this isn’t always effective.
Scan for Malware
Malware can corrupt your Windows system files, resulting in a blue screen. To rule out anything like this, you should run an infection scan since that might help fix a blue screen error in Windows 10.
I recommend running a scan with Malwarebytes . This will search for and remove all types of malicious software. If it finds anything, reboot and check to see if your blue screen errors have gone away.
Run an SFC Scan
SFC (System File Checker) is a command-line tool included with Windows. When you run it, it looks for and attempts to repair damaged Windows system files. This could help to fix a blue screen error in Windows 10.
To open the power user shortcut menu, press Win + X again (or right-click on the Start button). Select Command Prompt ( Admin ), Windows PowerShell ( Admin ), or Windows Terminal ( Admin ), and then type: sfc /scannow
Run a System Restore
You can restore your system to an earlier state using the System Restore feature in Windows. It’s a great tool for troubleshooting because it’s user-friendly and lets you figure out whether an issue is caused by software or something else.
In the Start menu, type “ recovery ” and then select the Recovery Control Panel option. To start the tool, click Open System Restore . After you click Next once, you’ll see a list of restore points to which you can return. Choose one and then select Scan for affected programs to see what software will change.
System Restore has no impact on your files, but it will uninstall any drivers or software that you have installed since the restore point was created. It will also reinstall anything you have deleted since that time.
Boot Into Safe Mode
You might be able to complete all the aforementioned troubleshooting steps while using Windows as usual, depending on the seriousness of your problem. The blue screen errors, however, might prevent you from performing your duties normally if you have a serious problem. You’ll need to restart in safe mode in that situation in order to fix a blue screen error in Windows 10.
Reinstall Windows
If everything else fails, you will have to reinstall Windows on your computer to fix a blue screen error in Windows 10. There must be a deeper underlying issue with your system at this point since you’ve ruled out hardware, software, malware, and driver problems.
The bottom line is that dealing with blue screen errors can be frustrating, especially since they can prevent you from properly troubleshooting. But, with the information provided above, I believe you now understand the different options available to successfully fix a blue screen error in Windows 10.
Author:Joan Agie
Add MobilityArena as a preferred source on Google
Safari is the iPhone, iPad, and MacBook’s native browser option. It is pre-installed on almost all Apple devices and is designed to be swift and efficient for them. However, Safari occasionally fails to function and when this occurs, it usually indicates a setting or software problem. In some cases, your iPhone or iPad may not be able to connect to the internet at all.
Fortunately, there are several things you can try to fix Safari not working on an iPhone. That’s why this guide was created, so in this article, I’ll walk you through some ways to fix Safari not working on an iPhone.
How Can You Fix Safari Not Working on an iPhone?
If you’re having trouble browsing with Safari, try these simple troubleshooting steps to fix Safari not working on an iPhone.
Restart Your iPhone
Restarting your iPhone is known to clear usable memory, which can help Safari run faster. This may seem too easy to be true, but it has been proven to work to fix Safari not working on an iPhone.
So if Safari is frozen or you have a blank white screen, restarting your iPhone can help. Make sure you cover such fundamental troubleshooting options this way before attempting anything else.
Edit your Screen-time Settings
Try disabling your Screen Time settings if you’ve ever modified them or used Screen Time to block particular websites. Content Restrictions is usually enabled to block websites, and this may inadvertently block websites you still want to use. As such, if you’re unable to load a link from an email or text message, this could indicate that content restrictions are enabled.
To fix Safari not working on an iPhone due to these settings, go to Settings > Screen Time > Content & Privacy Restrictions and disable this option. If it was turned on, this was most likely your problem. If it was already off, move on to the next fix.
Disable Safari Suggestions
One of the simplest and most popular solutions to fix Safari not working on an iPhone or other Apple devices is to turn off Safari Suggestions .
Go to Settings > Safari > Safari Suggestions and turn this off to disable suggestions. While you’re there, you can also disable Search Engine Suggestions , which some users claim fixes the problem. If this resolves your problem, you’re good to go. If not, try one of the other suggestions below.
Clear All Safari Data and History
Frequent use of the Safari browser usually means there’s a large amount of data stored within the app, which could cause it not to load properly. This issue is certainly more common for iPhone users with a smaller storage capacity. In this case, to fix Safari not working on an iPhone, you’ll need to clear all of Safari’s data and history.
Go to Settings > Safari > Clear History and Website Data to clear Safari’s data. This will delete all unnecessary data from the Safari app. Some users claim this works, but you’ll have to do it frequently if you can’t free up storage space elsewhere on your iPhone.
Enable Cellular Data for Safari
Cellular data could be off for Safari on your device to save internet data, especially if you’re often connected to Wi-Fi. So while Wi-Fi is very useful, if it isn’t working properly, connecting to cellular data may help fix Safari not working on an iPhone.
To do so, go to Settings > Cellular > Safari and enable it. If cellular data was off, this was most likely the source of your problem. Alternatively, you can disable Wi-Fi and only connect via cellular data. If this works to fix Safari not working on an iPhone, it indicates that there is a problem with your Wi-Fi network.
Update iOS to the Most Recent Version
Updating iOS may also help fix Safari not working on an iPhone if Safari isn’t loading, or if it’s crashing or simply not connecting to websites on your device.
With iOS updates, Apple does an excellent job of addressing widespread issues. So, if Apple is aware of an issue, it may be addressed in a subsequent update.
Reset Your Network Settings
Resetting your network settings might be helpful if you’ve previously experienced problems with your network, such as service interruptions or timed-out pages.
To reset your iPhone network settings and fix Safari not working on an iPhone, go to Settings > General > Transfer or Reset iPhone > Reset > Reset Network Settings . This will only reset your network settings and will not delete any other data on your iPhone.
Activate JavaScript
Most iOS devices have JavaScript enabled by default. However, if you’re having problems with Safari, it’s likely that JavaScript is disabled. Sometimes, JavaScript may be disabled because some websites might not support it.
Go to Settings > Safari > Advanced on your iOS if you want to check if JavaScript is turned off and turn it back on.
Restore to Factory Defaults
You could also try setting your iPhone back to its factory defaults if all else fails to fix Safari not working on an iPhone. This will erase all of the data on your iPhone and force you to start over. But it’s also a very efficient way to fix all kinds of software issues. Go to Settings > General > Transfer or Reset iPhone > Erase All Content and Settings to do so.
I believe the suggestions in this guide will help you successfully fix Safari not working on an iPhone. If none of them work, try another browser or post about the issue on the Apple forum for extra assistance.
