Add MobilityArena as a preferred source on Google
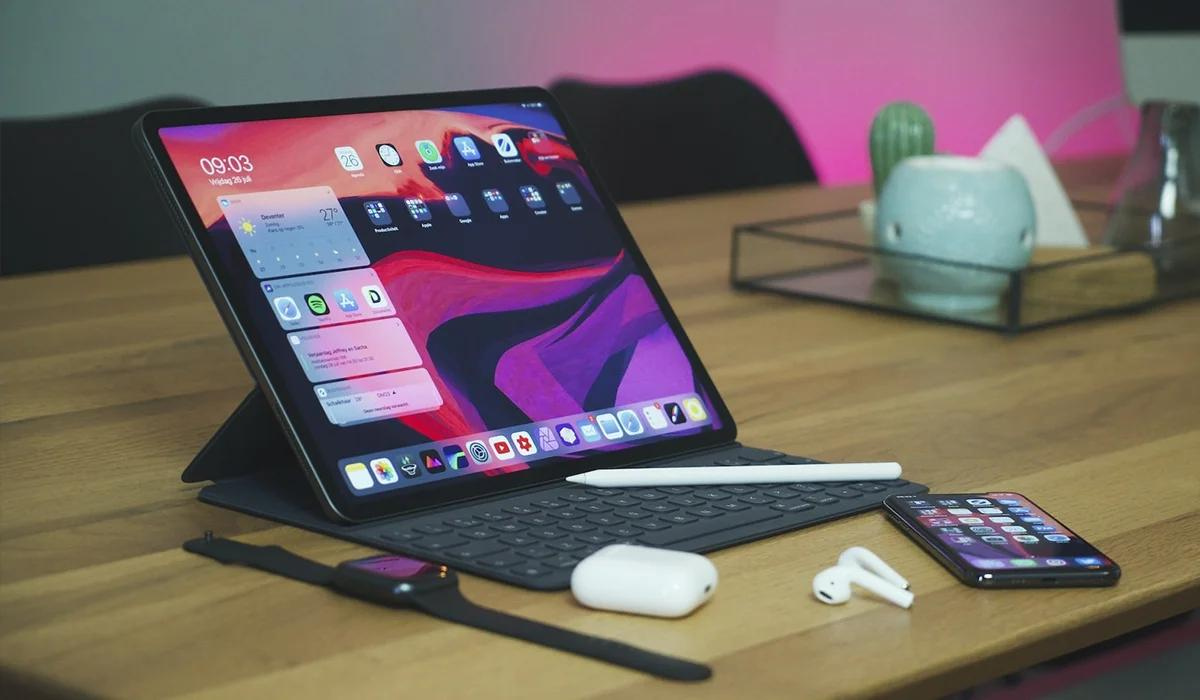
iPhones and iPads require regular software updates to function properly. Software update problems are rather typical, but you and I may not even experience the exact same issue. Sometimes, it may be hard to launch the update due to a low battery, other times, the iPhone or iPad just bricks during an ongoing update.
In this guide, I’ll share useful troubleshooting tips you can try to fix an iPhone or iPad that won’t update. Different things could cause these issues, perhaps insufficient storage space or faulty update files. Regardless of the specific issue, the basic tips I’ve provided in this article should help you determine the problem source and successfully fix an iPhone or iPad that won’t update.
- How Can You Fix an iPhone or iPad That Won’t Update? Charge Your iPad or iPhone Ensure your device is eligible for the update Check the Storage Space Force-Restart Your Device Run the Update using iTunes or the Finder Delete Previous Update Data Check Your Network Reset Your Network Settings
How Can You Fix an iPhone or iPad That Won’t Update?
When such update issues arise, there’s usually a simple solution to the problem. Here’s how to troubleshoot and fix an iPhone or iPad that won’t update iOS or iPadOS.
Charge Your iPad or iPhone
Before moving on to more complex fixes, let’s start with some basics. First consider that your iPhone will not allow you to update if its battery capacity is insufficient. This is to avoid your device from shutting down in the middle of an update, which can cause bigger problems.
So, before beginning the OS update, make sure your iPhone or iPad is plugged in and has a full charge. It’s also a good idea to leave it charging while the process is running. As a result, even if the process takes longer than expected, your phone will not run out of battery power. Try this and see if it works to fix an iPhone or iPad that won’t update.
Ensure your device is eligible for the update
Apple discontinues support for older devices over time, so not all iPhone and iPad models can be updated to the most recent OS version. Scroll down to the bottom of Apple’s iOS info page or iPadOS info page. You’ll see a box that says iOS is compatible with these devices, so check it to ensure your device can receive the latest release of Apple’s mobile operating system.
What this just means is that if you’re looking to fix an iPhone or iPad that won’t update, it might involve upgrading your device totally.
Check the Storage Space
The software update file that your iPhone or iPad downloads from Apple’s servers requires physical storage space on your device. If your device has insufficient storage capacity, you may certainly encounter problems while updating.
For maximum device performance, at least 10-15% of total storage capacity should be set aside as free space. The files are removed once the update is complete, so this free space can be temporarily used for software updates. To check the available storage space on your device, go to Settings -> General -> iPhone/iPad Storage . Create space depending on the files you find there if necessary, then check to see if this works to fix an iPhone or iPad that won’t update.
Force-Restart Your Device
You may be unable to update your iPhone due to a one-time problem. Restarting your phone will force its processes to restart, presumably clearing up any temporary issues, and this may help fix an iPhone or iPad that won’t update.
When you’ve completed this successfully, your screen will go black. Following that, an Apple logo will appear, followed by your lock screen. Your device has now been fully refreshed, so you can try updating again.
Run the Update using iTunes or the Finder
Most of us are used to updating iOS directly on our iPhones, but it’s also possible to perform a system update using iTunes or the Finder program on a computer. Truly, it’s not as convenient, but it can be useful if the over-the-air update isn’t working. If you don’t have enough free space on your device, this is another option to fix an iPhone or iPad that won’t update.
You can upgrade your iPhone via iTunes on Windows or macOS Mojave and earlier by following these steps:
- If you don’t already have it, download iTunes for Windows.
- Use a cable to connect your iPhone or iPad to your PC.
- Launch iTunes and select the little device button in the top bar, which is located under Controls and Account .
- Sync your iOS device by pressing the Sync button in the bottom-right corner. This may occur automatically depending on your settings.
- When the sync is completed, click Check for update in the top box.
- Click the Download button.
- When the download is complete, click Update .
Apple discontinued iTunes for Mac with macOS Catalina, so you’ll have to use Finder instead, follow these steps:
- Connect your device to your Mac, launch Finder , and choose the name of your device from the left sidebar.
- You’ll get directed to a panel similar to the old iTunes interface, Here, complete the steps outlined above (the essential controls are located under the General tab).
- After that, the update should be installed on your device.
Delete Previous Update Data
If an iOS update fails, the data doesn’t just disappear. It remains on the device so you don’t have to repeat the download. However, sometimes this data just has to go to fix an iPhone or iPad that won’t update. So, if you can’t update your iPhone or iPad, delete the update file through the steps below:
- Go to Settings , General , and then Device Name Storage .
- Locate the update in the list.
- Select the update, then click the Delete Update button.
After removing the update, navigate to Settings, General, Software Update , and choose to download (and then install as usual).
Check Your Network
If you’re unable to update your device using iTunes or Finder, it’s important to check your network connection. If your Wi-Fi connection is poor or unstable, you may be unable to update properly, both on your iPhone and through your computer.
When attempting to update, ensure that you are connected to a reliable Wi-Fi network. If you haven’t restarted your router in a while, you should. If the problem persists, you could try connecting to another network and seeing if it helps to fix an iPhone or iPad that won’t update.
Reset Your Network Settings
If you can’t update on any Wi-Fi network, you can clear the network settings to fix an iPhone or iPad that won’t update. Please keep in mind that this will delete all network preferences you’ve saved, so you’ll need to reconnect to all previously saved Wi-Fi networks. This will also clear any VPN setups and Bluetooth connection settings.
To reset your iPhone or iPad’s network settings, follow these steps:
- Go to Settings and select General .
- Scroll down to Transfer or Reset iPhone (this should be marked Reset on iOS 14 and earlier).
- At the bottom, choose Reset , then Reset Network Settings .
- Put in your passcode and confirm that you want to proceed.
All in all, having a phone that refuses to update is not pleasant in any way. That’s why I hope that at least one tip here helps you fix an iPhone or iPad that won’t update. If nothing works, you should consider fully erasing your device. You can either reset all settings or conduct a factory reset to wipe everything.
Author:Joan Agie
Add MobilityArena as a preferred source on Google
Screenshots are my go-to tool for any piece of information I’d rather not forget. In fact, I’m a little embarrassed at the number of screenshots I take daily—that’s how useful I (and many others, I’m sure) find the screenshot function.
In this guide, I’ll go over some of the best ways to take screenshots on Android. You’ll find this guide useful because it can be difficult to sort through all the options to find the best technique for your specific device. So, here’s what you need to know about taking screenshots on Android, keep reading.
- What Are The Best Ways to Take Screenshots on Android Phones? Using the Android Screenshot Shortcut Using the Manufacturer’s Shortcuts Using the Gestures Using the Quick Settings Ask Google Assistant to Take a Screenshot Using Third-Party Apps Screenshot Easy Super Screenshot
What Are The Best Ways to Take Screenshots on Android Phones?
Taking a screenshot on Android is actually quite simple, at least on paper. However, you can take a screenshot on Android phones through different ways, which is where things become complex because many Android devices include OEM-specific customizations.
Some of these methods depend on specific apps from the Google Play Store, while others are operating system-wide, manufacturer-specific, or both. Not to worry though, I’ve described the best ways to take screenshots on Android phones below.
Using the Android Screenshot Shortcut
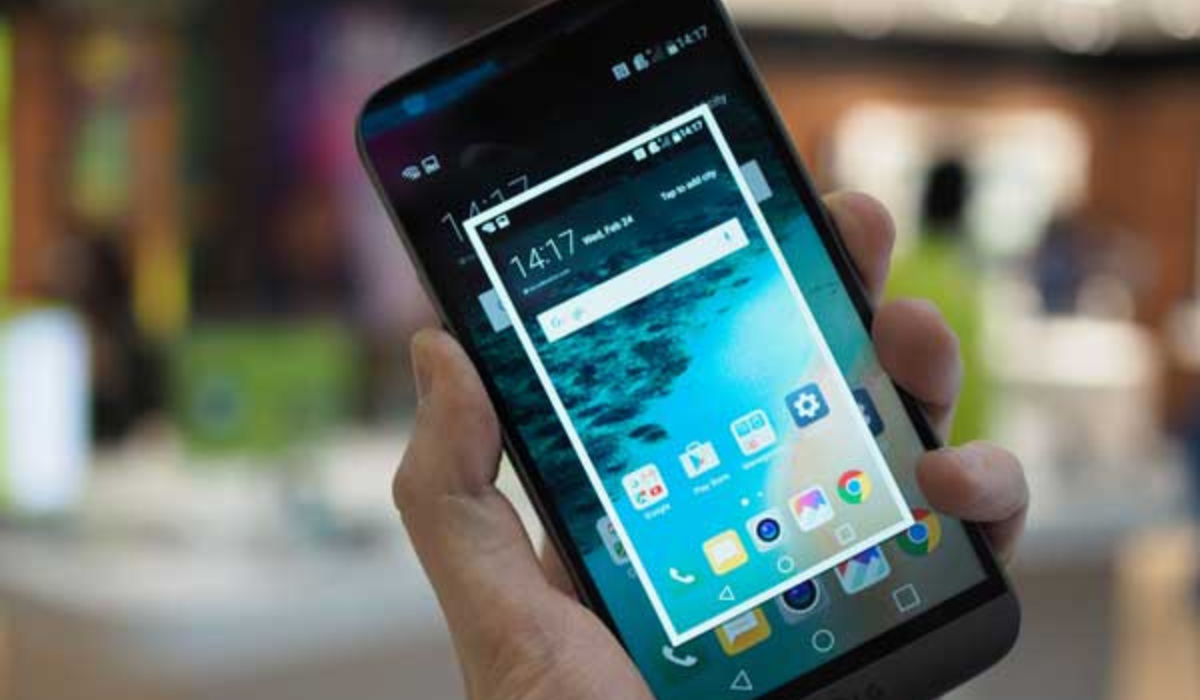
On most Android phones, there is a very quick and easy way to take screenshots. When you simultaneously press and hold the Power and Volume Down buttons, a brief animation will appear on the screen, and the notification bar will confirm that the screenshot was captured successfully.
Getting the timing right takes practice. If you press the power button too quickly, your device’s screen could lock instead of taking a screenshot. Also, if you press the volume button too quickly, you will change the volume. If you find it more handy, Android Pie has a shortcut to take a screenshot in the power menu. This method is one of the best ways to take a screenshot on Android because it’s easily accessible and quick to use.
Using the Manufacturer’s Shortcuts
Not all phones use the usual Android technique. For instance, newer Samsung models now use the Power + Volume Down approach to take screenshots, as opposed to earlier models that still required you to click the Power + Home buttons.
Following that, the procedure is the same. You’ll receive an on-screen confirmation, and the photo will appear in your gallery app. Some phones use the standard method, but they also have other options.
For instance, on some Sony devices, you can get to the Options menu by pressing the Power button. From there, you can take screenshots and record the screen of your Android device. Motorola and Google phones employ the usual technique.
Using the Gestures
Taking screenshots on many Android devices no longer requires pressing buttons; instead, you can use gestures. On Samsung phones, for example, you can activate Palm Swipe to Capture by going to Settings > Advanced Features > Motions and Gestures .
To take a screenshot after enabling the function, simply swipe your hand across the screen at a 90-degree angle. This method is rather sophisticated, and that’s why I think it’s among the best ways to take screenshots on Android. Motorola has a similar feature, and when activated, you’d only need to tap the screen three times to snap a screenshot. To see if your model has a comparable feature, check its user manual.
Using the Quick Settings
In the Quick Settings menu on Android, some manufacturers have added a screenshot button, and it’s another option among the best ways to take screenshots on Android. Swipe down from the top of the screen to get to the menu. Screen Capture , Screenshot , or something similar should show up as an option here.
It’s possible that the choice is hidden if you don’t see it. In that instance, tap the pencil icon to customize the Quick Settings window. You can choose which shortcut buttons appear on the menu here.
Ask Google Assistant to Take a Screenshot
By asking Google Assistant to take a screenshot for you, you may capture a screenshot on your Android device without having to use your hands. This is another option among the easiest and best ways to take screenshots on Android. You’ll particularly love it if, like me, you prefer doing as much as you can on your smartphone without lifting a finger.
Simply say “ Hey Google ” to wake up the assistant, and then “ Take a screenshot ” to capture it. You might prefer using Bixby over Google Assistant if you’re trying to take a screenshot on a Samsung phone. Some users say that Google Assistant doesn’t save screenshots in the gallery of Samsung devices and only allows instant sharing, but this is not the case with Bixby.
Using Third-Party Apps
All of the options I’ve described above are great, but third-party apps are also among the best ways to take screenshots on Android. I’ve described some of the best third-party screenshot apps below. Note that they offer some cool extra features that are not natively available, but their basic functionality is the essentially same as the stock method.
Screenshot Easy
Screenshot Easy has excellent usability features—for instance, you can take pictures using a screen overlay button, or a notification bar button, by shaking your device, or through a widget.
There are also some fantastic post-screenshot options. You can change the colors, add time and date stamps, zip your screenshot files, and crop them. Images can be saved in either PNG or JPG format. Finally, Screenshot Easy supports screen recording, as well as scrolling screenshots.
Super Screenshot
Super Screenshot is a free screenshot app that is simple to use. Perhaps its most useful feature is the ability to crop screenshots before saving them to memory.
It also allows you to resize screenshots, write on them, add text notes, and apply filters to them. If you wanted the same results with the native Android technique, you’d need to download a photo editing app. Extra perk — you can save images directly to your phone’s SD card to save space!
To summarize , taking a screenshot on an Android phone is a fantastic experience that has improved and gotten more convenient. I hope you now understand how to advantage of the best ways to take screenshots on Android phones. Choose the method that is the simplest and quickest for you, as they all provide the same result.
