Add MobilityArena as a preferred source on Google
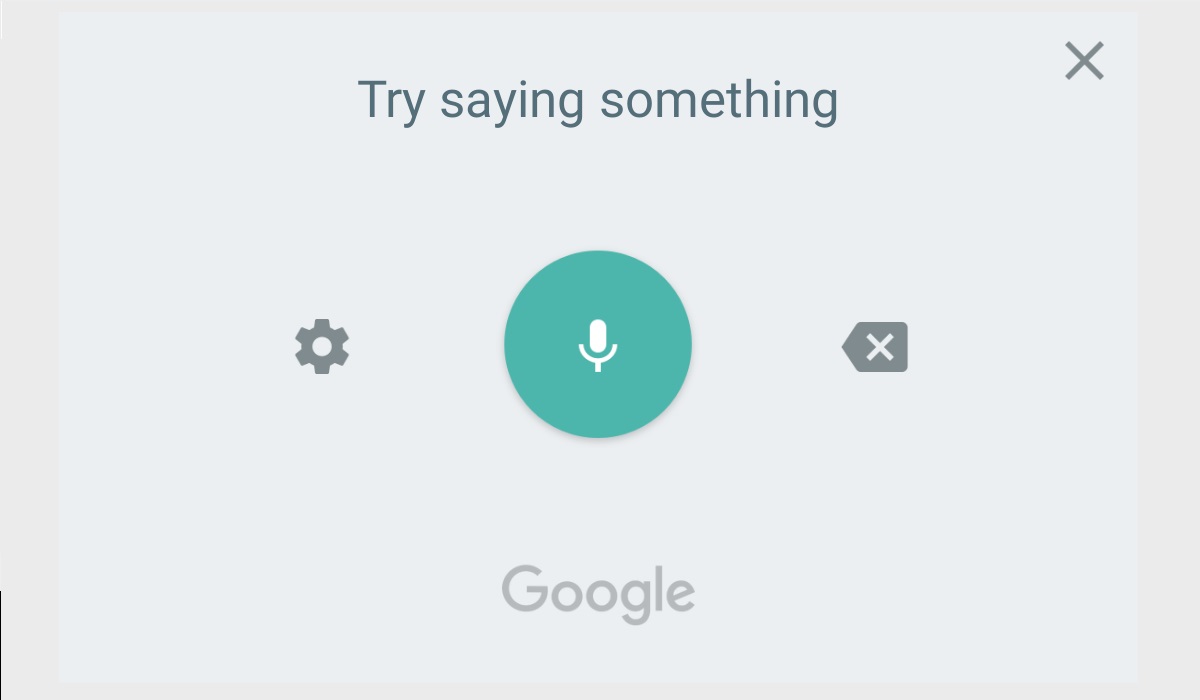
Voice Typing is the most popular voice-to-text feature on Android devices, allowing users to dictate words and sentences rather than typing them. It’s essentially a convenient way to send messages without holding your phone.
- How Can I Fix Google Voice Typing Not Working? Ensure that Google Voice Typing is turned on Uninstall Gboard Updates Deactivate the Google Assistant Voice Command Download Offline Language
How Can I Fix Google Voice Typing Not Working?
There are different things to try if Google Voice typing doesn’t work on Android and you’re looking to fix it. Follow the instructions below.
Ensure that Google Voice Typing is turned on
To fix Google Voice typing not working on Android, first make sure Google Voice Typing is turned on before anything else.
● Tap to open the keyboard in any app or search box.
● Select Settings (the cog icon).
● Select Voice typing . As an alternative, you can also find Voice typing under Settings > General Management or System > Gboard settings . Keep in mind that not all languages will support voice typing, so you’ll need to l ook over the available language list.
● Turn on the switch for Voice typing .
● Go to Settings > Apps > Default App s at this point.
● Choose Google from the Voice input section.
You should also verify that the language layout on the keyboard currently in use supports the language you intend to use for Google Voice Typing. Go to Settings > System > Languages & input if you wish to add a new language. Open Settings under Manage Keyboards . Once there, select the languages you want to use with Google Voice Typing by checking the boxes next to them.
If voice typing isn’t already enabled when you try to use it, go to Settings > Apps > Gboard > Permissions and give Gboard Microphone access. The majority of the time, that resolves the issue. You can continue to the next step and give it another shot if you’re still having trouble.
Uninstall Gboard Updates
Another thing to try if you’re looking to fix Google Voice typing not working is uninstalling Gboard updates. Since there is a specific service that deals with speech typing and voice-to-text input in general, you may not initially consider that Gboard may be the source of the issue. You can remove Gboard updates by doing the following:
● Launch Settings
● Open Apps
● Choose Gboard
● Updates can be uninstalled by tapping the 3-dot menu.
Once there, you can also do this for Google Speech Services, which ought to be listed among the accessible apps.
Deactivate the Google Assistant Voice Command
Disabling the voice trigger command for Google Assistant is another option to fix Google Voice typing not working on Android. Some users who are experiencing this issue have discovered that when the Hey, Google (OK, Google) voice command is activated, Voice Typing does not function as it should. Follow these steps to stop Google Assistant Voice Commands:
● Launch Settings
● Choose Google
● Go to Google Apps Settings > Search, Assistant & Voice
● Open Google Assistant
● Select Hey Google and Voice Match
● Turn off Hey Google .
Download Offline Language
To fix Google Voice typing not working on Android, you could also download the offline package for the language you’re using if it’s different from the system language.
You won’t have to do this if you’re online, although it’s still advisable. The languages also need to be current in order for offline recognition to function. Here’s how to download languages for offline use:
● Up until you reach voice typing, repeat the steps provided in the first fix we proposed.
● You’ll find Offline speech recognition under the Use voice typing option, open it.
● Add any languages you want from the All list. Activate the Auto-update languages over Wi-Fi only checkbox under the Auto-update tab.
In conclusion , we’ve covered possible ways to fix Google voice typing not working on Android. Try as many of the fixes as possible until you’re able to resolve the issue.
Author:Joan Agie
Add MobilityArena as a preferred source on Google
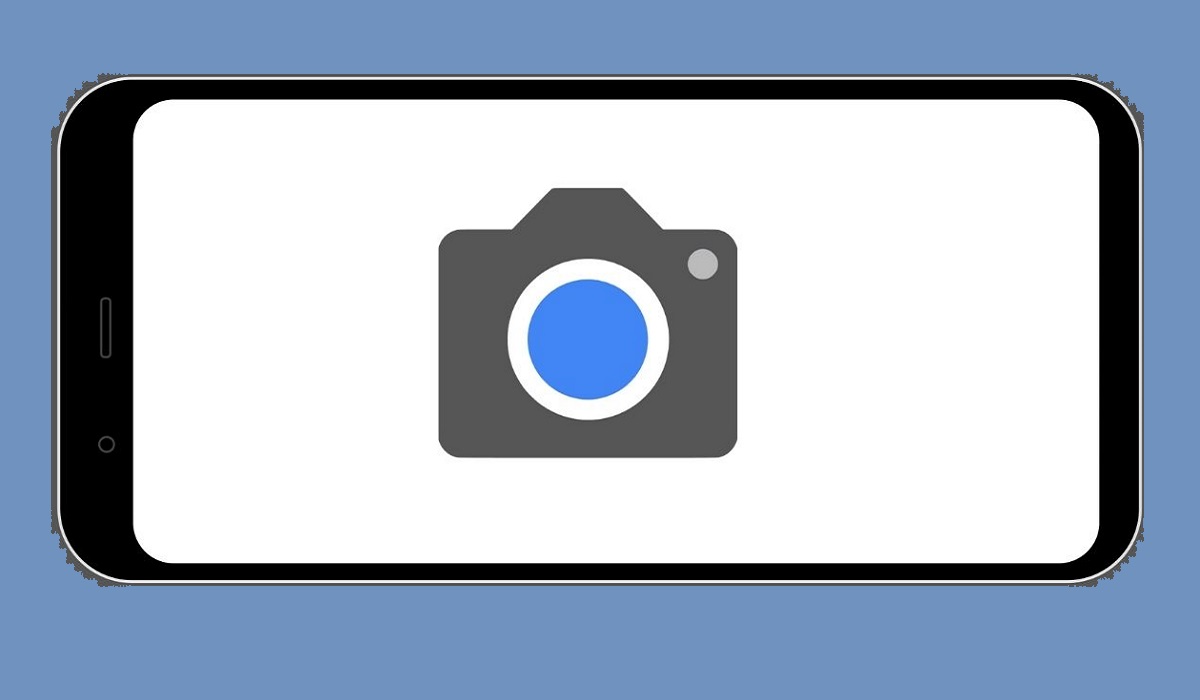
Have you ever wanted to take a selfie, scan a document, or photograph an amazing view but your Android phone’s camera wasn’t working? Is the camera app closing on its own or crashing when you open it, among other issues?
Any of these incidents can be rather inconvenient, regardless of the Android brand you use – Samsung, Google Pixel, Xiaomi, TECNO, Nokia, Infinix, and others. Not to worry though, this article covers the most common Android camera issues, as well as how to fix an Android camera not working.
How Can I Fix Android Camera Not Working?
Numerous factors can cause camera problems on Android phones. If your camera does not appear to work, it will not launch, or it may crash while in use or not even open at all. Below we’ve addressed how to fix Android camera not working by discussing some common issues with the camera app and how to resolve them.
The Camera App unexpectedly closes
Sometimes, your Android Camera app may crash when you launch it and prevent you from using it. If this is the issue you’re facing, try these steps to fix Android camera not working:
● In extreme weather conditions, the Android camera may fail. So if you’ve recently exposed your device to inclement weather, you should cool it down if it is too hot. Warm it up again if it appears to be chilled. Then, restart your device; hopefully, this will work to fix the Android camera not working
● The Camera app requires a lot of power to work correctly. You should therefore charge your device first if its battery is running low
● If you don’t update the Camera app for an extended period, it will crash more frequently. Navigate to Settings > System > Advanced > System Update > Check for updates . This may help fix Android camera not working.
● When multiple apps use your device’s camera at the same time, the default Camera app may close on startup. As a result, make sure no other app is using the camera.
● If your Android device is set to power-saving mode, you should turn it off. The Camera app will then be able to use as much power as it needs without being limited by the power-saving mode.
If you’re not facing any of the above issues, we’ve discussed other ways to fix Android camera not working.
The Phone’s Camera App Is Missing
Sometimes, the issue you’re facing may be that the camera app is missing. To resolve this issue and fix Android camera not working, check properly to confirm that it has indeed vanished from your device.
You can’t accidentally delete the Camera app, but it may be easy to overlook it if you change the theme or customize the app icons. To confirm this, type “ Camera ” into the app drawer search field on your Android and see if the app appears.
If you still don’t see the app, you may have restricted the app’s access to the camera in your phone’s permissions settings, causing it to vanish.
To check it and turn it back on, follow these steps:
● On your Android smartphone, launch the Settings app.
● Navigate to Apps .
● Select Camera .
● Select Permissions .
● Select Camera , then click on “ Allow only while using the app “
The Camera App Freezes or Doesn’t Capture Photos
When using the Camera app, having insufficient free storage space on your phone can also cause problems. If the camera app does not have enough space to save new images, it will restrict you from taking pictures.
When your device’s storage space runs low, you’ll get a low storage space error message. As a result, if you receive such a notification or your device’s storage is nearing capacity, you’ll need to free up some space to resolve the issue and fix the Android camera not working.
For camera apps that are frozen, there’s a chance that your device is running out of memory. You could try closing other resource-consuming apps to resolve this.
There’s a software problem
If you haven’t found a fix among the options we’ve suggested above, or if you suspect an underlying software issue, try the following steps to fix Android camera not working:
● On your Android device, open the Settings app. Navigate to Apps and select Camera from the list of installed apps. After that, select Storage . Then, click the Clear cache option
● Navigate to Settings > Apps and then select Camera . Then, press the Force stop button.
As a last resort, reset your Android device to its default settingsif nothing else works to fix Android camera not working.
Follow these steps:
● Launch the Settings app on your Android device.
● Select System > Advanced > Reset options from the menu.
● Here, select Erase all data (factory reset).
Before choosing this option, make a backup of all documents, media, contacts, text messages, and other data stored on your phone.
In conclusion , Android’s camera issues can be extremely frustrating but we hope this guide has helped you find a way to fix Android camera not working.
