Add MobilityArena as a preferred source on Google
You are likely here because your Android phone has popped up an error notice saying, “mobile network not available”, and you are looking for a solution. When this notice pops up on your cell phone, you will also notice that at that time, your phone loses network signal. As such, you cannot make or receive calls and text messages. If you use mobile data, in the absence of a network signal on your phone, that goes off too.
What causes this “mobile network not available” error situation? In simple terms, something has triggered a disconnection between your cell phone and the mobile network. It could be caused by a software bug in your phone, a temporary unavailability of your mobile network from the cell site or base station providing you service, or also due to a hardware fault.

Different Ways To Fix The “Mobile Network Not Available” Error
Below are a few quick things you can do to resolve the error and situation, and get your Android phone reconnected to the network.
Check For Network Coverage
You might be experiencing the “Mobile network not available” issue because you are currently out of your carrier’s network coverage. This is something that happens if you are commuting, especially outside of the city. It happens too on long bridges and tunnels where these is a gap in coverage between base stations that are spaced apart. What to do? Exercise some patience and you will be back with network coverage again, and the error will disappear as soon as your phone re-connects.
Use Flight Mode Or Airplane Mode
This is a very easy action. Swipe down from the top of your phone to pull down the notification menu, find Flight/Airplane Mode there and tap on it to enable it. What that does is disconnect your phone’s network radio. After a few seconds, tap it again to turn it off: this turns your phone’s network radio back on. If this fixes the issue, you will see the network bars show up on your phone again and you will be able to do calls, SMS, and mobile data once again. The “Mobile network not available” error will be gone, too.
An alternative way to access Flight Mode is to open your phone’s Settings > Network and internet > Airplane mode .
Restart Your Device
Check Your SIM Card
Sometimes, the “Mobile network not available” issue is caused by a dislodgement of the SIM card in the SIM tray. This happens more especially if you had to cut your SIM card to fit into the tray. Open the SIM tray and pull out your SIM card, wait some moments, and then put it back in. Ensure that it sits in the tray properly and firmly before closing the tray. If it doesn’t, it might be time for you to go change that card for a new one.
Also, it is a good idea to check if your SIM card is damaged. One way to do this is to put it into another phone and see if it works there. If it doesn’t work in another phone, the problem might be a damaged or faulty SIM. Note that this is not foolproof: the problem could also be from your mobile network provider.
Check Your Mobile Network Provider
The “Mobile network not available” problem you are dealing with might be a problem from your mobile network carrier or operator. A quick step you can take is to ask people around you who are on the same carrier to check if they are having network signal on their phones. If they are, the issue might be local to you and not a network issue.
You can also put a call to customer care, or chat them up via WhatsApp or their social media channel to lodge a complaint. If there is a network issue, they will usually be in the know and tell you. In this case, all you have to do is sit back and wait for them to sort it out.
Contact A Service Centre Or Repair Shop
If you have tried everything else and ruled out network issues from your carrier/operator and SIM card issues, and your Android phone is still popping up the “Mobile network not available” error, it is time to consider taking the phone to an authorized service centre or repair shop. If your phone is under warranty, definitely take it to an authorized service centre, so it can be fixed at no cost to you.
- Don’t miss our mobile phone reviews .
- Follow our news on Google News .
- Join our WhatsApp Group , to be notified of the most important articles and deals,
- Follow us on Instagram , Facebook , Twitter , and YouTube .
Author:MobileChic
That motivated, gadget-loving geeky chic who tries to stay on top of things. Unapologetic iFan.
Add MobilityArena as a preferred source on Google
The Apple Watch is one of the most impressive and sophisticated gadgets produced by Apple Inc. However, for proper functioning, its software requires regular updates for maintenance and bug fixes, much like your iPhone does.
Updating an Apple Watch is a pretty easy process. In some cases, however, the Apple Watch update may fail to install. In case your Apple Watch won’t update, we’ve provided the following troubleshooting advice to help you work around the update.
Before updating your watch or performing any Apple Watch troubleshooting, there are a few things you have to make sure of:
- Ensure that iOS on your iPhone is updated to the most recent version.
- Charge your Apple Watch to at least 50% of its capacity.
- Verify that your iPhone is connected to stable Wi-Fi
- Throughout the upgrade, keep your iPhone close to your Apple Watch.
The Update Process
Letting your Apple watch update automatically through the night is one of the best ways to acquire the most recent update. However, another option is to manually install the update. To complete it, take these actions:
- The Apple Watch Settings app should first be opened.
- Press General.
- Then select Software Update.
- If you notice that a new update is accessible, click Install.
- To install it, adhere to the on-screen directions.
WatchOS 9 will be the next Apple Watch upgrade, arriving in the fall of 2022. You can anticipate smaller updates throughout the year that will correct bugs and possibly bring new functionality. Follow the instructions above to determine the Apple Watch software version you are using whenever you wonder what the most recent version is. If there are no updates available, then it means you’re using the most recent one.
Setting up Automatic Updates
Sometimes the update problem can be resolved without any intervention on your part. However, you have to first ensure that your settings have the Automatic Updates option enabled.
The following steps will enable Apple Watch automatic updates:
- Get your iPhone’s Watch app open.
- Tap General on the My Watch tab.
- Next, select Software Update
- Hit the Automatic Updates button
- Verify that Automatic Updates is turned on; the toggle button should be green if it is on.
Afterward, make sure you keep your phone connected to Wi-Fi and position the Apple Watch near your iPhone while it is charging; this way, the watch will update by itself when it’s time.
How to Fix Update Issues
At this point, you should already be successful with the update process. If you’ve done everything described above and met all the update criteria but still can’t update your Apple Watch software, then it means you have to attempt the following troubleshooting steps we’ve described below.
Restart your Apple Watch
On an Apple Watch, you’ll typically see no restart option like there is on an iPhone; you must turn the watch off and back on for it to restart. You can restart your Apple Watch with the instructions provided below:
- Press the side button of the watch and hold it down
- You’ll see several sliders on the watch’s screen
- Move the Power Off slider to the right.
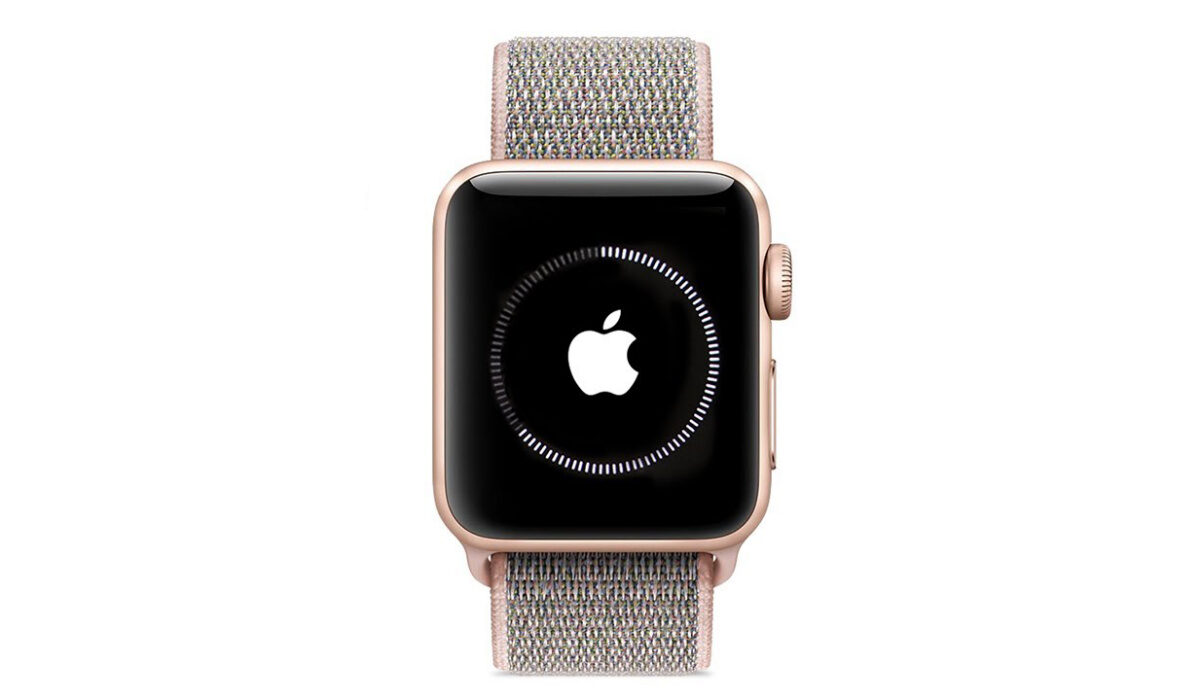
- Wait 30 seconds after the Watch shuts down before pressing the side button to turn it back on and wait until the Apple Logo appears.
Disconnect Pairing between your Apple Watch and iPhone
After completing the restart instructions, unpair the Apple Watch if it still won’t update. You can use these steps below to unpair it from your iPhone:
- Get your iPhone’s Watch app open.
- Tap the All Watches button at the top of the screen while in the My Watch tab.
- Next to the Apple watch you want to unpair, tap the info symbol.
- Choose the Unpair Apple Watch option
- To disconnect, tap [Name’s] Apple Watch’s Unpair button.
Repeat the Pairing Process between the Apple Watch and iPhone
After unpairing it, follow these steps to pair your Apple Watch with your iPhone again:
- Verify that your Apple Watch is turned on, or activate it by tapping the side button until the Apple logo displays.
- Get your iPhone’s Watch app open.
- Select Start Pairing
- You can then select whether to set it up for a member of your family or yourself.
- Place your Apple Watch inside the phone’s yellow frame. Alternately, you may decide to pair manually.
- Once your device is paired, you may press Restore from Backup to restore it from an earlier Watch backup or tap Set Up as New Apple Watch to start over.
- More instruction menus will be presented to you. To finish the Apple Watch pairing procedure, continue to follow the on-screen instructions.
It will take a few minutes for your Watch to sync after you have completed the on-screen steps. Once it syncs, it is ready to use and should start functioning once more.
More Troubleshooting Options
There are a few options to troubleshoot if you see a notice that reads “ Unable to Install Update ” pop up on your Apple Watch’s screen.
- Turning off the option to unlock your Apple Watch using your iPhone is one solution to the problem if your Apple Watch is not checking for updates.
- Another option is to enable automatic nightly updates for your Apple Watch.
- Also, try upgrading the watch right after you turn off Bluetooth and Wi-Fi on your iPhone if you have an Apple Watch that uses cellular service.
Once the Apple Watch has been updated, don’t forget to toggle the “ Unlock with iPhone ” setting back on. “ Apple unable to check for update ” is another frequent problem message you might encounter. You should confirm that your Wi-Fi connection is stable, then restart your Apple Watch to fix this error message and successfully install an update.
On a final note, if you’re having any issues with updating your Apple Watch, at least one of the solutions we’ve suggested should help you get through them. We’re sure you’ve benefited from this article, so don’t forget to share it with your friends and loved ones.
- Don’t miss our mobile phone reviews .
- Follow our news on Google News .
- Join our WhatsApp Group , to be notified of the most important articles and deals,
- Follow us on Instagram , Facebook , Twitter , and YouTube .
