Add MobilityArena as a preferred source on Google
One of the most crucial parts of using a smartphone is battery life, and short battery life is a frequent issue among iPhone users. Sometimes, your iPhone battery may just start to drain faster than usual, stop performing as well as it once did. I’ve also seen cases where iPhones shut down unexpectedly as their battery percentages reduce.
To fix these issues, you can simply calibrate your iPhone’s battery. This is a tested and proven way to enhance your battery’s peak performance. So, in this article, I’ll show you how to calibrate your iPhone’s battery, just pay attention.
- How Can You Calibrate Your iPhone’s Battery? Turn off Location Services Turn off Background Refresh Reduce Your Screen’s Brightness Disable Automatic Updates Steps to Calibrate an iPhone Battery Step 1: Drain the Battery Step 2: Wait Three Hours Step 3: Charge Your Device Step 4: Repeat the Process
How Can You Calibrate Your iPhone’s Battery?
If you’re interested in maintaining your device, it’s a good idea to calibrate your iPhone’s battery. Another term for this is resetting an iPhone battery, and it’s a crucial element of iPhone maintenance. You shouldn’t need to calibrate your iPhone’s battery regularly, but it’s worth a shot if your device is older or you’ve had battery troubles that other fixes haven’t helped.
There are certain preparatory steps you’ll need to follow before you take the first step to calibrate your iPhone’s battery. They are all focused on disabling features and services so that as few tasks as possible consume power during the process.
This makes sure you get an accurate readout later in the process. You may re-enable all of these options after you’ve successfully reset the battery. It’s also worth checking Settings > Battery to make sure you haven’t mistakenly enabled low power mode.
Turn off Location Services
Before you calibrate your iPhone’s battery, follow these steps to turn off location services on your iPhone:
- Launch the Settings app
- Scroll down and select Privacy
- Choose Location Services
- Switch the Location Services toggle to the Off position.
Don’t forget to re-enable location services once you’re done calibrating, because you’ll need them if you ever need to locate a lost iPhone.
Turn off Background Refresh
You’ll also need to disable the background app refresh before you calibrate your iPhone’s battery, so follow the steps below:
- Launch the Settings app
- Select General
- Choose Background App Refresh
- Tap Background App Refresh once more
- Choose Off
Reduce Your Screen’s Brightness
Here’s how to reduce the brightness of your iPhone’s screen:
- Launch the Settings app
- Scroll down and click Display & Brightness
- Slide the Brightness slider to the left.
Disable Automatic Updates
Finally, to disable automatic updates before you calibrate your iPhone’s battery, perform the following three steps:
- Access the Settings app
- Scroll down and tap the App Store option
- Disable the toggle next to App Updates
Steps to Calibrate an iPhone Battery
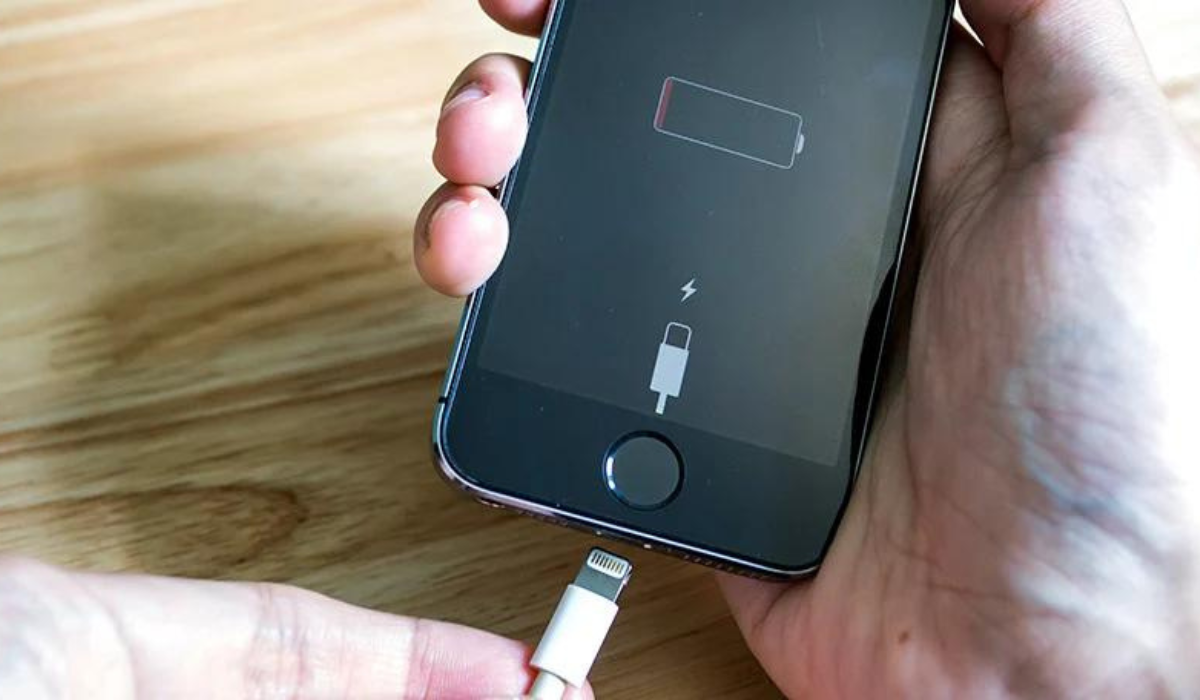
At this point, you’re now ready to calibrate your iPhone’s battery. Be aware that it will take some time, and you will need to wait for a number of complete charge and drain cycles.
Fortunately, no third-party tools or programs are required. Pay no mind to any app in the App Store that claims to help calibrate your iPhone’s battery. At best, such apps are unnecessary and at worst, fraudulent or maybe even malevolent. The iPhone battery calibration process is simple, just follow these steps outlined below.
Step 1: Drain the Battery
The initial step to calibrate your iPhone’s battery is to completely drain it. Do this through regular use; if there’s a series you’ve been planning to binge watch or a game you’ve been longing to play, now is the time to do so.
Step 2: Wait Three Hours
Perhaps you’ve noticed that your iPhone shuts down automatically even if it still has a bit of battery charge left. This procedure is intentional; it gives your phone a chance to store the current state of your apps so you don’t lose data.
So after you’ve drained your battery in the first step, it’s crucial to let the battery’s remaining life get exhausted. The only way to accomplish this is to wait. The longer you wait, the better, but you should wait at least three hours. Allowing your phone to sit overnight without charge is best if you can afford to do this.
Step 3: Charge Your Device
The next step to calibrate your iPhone’s battery is to recharge the device. Follow these tips to achieve peak performance:
- Use a wall outlet rather than a computer to charge.
- Use an official Apple charger whenever possible. At the absolute least, use a reliable Lightning cord rather than a cheap counterfeit.
- Continue to charge for a few hours even if your phone’s battery is completely charged. To guarantee that the calibration works properly, you must squeeze in every last drop of power.
Step 4: Repeat the Process
You must now repeat the entire procedure a second time, completely draining the battery again, then fully recharging your phone. Make sure to follow the exact same steps you took before, making sure to let your phone charge for a couple of hours after it’s full.
Finally, when you’ve completed all the steps to calibrate your iPhone’s battery, you’ll need to re-enable the previously disabled services and functions. Reactivate Location Services , Background Refresh , and Automatic Updates , and also increase the screen brightness.
That’s all there is to it. Your iPhone’s battery has now been re-calibrated successfully.
To conclude, I’m sure the tips I’ve provided in this guide will help you calibrate your iPhone’s battery easily. However, you may want to consider purchasing a new battery for your iPhone if recalibration did not resolve your battery issues. Visit Apple’s Battery Service page to schedule an appointment.
Author:Joan Agie
Add MobilityArena as a preferred source on Google
Have you ever wanted to sneak a picture of something or someone and your camera’s shutter sound ruined your plans of being discreet? If you easily feel embarrassed like me, in such public situations, you can just turn off the camera shutter sound. The same goes for screenshots, those can be just as loud and annoying. Fortunately, it’s pretty easy to turn off camera or screenshot sounds on iPhones.
So if you’ve been wondering how to stop these sounds on your device, sit tight for the tips I’m about to share. This article will teach you how to turn off camera or screenshot sound on iPhones.

How Can You Turn Off Camera or Screenshot Sounds on iPhones?
There are several workarounds for preventing your iPhone from making noise while capturing images or screenshots.
Side note to our readers in Japan or South Korea, I’m sorry but these suggestions may not work for you. The phones marketed in these locations include a hard-coded camera sound that cannot be disabled, so you’ll be unable to capture images of others without the camera sound. Now, to the long-awaited tips…
Use the iPhone Silent Switch
The silent switch on the side of your iPhone is the first port of call when you’re looking for a way to turn off camera or screenshot sounds on iPhones. Every iPhone model features a ring/silent switch on the top left side.
Your iPhone won’t ring for calls or other alerts when it is in silent mode. It will, however, vibrate if the Settings > Sounds & Haptics > Vibrate on Silent slider is activated. So, if you switch to silent mode using this switch, you can also turn off camera or screenshot sounds on iPhones.
Note that Ring mode is activated if the switch is closer to the screen, so your smartphone will play sounds normally. If the switch is in the silent position, you’ll see an orange line under the switch. So, simply flip the switch to the silent position (away from your smartphone’s screen), and you’ll be able to capture as many silent screenshots and pictures as you want.
Enable Live Photos
The iPhone 6s and later models support live photo capture. These “ moving pictures ” include about three seconds of video and sound from both before and after the shot was taken. What’s interesting here is that in Live Photos mode, your iPhone won’t make any shutter sounds. So, you can turn off camera sounds on iPhones by enabling Live Photos .
Simply press the Live Photos icon in the Camera app, which resembles a circle with numerous rings surrounding it, to toggle Live Photos . You’ll see it at the upper-right corner of the screen on most modern iPhones. If there is no slash through the icon, you have activated Live Photos and will not hear a shutter noise.
Sadly, this solution does not turn off the sound effect when taking screenshots. Also note that live photos take up more space on your device and that they may contain audio that you intended to be private.
Manually Lower Your iPhone’s Volume
By manually reducing the volume, you can also turn off camera or screenshot sounds on iPhones. Normally, you can modify this using the volume buttons on the left side of your iPhone. However, if you tap them while using the camera, it will capture a picture instead.
So, simply hit and hold the Volume Down button to turn the volume all the way down or to your desired level of quietness before opening the Camera app. Alternatively, you can use iOS’ Control Center to lower the volume.
To open the Control Center if you’re using an iPhone without a Home button, swipe down from your screen’s top-right corner. If your iPhone model has a Home button, swipe up from the screen’s bottom instead. Afterward, locate the volume slider and drag it down. You’ll be able to easily turn off camera or screenshot sounds on iPhones this way,
Take Picture While Recording Video
The iPhone allows you to take images while also recording videos. Fortunately, pictures you take while recording video make no shutter sound. As such, this is a great way to turn off camera or screenshot sounds on iPhones. Follow these steps:
- Launch the Camera app on your iPhone.
- To start recording, go to video mode and click the Shutter button.
- At the bottom right, you’ll notice a white shutter button.
- To turn off camera or screenshot sounds on iPhones while taking pictures, press the white button.
This is a convenient way to take images without attracting unwanted attention. However, the resolution of the images captured while recording the video will be lower than that of conventional pictures. This is because it’ll largely depend on the video resolution.
Connect Wired or Wireless Headphones
Another option is to use wired or wireless headphones or earbuds with your iPhone. This is a smart way to turn off camera or screenshot sounds on iPhones. When you connect headphones or earbuds to your iPhone, all sounds will be played through the accessory device.
Simply pair your headphones, whether they are Bluetooth-enabled wireless headphones or tethered headphones that connect to your device’s Lightning connector. The camera’s sound will then play within the headphones when you take a picture. No one else will be able to hear the sound if you have earphones in your ears (or even if they are draped around your neck).
But make sure your device’s volume isn’t too loud before taking a screenshot or snapshot; otherwise, you can injure your hearing.
To summarize, it’s easy to turn off camera or screenshot sounds on iPhones through the tips I’ve provided in this guide. Try as many as possible, and I’m sure you’ll find at least one that works great for you.
