Add MobilityArena as a preferred source on Google
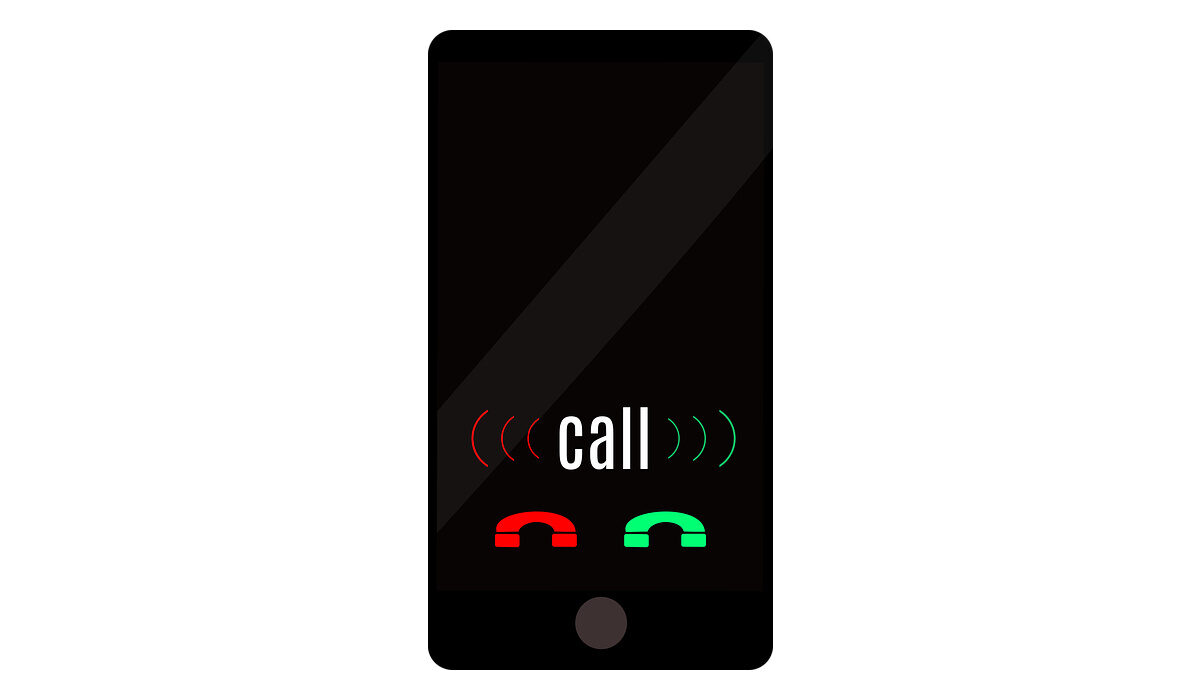
It can be quite an inconvenience when your phone rings for too long or doesn’t ring long enough before going to voicemail. Thankfully, there are some ways by which you can alter the number of times your phone rings to suit your preferences either shorten or extend it.
Typically, your service provider determines how many times your Android phone will ring, and you’ll be mostly unable to alter this setting. However, there are still some workarounds you can use to accomplish this. This guide shows you how to modify the number of times your Android phone rings before forwarding incoming calls to voicemail.
- How do I Change the Number of Rings on My Android Smartphone? Use a Self-Service Code Change your Ringtone
How do I Change the Number of Rings on My Android Smartphone?
There are different ways to achieve this. To set the amount of time the call will ring before transferring, between 5 and 30 seconds, you may occasionally be able to use a self-service code. Contact your provider and ask them to update the code for you if they don’t support the self-service option. You can also choose a different ringtone in your Settings if you don’t care about the duration and simply want to hear shorter or longer ringtones.
Use a Self-Service Code
The following series of instructions will help you change the length or number of rings on your Android phone using a self-service code:
First Step : Launch the Android Phone app. On your home screen, it is normally the phone receiver symbol. The number of seconds it takes for the call to be forwarded to your voicemail can be set, it may not necessarily be the number of rings that you need to alter.
Keep in mind that not every phone provider offers self-service codes. Some networks will be supported by these procedures, and third-party services that use these networks may also be supported.
If this approach doesn’t work for you, contact your provider’s customer support by dialing *611 from your Android device and explaining that you want calls to ring for between 5 and 30 seconds before going to voicemail.
Second Step : Next, you’ll need to enter *#61# and click on the Call button. Your phone should then show a screen with a ton of data, including a phone number, after a short while. This option is not supported by your provider if you see that the code returns an error. The majority of ISPs might however still let you alter the forwarding delay in seconds.
Note the phone number you see on your screen. The voicemail line for your provider can typically be reached at this number. Make sure you write this phone number down accurately since you will need to input it as part of a lengthier code in the next step. For instance, if you’re using T-Mobile, the phone number you’ll see is 18056377243.
Third Step : Enter the service number. Enter the code using the following syntax: 61*voicemailphonenumberseconds#. In the previous stage, you noted down a phone number for voicemail. To define how long should pass before the call is routed to voicemail, substitute “voicemailphonenumber” with that number and “seconds” with 5, 10, 15, 20, 25, or 30.
For instance, you would write 61*1805637724315# if the phone number you jotted down is 18056377243 and you want incoming calls to ring for 15 seconds. Although ringtone durations vary, 10 seconds typically corresponds to 3–4 rings and 30 seconds to 5–6 rings.
Fourth step : Click the Call button. You should see a confirmation message stating that your call forwarding settings have been adjusted, provided you input the right information, and that your mobile service supports it.
Note: You’ll need to dial the code once more, but enter 30 in place of the number you originally entered if you want to reverse this setting in the future (the default).
Change your Ringtone
As we stated earlier, another option you have is to just use a different ringtone, especially if you don’t care much about the duration of the ring and you just want a shorter or longer duration. Follow these steps to do this:
First step : Launch the Settings app on your Android smartphone. Swipe downwards from the top of the home screen and hit the gear icon in the top-right corner to accomplish this.
Although your Android doesn’t have a setting that expressly alters the number of rings, you can choose a longer or shorter ringtone so that you hear more or less sound. However, this will just affect the number of audible rings you’ll hear, not necessarily change the duration of ringing before the call is transferred to voicemail.
Second step : Click on Sound and vibrations or Sounds in Settings . Based on your provider, the option you see will differ.
Third step : Select Phone ringtones or Ringtone on your device. On the menu will be one of these two choices.
Fourth step : Select a ringtone to hear what it’ll look like. Models typically offer different ringtone lengths and settings. Longer ringtones would produce fewer rings because some ringtones play a melody rather than a brief sound.
If you don’t like any of the tones, look online for guides on how to make and download free ringtones to learn how to make your own.
Fifth step : To save your changes, you must press the Save button, if one is present. Some Android models don’t have a Save option because the update happens automatically, such as the majority of Samsung phones.
Summarily , these instructions should help you shorten or extend ring time on your Android device, so make sure to take note of all of them. If you’ve found this article helpful, don’t hesitate to share it with your loved ones.
Author:Joan Agie
Add MobilityArena as a preferred source on Google
There are times when you might just have too many needs for a single phone number to handle. For instance, if you’re traveling for business or pleasure, you might wish to use several carriers. You might also need to be able to keep business and personal life separate at other times.
Only a few iPhone models allow you to utilize two SIM cards at the same time, unlike the countless Android devices that support dual SIM setups. Here’s everything you need to know if you’re thinking about having a dual SIM setup installed on your iPhone.

Dual SIM and Its Advantages
Simply put, a dual SIM setup is a relatively recent functionality that lets you use two distinct SIM cards on a single iPhone. The second SIM is actually a digital eSIM; if you’d want, you can have additional eSIMs. This enables you to switch your phone’s cellular plan from your contract provider.
As soon as you successfully set this up, you’ll have access to two separate phone numbers, which has a few benefits. Below are some of the benefits.
You don’t need to swap SIMs
The first benefit is rather obvious. You can avoid the inconvenience of having to physically switch SIM cards by having access to two SIM cards on the same device. Hand-swapping SIM cards isn’t exactly a fun thing to do, and the tiny SIM cards might even get easily misplaced. Using a dual SIM configuration instead could be a convenient way to save time if you frequently switch between multiple local providers.
Separate your Work from your Personal Life
Another major advantage of separating contacts is that neither private contact information nor the information of business connections or workers ends up in private apps. This is especially true if you have both personal and professional contacts.
Does my iPhone support a Dual SIM Set Up
Since the introduction of iOS 13 in 2018, all iPhones have enabled dual SIM, making dual SIM a supported feature since then. These are the following iPhones in particular:
- The iPhone X series: iPhone XS, iPhone XS Max, iPhone XR
- The iPhone 11 series: iPhone 11, iPhone 11 Pro, iPhone 11 Pro Max
- iPhone SE (2020)
- The iPhone 12 series: iPhone 12 Mini, iPhone 12, iPhone 12 Pro, iPhone 12 Pro Max
How Do I Set up Dual SIM on my iPhone?
Setting up a dual SIM on your iPhone is easy as pie! It’s important to keep in mind that an iPhone can only be connected to one cellular network at once. Only the iPhone 12, iPhone 12 mini, iPhone 12 Pro, or iPhone 12 Pro Max support 5G and dual SIM, which also requires iOS 14.5 or later.
To set it up:
- Scan the QR code your carrier gave to start the eSIM activation process.
- Open the Cellular Plan Detected message once it appears, then select “Add.” A confirmation code may be required of you at this point.
You can also use the app provided by your carrier. To do this:
- Get the related app first by going to the App Store.
- Your carrier may assign you a cellular plan after you have acquired the eSIM plan; all you need to do is install it. Click on the message that says “Carrier Cellular Plan Ready to Be Installed” to begin the installation procedure.
- At the bottom of the screen, click Continue . After entering the necessary data, you ought to be good to go.
Configuring your Dual SIM Setup
Make sure to label each of your plans when you configure your dual SIM. Among the labels available in iOS are “Primary,” “Secondary,” “Personal,” and “Business.” You’ll also have the option to enter a unique label.
Additionally, you should set the default line to use when calling or texting numbers that are not in your contacts. You can choose which phone number to give to each of your contacts separately. Additionally, you can select which mobile plans to use for FaceTime or iMessage from this page. You can select either one or both numbers if you’re using iOS 13 or later devices.
One carrier plan at a time is all that your iPhone can allow for cellular data usage. Follow these steps to change the cellular data plan you’d prefer to use:
- Open Settings and select Cellular Data .
- Click on the cell phone number you intend to use for data.
- You can also turn on “Allow Cellular Data Switching” here. When you have this turned on, your voice-only number automatically converts to using voice and data when you are on a voice call. This enables you to use the call for both voice and data.
Note that cellular data won’t function while you’re on the call if “Allow Cellular Data Switching” is disabled and you’re currently connected to a voice number that isn’t your allocated cellular data number.
When calling or messaging each of your contacts, you can choose which of your mobile plans to use. Of course, your iPhone will remember the number you used once you’ve phoned someone from your contacts.
Just adhere to these instructions to modify the number:
- Click on the contact
- Select Preferred Cellular Plan .
- To use a specific number for that contact, click the number.
If both of your numbers are configured to accept and make calls, you can do so with either of them. You can change the number you’ll be calling from before you make the call.
- Do not press the green phone button after entering the phone number you want to call.
- At the top of the screen, tap the current phone number (or label).
- Afterward, click on the number you prefer to use to make the call.
In summary , although you might not require a dual SIM device right away, you never know when the need might materialize. So, if you ever need to set up a dual SIM on your iPhone, these instructions will guide you to do it properly.
- Don’t miss our mobile phone reviews .
- Follow our news on Google News .
- Join our WhatsApp Group , to be notified of the most important articles and deals,
- Follow us on Instagram , Facebook , Twitter , and YouTube .
