Add MobilityArena as a preferred source on Google
Access to many system services and controls, including Bluetooth, Wi-Fi, device controls, location, and Nearby share, is made quick and simple with Android’s Quick Settings panel.
That’s not all, though — a lot of third-party apps on your device also have Quick Settings alternatives. In this guide, we’ve provided instructions to help you change the Quick Settings panel on your Android phone or tablet. Read on to find out how to add tiles to your phone’s Quick Settings panel, remove the tiles you don’t want, and change the order in which they appear.
- How Can I Change the Quick Settings Panel on my Android Phone?
- Adding Tiles to the Quick Settings Menu on Android
- Removing Tiles from the Quick Settings Menu on Android
- Quick Setting Tile Suggestions for your Android Device
How Can I Change the Quick Settings Panel on my Android Phone?
It’s pretty easy to customize your Android’s Quick Settings panel. To access the Quick Settings panel, swipe down on the home screen of your phone. Swiping downwards from your screen’s top while in an app will also bring up the panel.
There will be four tiles here. As you swipe down one more, the Quick Settings panel with its eight tiles will expand to fill the screen. Swipe horizontally to unlock additional tiles.
For this guide’s instructions, a Pixel smartphone was used. Although it can appear a little differently on your phone, the Quick Settings panel functions in the same manner on all Android phones.
Adding Tiles to the Quick Settings Menu on Android
When customizing the Quick Settings panel on Android, you may be looking to add tiles to it. For some of their features, several third-party programs provide Quick Settings tiles.
Nevertheless, you must manually add these tiles to the panel as they are not included automatically. That’s why it’s great that it’s possible to customize the Quick Settings panel on your Android The tiles can be added, removed, or rearranged to suit your needs rather easily.
To access the entire Quick Settings panel, swipe down twice from the screen’s top. To enter edit mode, tap the pencil icon located beneath the toggles.
A sign that says “ Hold and drag to add tiles ” separates this collection of tiles. The Quick Settings panel already has all of the tiles above this banner available to you, but the ones below it are buried and unreachable from the panel.
When you long-press a tile and drag it from the lower portion to the space above the banner, it will be added to the Quick Settings panel. Long-press any tile and drag it to the desired page or screen area to reposition it on the page.
Removing Tiles from the Quick Settings Menu on Android
There are various tiles included by default in the Quick Settings menu with all Android skins, including that of the Pixel UI. While a lot of these tiles seem to be useful, there are a few that you might only use occasionally, so getting rid of them will help the panel become less cluttered.
Drag a tile from the Quick Settings menu to the area beneath the banner and lift your finger to drop it there if you want to remove it.
After you’re done with the desired changes to customize your Android’s Quick Settings, touch the back arrow in your screen’s top-left corner. This will save every modification you made to the panel and bring you to the Quick Settings panel, where you’ll be able to view it all.
Quick Setting Tile Suggestions for your Android Device
When you’re customizing your Android’s Quick Settings panel, here are some suggestions for useful tiles to include:
Nearby Share
You can wirelessly share documents, apps, videos, links, and more with other Android devices with Nearby Share. It makes faster transferring possible and is simple to use. So, adding it is one great option to customize your Android’s Quick Settings panel
To activate Nearby Share, just turn it on in the Quick Settings box and press the Turn on button. To close the pop-up window, choose one of the visibility choices and click Done .
Extra Dim
Extra Dim helps light-sensitive Android users to reduce the screen brightness even further than normal settings allow.
To reduce strain while using your phone at night, simply customize your Android’s Quick Settings panel by adding it through the instructions provided above.
Other useful tile options include Shazam , One-Handed Mode , Focus Mode , and QR Code Scanner , among others.
In summary , customizing the Quick Settings panel on your Android is pretty useful and easy to accomplish. Just follow our instructions correctly to get it done seamlessly.
Author:Joan Agie
Add MobilityArena as a preferred source on Google
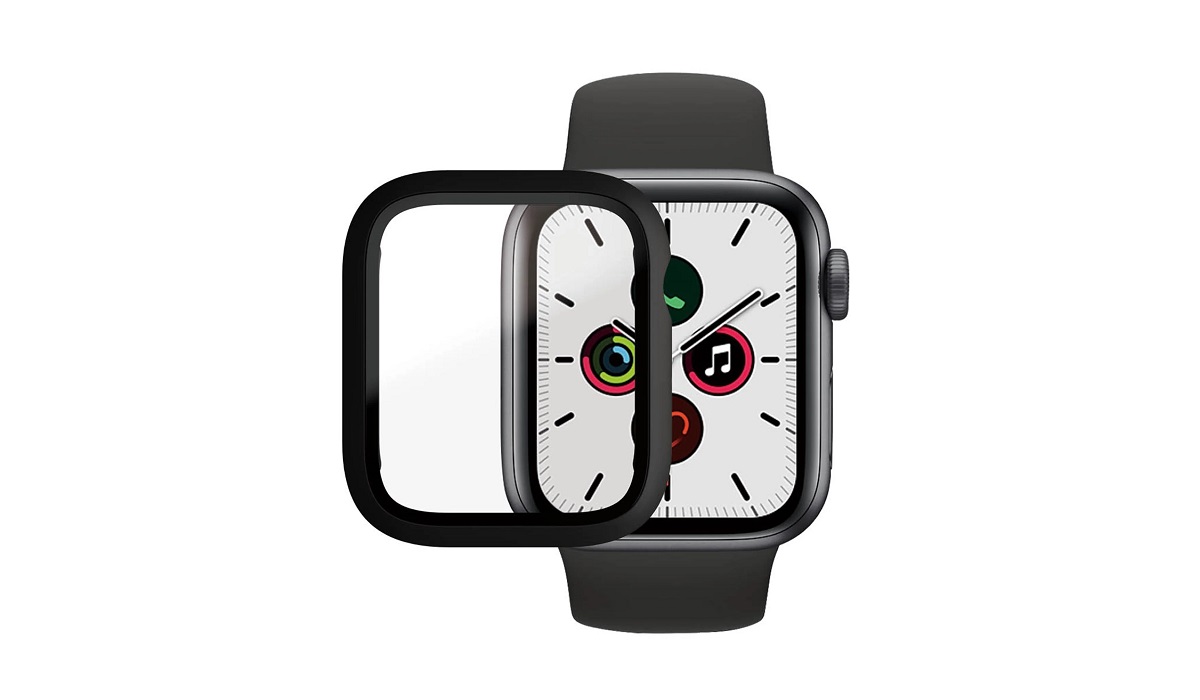
Apple products are well-known for their high quality construction, and the Apple Watch is no exception. The Apple Watch is built to withstand pressure and perform well in harsh environments.
However, because it is a wearable, it is subjected to a variety of harsher environments. Furthermore, the display cover glass protrudes from the main body of the smartwatch, making it susceptible to cracking during normal use. Here’s all you need to know to help you easily fix a cracked Apple Watch’s screen.
- How Can I Fix a Cracked Apple Watch Screen?
- How Much Does a Cracked Apple Watch Screen Cost?
- How to Schedule a Repair Appointment to Fix a Cracked Apple Watch Screen
- Using a Third-Party Repair Provider to Fix Your Cracked Apple Watch Screen
- How to Fix a Cracked Apple Watch Screen by Yourself
How Can I Fix a Cracked Apple Watch Screen?
The first thing you should know is that Apple typically doesn’t fix a cracked Apple Watch screen. Instead, Apple will send you a new or refurbished unit, and parts from the older model will be reused on future refurbished watches.
Secondly, Apple Watch repairs (or replacements) are not performed in retail locations. For any repairs, units are sent to an authorized repair center. Even if you take your smartwatch to an Apple Authorized Service Provider or an Apple Store, it will be mailed to an authorized repair facility. This is true even if Apple is aware that the Apple Watch unit will be replaced.
As a result, the process of fixing an Apple Watch may take longer than repairs for other Apple devices such as iPhones and MacBooks.
How Much Does a Cracked Apple Watch Screen Cost?
Fixing your cracked Apple Watch screen through an authorized service center can be pricey because Apple’s standard warranty terms do not cover display repairs. On the Apple Support page , you can get an estimate for your specific Apple Watch model.
You’re in luck if you have an AppleCare+ warranty , which covers accidental screen damage. To replace your cracked Apple Watch screen, you will only have to pay a service fee of $69 (plus taxes) or $79 for the Apple Watch Ultra, which is far more reasonable.
Again, this screen replacement will almost certainly necessitate the replacement of the entire Apple Watch unit.
How to Schedule a Repair Appointment to Fix a Cracked Apple Watch Screen
You can schedule an appointment to fix your cracked Apple Watch screen at your nearest Apple Store. You won’t have to wait in line at the store this way.
Follow these steps:
● Go to Apple’s Get Support page.
● Choose Apple Watch from the list of issues, then Repairs & Physical Damage .
● Choose Cracked or broken display from the list of topics.
● To view your support options, click Continue .
● You can then contact Apple Support or schedule an appointment at your local Apple Store.
● To finish the process, enter your Apple Watch’s serial number or log in to your Apple ID and select the device.
Using a Third-Party Repair Provider to Fix Your Cracked Apple Watch Screen
You can also choose to fix your cracked Apple Watch screen through a third-party service provider if you wish. Unlike Apple, these third-party repair services will replace only your broken wearable’s display and not the entire unit. Their fees will also be far less than what Apple charges for an out-of-warranty repair.
There is no guarantee that your Apple Watch’s water resistance will remain intact even if you locate a nearby third-party store that can replace the display. Furthermore, the chances of a third-party provider providing an Apple Watch repair that meets Apple’s quality standards are slim.
WARNING: Fixing your cracked Apple Watch through any means other than Apple or an authorized service provider will void your warranty.
How to Fix a Cracked Apple Watch Screen by Yourself
The procedure to fix a cracked Apple Watch screen by yourself varies slightly depending on the model, but it generally consists of the following steps:
● Heat the screen and soften the underlying adhesive with a hairdryer, heat gun, or iOpener tool.
● To cut the adhesive, run a knife along the seam between the screen and the case.
● Pry the screen away from the case with a guitar pick slid along the seam.
● Lift the screen gently so that it hinges on one side.
● Heat the battery adhesive to make it more pliable, then pry the battery out of its slot using a guitar pick.
● Disconnect the battery with a spudger or screwdriver (depending on the model).
● Disconnect the display cables, foil, stickers, and grounding cable with a spudger and/or tweezers.
● Remove the old screen, then install the new screen in the opposite order.
WARNING: If you’re not experienced, it can be difficult to fix a cracked Apple Watch screen by yourself. Also note that there’s the possibility of additional damage, which could void any warranties or insurance policies.
In conclusion , follow our suggestions to fix your cracked Apple Watch’s screen. If you don’t have AppleCare+, look into some third-party repair options before visiting your local Apple Store.
