Add MobilityArena as a preferred source on Google
Even though the majority of Android smartphones available today have good resolution and pixel density, you might occasionally need to modify the resolution of your display for a number of reasons.
Changing the screen resolution of an Android device is easy to accomplish, you only need to be equipped with the right instructions. This is why we’ve put this guide together, so you can get it done easily.
Why should I change the Resolution on my Android Screen?
Technically speaking, screen resolution refers to how many pixels your screen can display both horizontally and vertically. For instance, a screen with a resolution of 1080 by 1920 can display 1080 pixels horizontally and 1920 pixels vertically.
Changing the resolution on your Android device may be done for a number of reasons, but the most popular one is gaming. Sometimes you might want to play a game, but your processor is being overworked during the process, thus making the game lag. As such, to lessen the strain on your processor and improve the performance of your game on your smartphone, you could lower the resolution or pixel density of your display.
Additionally, since the display uses the majority of your device’s battery, it has been discovered that lowering resolution or pixel density may also extend battery life.
Fortunately, changing the resolution or pixel density on an Android device is really simple. In the next sections of this guide, we’ve given you the instructions to accomplish this.
Changing your Android’s Screen Resolution
There are different methods to alter the screen resolution on your Android device.
Use the Display Settings Menu
- Open the settings app on your Android device. It is represented by the gear-shaped icon. To access the Settings menu, tap the symbol on your home screen or Apps menu. Alternatively, you can swipe down from the top of your screen and hit the gear icon when a drop-down option appears. Not all Android phones will allow you to adjust your screen resolution in the Settings section, so keep that in mind.
- Tap Display next. In the Settings menu, it’s next to a symbol that looks like the sun. In order to find the Display options if you don’t see them in your Settings menu, hit the icon that looks like a magnifying glass in the top-right corner and type “Display” into the search field.
- Select Screen Resolution , you see it located in the center of the Display menu.
- Click on HD , FHD , or WQHD . HD has a resolution of around 1280 x 720 pixels. At 1920 x 1080 pixels, FHD is a mid-range resolution. With a screen resolution of 2560 x 1440, WQHD is the highest available. Depending on the brand and type of your phone or tablet, resolutions may vary, but just remember that increased resolution equates to more pixels.
- Click Apply . You’ll see your changed screen resolution settings now in effect.
This method is straightforward and easy, and should help you change your screen resolution with ease.
Change Pixel Density with Developer Mode
Another option you can explore is to change the pixel density on your device. You’ll alter the number of pixels per inch this way, so words, text, and icon sizes may change as a result, thus changing your screen’s outlook.
Also bear in mind that not all Android phone models may have the ability to access developer options or modify the pixel density, so ensure to follow instructions based on your phone’s capabilities.
To change the pixel density in developer mode:
- Open the Settings app on your Android. Alternatively, you can swipe down from the screen’s top and hit the gear icon when a drop-down option appears.
- Tap About phone after scrolling down. This will typically be located at the very bottom of the Settings menu.
- To find the “Build number” heading, scroll down. The “About phone” menu’s bottom is where you’ll find it. If you don’t see this choice, tap the icon in the upper-right corner that resembles a magnifying glass. Type “Build Number” into the search box.
- When you find Build Number , tap on it seven times. This action will unlock the Developer options menu. To alter the pixel density on your Android, use the Developer option . Once developer mode is activated, a notification stating “You are now a developer!” should appear.
- Click “Back” once. This action will return you to the Settings page.
- Next, select Developer options; you’ll see this at the bottom of the phone, close to the About phone option. You might need to scroll down or upwards on some Android phones to locate the option.
- Tap the Minimum Width or Smallest width as you scroll down on the page. It may take a while to find this option since you’ll need to scroll down a lot on the Developer Options page, almost to the bottom.
- At this point, you should enter a new width. Type in your preferred pixel density in the pop-up window’s text field. Note that DPI on Android devices can range from 120 to 640. (this range may vary from one smartphone model to another). The size of the text, icons, and other elements on the screen will typically decrease as the number increases.
- At the pop-up window’s bottom, tap OK . The pixel density of your Android should change at this point.
Without knowing what you are doing, tinkering with developer options might have negative effects on your phone’s performance and lead to other problems. Before tampering with developer options on your Android phone, it is advised that you make a backup in case you need to reset the device.
Summarily , if you’re able to navigate the methods we’ve described above to change your phone’s screen resolution, you’ll love the effects on your phone’s performance, especially when gaming. Otherwise, make sure to speak to a trusted professional to help you get it done.
We encourage you to recommend this article to your loved ones so they can also benefit from it.
- Don’t miss our mobile phone reviews .
- Follow our news on Google News .
- Join our WhatsApp Group , to be notified of the most important articles and deals,
- Follow us on Instagram , Facebook , Twitter , and YouTube .
Author:Joan Agie
Add MobilityArena as a preferred source on Google
Buying your iPhone 12 Pro Max unlocked means that you can use it with different carriers. Owning an unlocked iPhone is liberating. If you buy an iPhone from a carrier, with monthly payments, chances are it is locked to that carrier’s network and will not work with a SIM card from another carrier, without you unlocking it first. So, where can you look to buy one? We provide some below.
Beware that some of these platforms sell both locked and unlocked iPhones, so make sure you see the term “unlocked” next to the iPhone 12 Pro Max, or whatever iPhone you want to purchase before going ahead to order it. Otherwise, you are going to end up with a locked smartphone. That would not be nice. If you are looking to buy an unlocked iPhone 12 Pro Max, here are some places/websites you can get it from.
- Where to buy iPhone 12 Pro Max unlocked
- Buying iPhone 12 Pro Max unlocked in the UK, Germany, Australia, and other countries
Where to buy iPhone 12 Pro Max unlocked
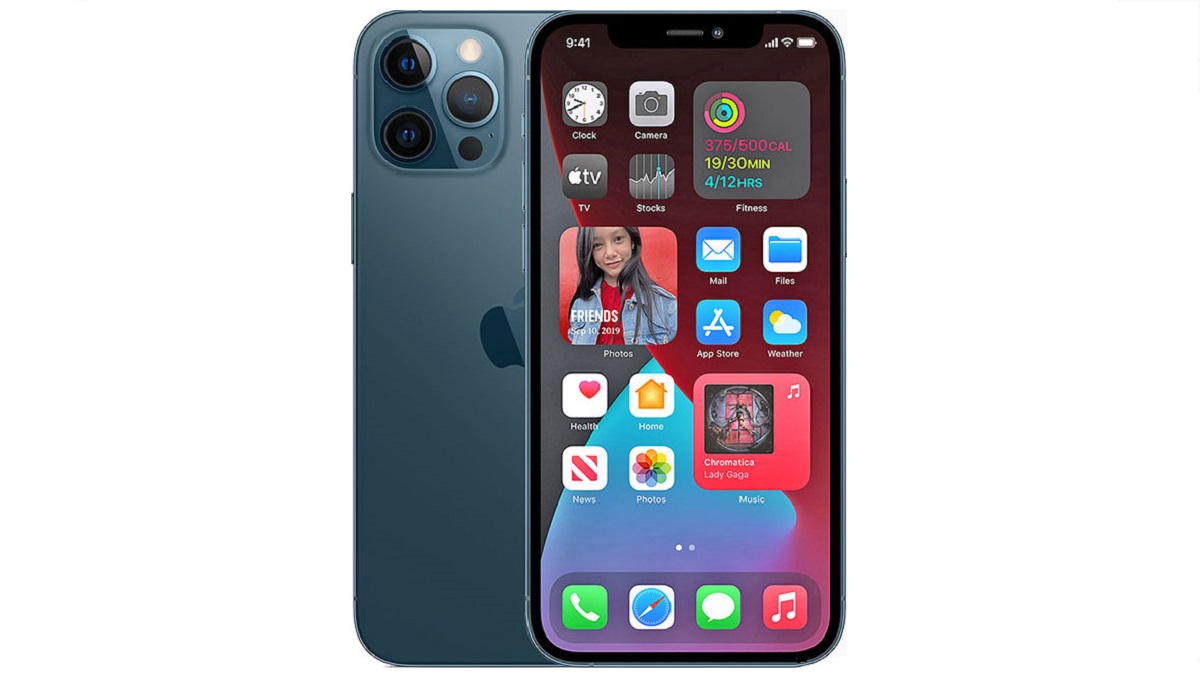
Apple iPhone 12 Pro Max is not so widely available anymore, but you will be able to pick one up from a number of places. Here are a number of places you can buy the iPhone 12 Pro Max unlocked and use it freely across carrier networks.
- Apple iPhone 12 Pro Max: 128 GB Pacific Blue – Fully Unlocked (Renewed) – $819.99
- Apple iPhone 12 Pro Max: 256 GB, Pacific Blue – Unlocked (Renewed Premium) – $999.00
eBay : eBay has a lot of relatively cheap prices for unlocked iPhone 12 Pro Max smartphones. They are available in lots of different colors too. Here are some of the options.
- Apple iPhone 12 Pro Max unlocked: 128 GB/ 256 GB/ 512 GB. Available in Silver, Graphite, Gold, and Blue – $767.18
- Apple iPhone 12 Pro Max (unlocked): 512 GB, Gold – $736
- Apple iPhone 12 Pro Max (unlocked): 256 GB, Gold – $660.
- Apple iPhone 12 Pro Max (unlocked): 256 GB, Graphite – $750.
Apple : Apple, themselves, have refurbished Apple iPhone 12 Pro Max (unlocked) on sale, down from about $999 to $849, so you can pick one up from them.
Walmart : There is a lot of variety to pick from on Walmart’s site. It ranges from relatively low prices to standard prices. Take a look at options for iPhone 12 Pro Max unlocked below.
- Apple iPhone 12 Pro Max (factory unlocked): 128 GB/ 256 GB/ 512 GB, available in Blue and Gold – $859.99 – $979.99.
- Apple iPhone 12 Pro Max (unlocked): 128 GB, Graphite – $770.
- Open Box Apple iPhone 12 Pro Max (factory unlocked): 128 GB/256 GB/ 512 GB, all colors available – $799.99 – $1,029.99.
- Apple iPhone 12 Pro Max (unlocked): 128 GB, Graphite – $800.
Gazelle : Gazelle is a certified platform that you can use to purchase unlocked iPhones, including the iPhone 12 Pro Max. Here is what they currently have available: Apple iPhone 12 Pro Max (unlocked): 128 GB/ 256 GB/ 512 GB. Available in Graphite, Silver, and Pacific Blue – from $739.99 – $819.99.
BackMarket : BackMarket has the iPhone 12 Pro Max unlocked available for grabs in different qualities. The quality grades include fair, good, and excellent. You are going to need to pay a couple more dollars if you pick a better quality.
- Apple iPhone 12 Pro Max (unlocked): 128 GB/ 256 GB/ 512 GB. Available in Gold, Graphite, Silver, and Pacific Blue – from $749.99 – $1,121.65.
- Apple iPhone 12 Pro Max (unlocked): 128 GB/ 256 GB/ 512 GB. Available in Pacific Blue- $696 – $971
Buying iPhone 12 Pro Max unlocked in the UK, Germany, Australia, and other countries
Lastly, do not forget that if you are unable to buy from Apple directly, above and beyond any information we have provided on this page, it is important to ask the retail store if they have the iPhone 12 Pro Max unlocked. It never hurts to ask direct questions. Also ask if the phone will be locked to the carrier it is activated on, or it is universally unlocked and can be used anywhere. Happy shopping.
Author:Flamez
Flamez loves basketball, art, gadgets and cars.
