Add MobilityArena as a preferred source on Google
Did you know that you do not have to be a software developer for you to create your own mobile app? Well, there are different options available today, from using an application builder to hiring a software developer to do the work for you.
Building a mobile application is one of the best ways for businesses that want to improve customer engagement and increase their sources of revenue. Mobile apps come with improved user experience (UX) that increase the time users spend engaging with your business.
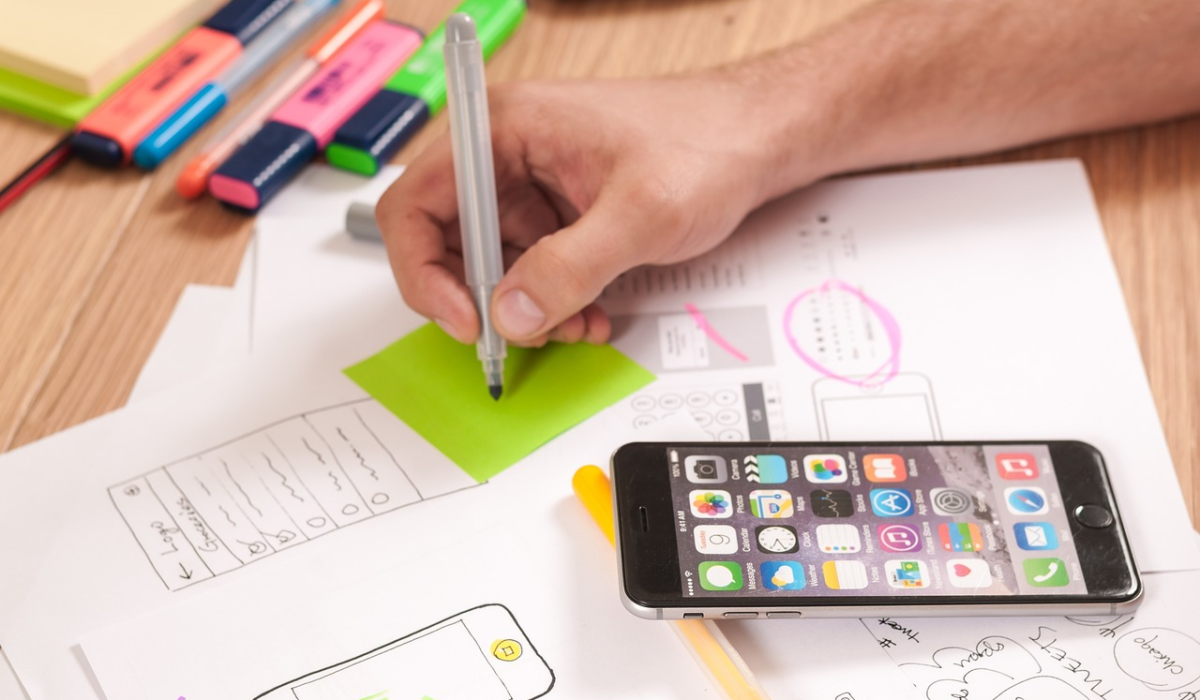
The good news is that you do not need much experience for you to create your own mobile app. Technology advancement has given birth to hundreds if not thousands of tools and resources to help you build an app that meets your requirements.
Even if you hire someone else to do the job for you, you can still contribute to the process to ensure that the final product meets all your requirements.
Here are a few things to do to create your own mobile app even if you do not have much experience;
Research
Creating a mobile app is not a small project, and just like other projects, you need to do a lot of research before you can start building your app . There are many things you need to consider at this stage, with some of them being your goals for the app.
You also need to choose the mobile platform you are going to use, check the options you have when it comes to monetization, and see what the market has in store for you. In addition, your competition is going to play a role in how successful your mobile app is going to be.
You should find out if there are similar apps in the market, the features that they have, and what you can do to make your app stand out from the rest. You also need to understand your target audience and what they are looking for in similar apps. Make sure that you will give people a reason to download and use your app.
Design the App
After doing research and getting answers to all the questions you might have, you now have an idea of the kind of app you need and what it should do. You also know the right mobile platform(s) to use and who your target audience is.
You now need to start designing your app. This is the stage that determines the look and feel of your app. You will also need to come up with the flow of the app, from one page to another. This stage is one of the most important stages and will determine the success of the actual development stage.
The first thing you need to do when designing the app is to come up with a sketch. This is important in helping you note the main features of the app. It also helps you understand how the interface of the app will look and whether it will meet your requirements or not.
After that, you can start creating wireframes and storyboarding your app. These are some of the most important things to consider before building your app. You do not have to worry about how to do this since you can get tools online to aid with these processes.
Specify Your Requirements
After designing your mobile app, you need to specify your app’s requirements before the actual creation of the app starts. When doing this, you should come up with a list of problems that you are trying to solve.
One of the best ways of doing this is through the creation of user stories. This means that you create personas for your target audience. For instance, you can assume that you are a customer and then describe everything that such a customer can do through the app.
When doing this, make sure that you have focused on the problem instead of the solution. In addition, keep a close eye on what your app users want or need instead of what they can do with the app.
After that, ensure that everything is detailed and put in a document. You can get documentation templates online, but make sure that your documentation is unique . Your app needs to be different from others.
Keep Track of Your Mobile App’s Assets
This is something you need to do from the time you start doing research. The organization of your mobile app’s assets is very crucial when it comes to the success of the final product. You will need to collect data, and track progress, issues, and other assets throughout the lifecycle of your app.
Your app’s lifecycle starts from the research phase discussed above, meaning that you need to have an IT asset tracker even before you start doing any research. With such a tracker, you will be able to keep your data in a centralized location for easier access.
In addition, you will easily track the development progress, increase accountability, improve management and budgeting, and ensure that your mobile app does what it is supposed to do. This is an important tool for the creation of your mobile app.
Start the Actual Development
There are several options for you to choose from when it comes to the actual development of your app. All these options revolve around the kind of app you want and the budget you have set aside for the app.
If you are looking for a custom app, you can hire a freelance developer or a development company to do the work for you. However, it is important to note that this might be an expensive option, especially for those with a limited budget. If you choose this option, make sure that you are involved throughout the entire process.
The other option is through application builders. This is the best option for those without much experience. It is also suitable for those who have limited budgets. Using these builders, you can build your app from templates, observing all the planning discussed above.
Test Your Mobile App
This is one of the most important things to do when creating your mobile app. Testing should not even start when the development of your app is completed. You should start testing your app immediately after development starts.
This way, you can test different modules, making sure that they all do what they are supposed to do. Testing can also help improve your app’s user experience . This is important in helping you avoid major incidents that can bring your app down after it is launched.
Finally, you can launch your app. Make sure that it meets all regulations set on different app stores and then invite customers to download and use the app. You need to provide your users with ways of leaving feedback to see what you can improve and what you can get rid of. That way, you will easily create your own mobile app even if you do not have much experience.
- Don’t miss our mobile phone reviews .
- Follow our news on Google News .
- Join our WhatsApp Group , to be notified of the most important articles and deals,
- Follow us on Instagram , Facebook , Twitter , and YouTube .
Author:Content Partner
Add MobilityArena as a preferred source on Google
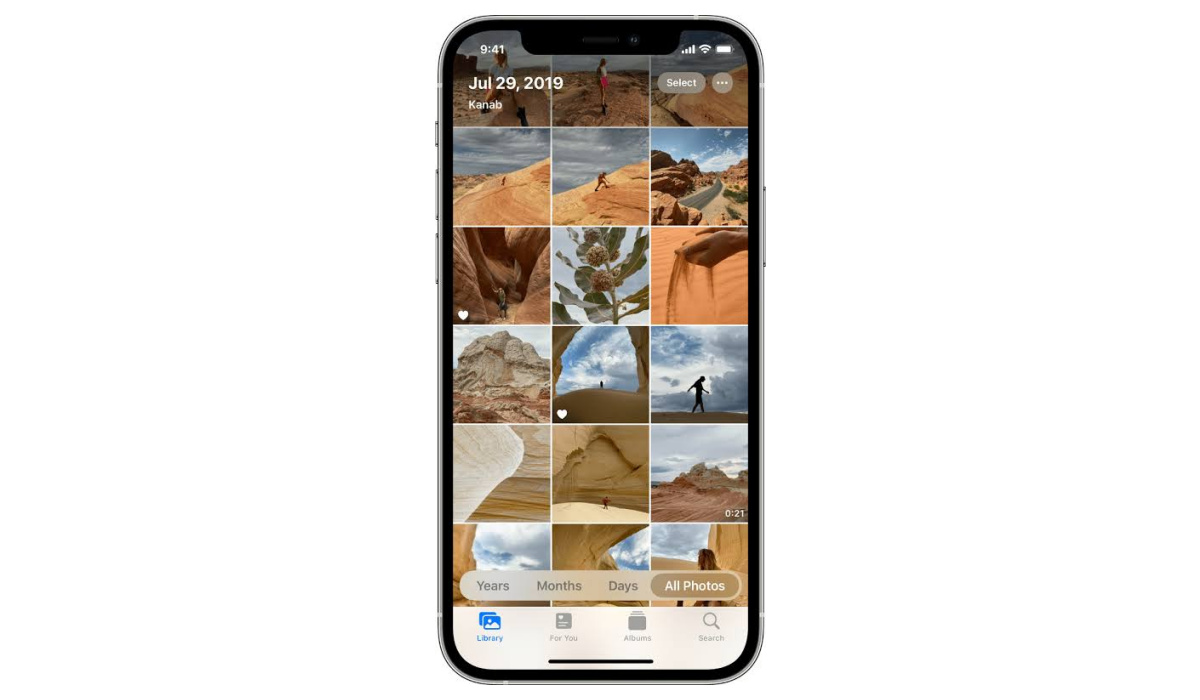
When it comes to taking quality pictures, smartphones can easily serve that purpose, in recent times. Of course, they can’t outperform actual cameras. Anyone can easily take out their iPhone and take a selfie or picture and have easy access to it in their hands. But how about if you had pictures on your PC that you would like to have easy access to in your hands, on your iPhone for whatever reason? We are going to look at how to do exactly that today.
I am sure you remember that Apple’s iPhones do not have the ability to send or receive files over Bluetooth. As such, 3rd party solutions are where to find help and add in the functionality. There are multiple ways to transfer photos from your PC to your iPhone, and we explode them, above and below.
There are a few ways you can transfer pictures to your iPhone from your PC with. They include: iCloud, iTunes, OneDrive, and AnyTrans.
How to transfer photos from your PC to your iPhone using iCloud
With iCloud, you can transfer photos wirelessly from your PC to your iPhone. By setting up both devices to sync with the same iCloud account, your pictures will automatically transfer back and forth. Follow these steps to learn how to transfer photos.
•Download “Cloud for Windows” on your PC
•Log into your account when you open Cloud for windows.
•Select the checkbox next to “photos”.
•Tap on ” apply”
•Open a file.
•look for favorites on the left sidebar, and click iCloud photos.
•Copy the photos to the Upload folder.
When you’re done setting up Cloud on your PC, turn iCloud photos on your iPhone.
•Go to the Settings app
•Tap on your name, then on iCloud, and finally on “Photos”.
•Turn in iCloud photos.
The pictures will first be uploaded to iCloud and then to your iPhone. When the transfer is done, you will have the photos on your iPhone at your disposal.
How to transfer photos from your PC to an iPhone with iTunes
•Open your iTunes.
•Tap I’m the iPhone icon in the top-left of the iTunes window.
•Select photos from the sidebar.
•Opt to check the box to Sync photos.
•Pick either ” Pictures” or choose a folder in the drop-down menu.
•Choose the option that will allow you to sync all or only selected folders.
•Tap “apply” in the bottom-right corner.
Note that syncing your photos this way will overwrite the saved photo library on your iPhone. There wouldn’t be a problem if you only wanted to transfer from one PC but it does become one when you want to transfer/copy from multiple.
Transfer photos to your iPhone with OneDrive
Another way to access old photos from your PC on your iPhone is to use OneDrive. With Microsoft’s OneDrive you get 5Gb of storage space for free. It requires you to install the official OneDrive app on both your computer and iPhone to be able to transfer photos to the said iPhone. Drag the desired files or entire albums to the program window and after a few seconds, you will see the images on the iPhone in the OneDrive app.
When photos are transferred, they are moved to the original quality along with the date they were created/acquired. You can also choose to sort the photos automatically by tags.
Note: The photos will not be accessible on the Photos app. It will, instead, be placed on the OneDrive app, which you must have already installed on your iPhone beforehand. The OneDrive app does not provide built-in image editing, nor support for HEIC photos. if you place HEIC images in OneDrive, you won’t be able to view them or copy them to the Photos app.
How to transfer photos from your PC to your iPhone using AnyTrans
If you have just a select few of the photos you want to transfer from your PC and don’t want to necessarily sync the entire photo library on your PC, AnyTrans is the app to use. AnyTrans lets you move over select files and won’t erase the existing pictures on your iPhone. When you have AnyTrans downloaded and installed on your computer:
- Connect your iPhone to your PC using a USB cable.
- Open AnyTrans.
- Click Device Manager in the sidebar.
- In the middle of the window, click the iPhone screen.
- Navigate to the photos on your computer.
- Select the pictures you want to transfer and click open.
- Unlike OneDrive, you will be able to access your pictures in the photos app, when the transfer is finished.
These are the different ways to transfer photos from your PC to your iPhone. When next you want to send photos from your PC to your iPhone, give these tips a try.
- Don’t miss our mobile phone reviews .
- Follow our news on Google News .
- Join our WhatsApp Group , to be notified of the most important articles and deals,
- Follow us on Instagram , Facebook , Twitter , and YouTube .
Author:Flamez
Flamez loves basketball, art, gadgets and cars.
