Add MobilityArena as a preferred source on Google
If you’re struggling with pre-installed apps on your Android phone, this guide is for you. I know how frustrating it can be to have apps that you don’t use taking up valuable space on your phone and cluttering your home screen. But don’t worry, deleting these apps is easier than you might think.
In this article, I’ll show you how to delete pre-installed apps on Android and free up space on your phone. I’ll also explain how to disable any default apps that can’t be uninstalled to reduce how they consume useful resources on your Android device.
- How can I Delete Pre-installed Apps on Android? Delete Preinstalled Apps on Android via Settings Uninstall Preinstalled Apps On Android Using Google Play Store How to Disable Pre-Installed Apps on Android How to Remove Preinstalled App Data from Android Phones Completely
How can I Delete Pre-installed Apps on Android?
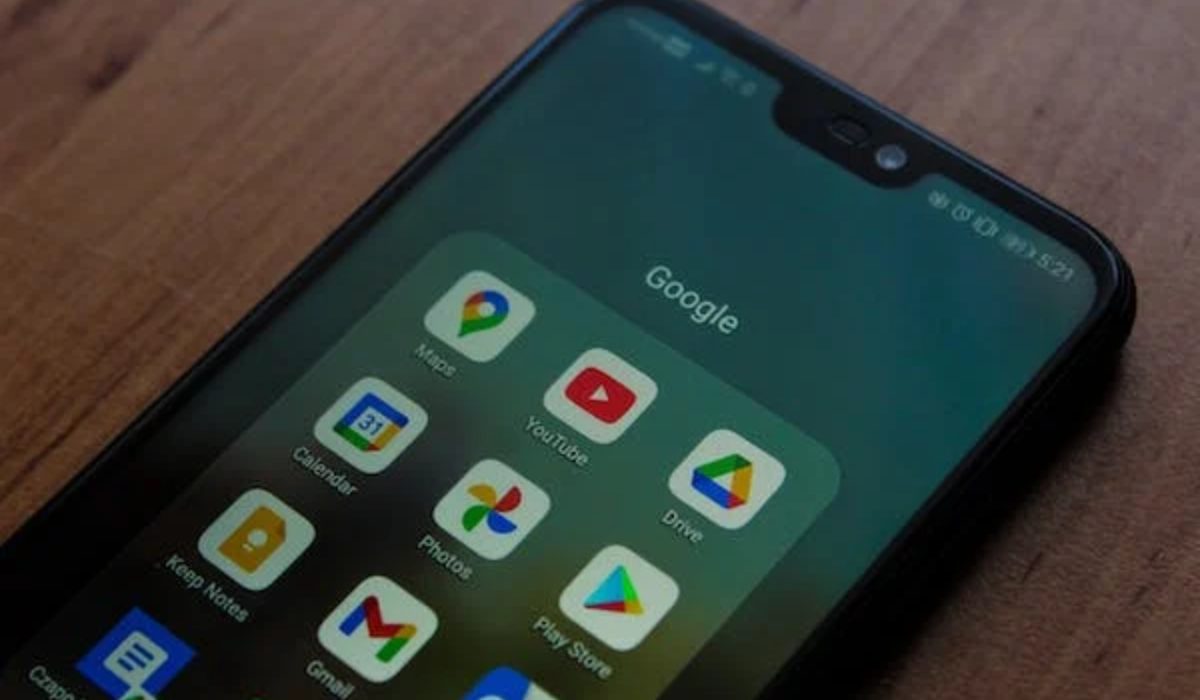
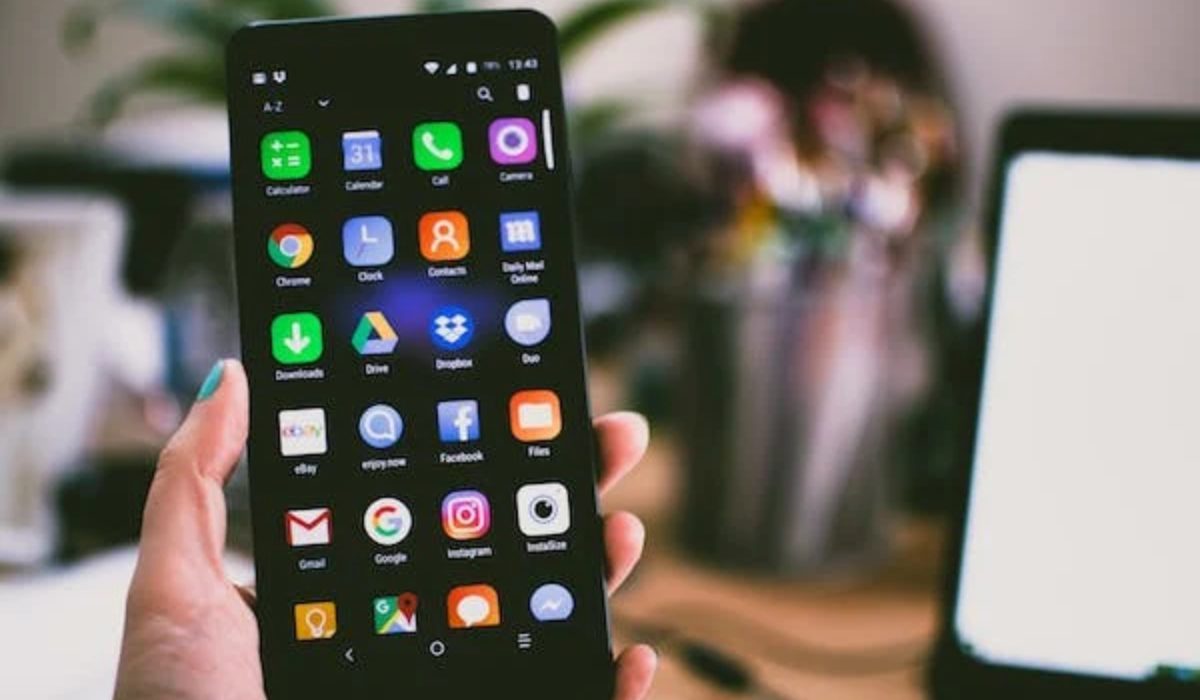
All Android phones come with pre-installed apps that take up storage space without the user’s permission, and not all users are fine with it. So, if you want to know how to delete pre-installed apps on Android, try out any of the methods I’ve described below to uninstall and disable any pre-installed apps on your Android phone.
Delete Preinstalled Apps on Android via Settings
As I mentioned before, the preinstalled apps on Android devices are not all useful. Still, these apps use up memory, processing power, and battery life. Thankfully, you can delete them from Android phones via the Settings app. Below are useful instructions to delete pre-installed apps from an Android device through its Settings app:
- Launch the Settings application.
- From there, navigate to the General tab and choose Apps & Notifications .
- Then select the pre-installed application that you wish to remove.
- Then click on the Uninstall button, and you will be prompted to confirm the uninstallation.
- Tap OK to finalize the process.
If the button is grayed out, it means that the app is a system app and cannot be uninstalled. However, you can still disable it to free up space. I’ll go into more details later in this guide on how you can disable pre-installed apps on your Android phone.
Uninstall Preinstalled Apps On Android Using Google Play Store
You can also try to uninstall Android’s built-in apps through Google Play Store if you’re unable to do so using the Settings app. Follow these steps to get rid of pre-installed apps on Android through the Google Play Store:
- On your Android smartphone, launch the Google Play Store .
- Next, navigate to the profile icon in the top-right corner of the screen.
- Click on the Manage apps and device from the drop-down menu.
- Navigate to the Manage menu.
- Select all of the pre-installed apps you want to delete from your phone, then hit the Dustbin icon in the top right corner of the screen to uninstall them.
- Click on Uninstall .
Keep in mind that uninstalling certain apps may cause other apps on your phone to stop working properly. So make sure to confirm the right choices correctly before going through with the uninstallation process.
How to Disable Pre-Installed Apps on Android
While many apps on Android can be uninstalled, there are some system apps that come pre-installed on the device and cannot be removed. Doing so may negatively impact your phone’s performance.
That being said, some of these system apps are not necessary and can be disabled if you can’t remove them entirely. Disabling these apps won’t affect your phone’s performance and can help reduce processor usage and battery drain. To disable unwanted system apps on your Android device, follow these steps:
- Open the Settings app on your phone.
- Tap on the Apps & Notification option.
- Choose the app you want to disable and tap on it.
- Click on App permissions , then disable all permissions.
- Click on the Disable or Force Stop button. A warning will appear that disabling the app may affect other apps’ function. Press OK to confirm.
Although it is unlikely that disabling an unused app will impact your daily phone usage, it is not entirely impossible. Take note of this while disabling apps so you don’t disable useful functions at the same time.
How to Remove Preinstalled App Data from Android Phones Completely
Sometimes, pre-installed apps may leave data on your Android device that continues to consume resources even after disabling or removing them. In such cases, it’s recommended to remove the app data entirely.
To do this, you can use the Android Data Eraser tool . As privacy and security are major concerns with Android devices, it’s best to erase the app data completely so that it can’t be accessed by unauthorized parties. Using a data-erasing tool is the best way to ensure this.
The Android Data Eraser tool is designed to help you permanently delete various types of data. It’s a powerful tool that ensures data is erased permanently from Android devices. Additionally, this tool is compatible with most Android phones and OS versions.
Here are the steps to use the Android Data Eraser tool to remove preinstalled app data completely from your Android phone:
- Download and install the Android Data Eraser tool on your computer.
- Connect your Android phone to the computer using a USB cable.
- Launch the tool and select the “ Erase Private Data ” option.
- The tool will scan your phone and show you all the data types that can be erased, including preinstalled app data.
- Select the preinstalled app data you want to erase and click on the “ Erase Now ” button.
- Wait for the tool to complete the erasing process.
- Once the process is complete, the preinstalled app data will be permanently deleted from your Android phone.
To summarize, deleting or disabling pre-installed apps on Android can help you free up valuable storage space and reduce clutter on your device. While not all pre-installed apps can be deleted, most can be disabled so that they no longer take up space or use resources.
By following the simple steps outlined above, you can easily delete or disable pre-installed apps on your Android device. In need of more useful Android tips? You’ll love this category .
Author:Joan Agie
Add MobilityArena as a preferred source on Google
HMD Global, the Finnish company that owns the Nokia brand, has announced its latest Android smartphone, the Nokia G42 . The device is positioned as an affordable mid-range phone with a large display and a long-lasting battery. But that is only a tip of the iceberg.
What is really outstanding about the phone is the partnership with iFixit to have them provide parts for the G42 for the next five years, so owners can order specified replacement parts and fix them at home all by themselves at home. This is made possible because the G42 was designed to be easily repaired. Of course, repair instructions are provided to users. There is also a three-year warranty on the phone in the U.K. from HMD Global.
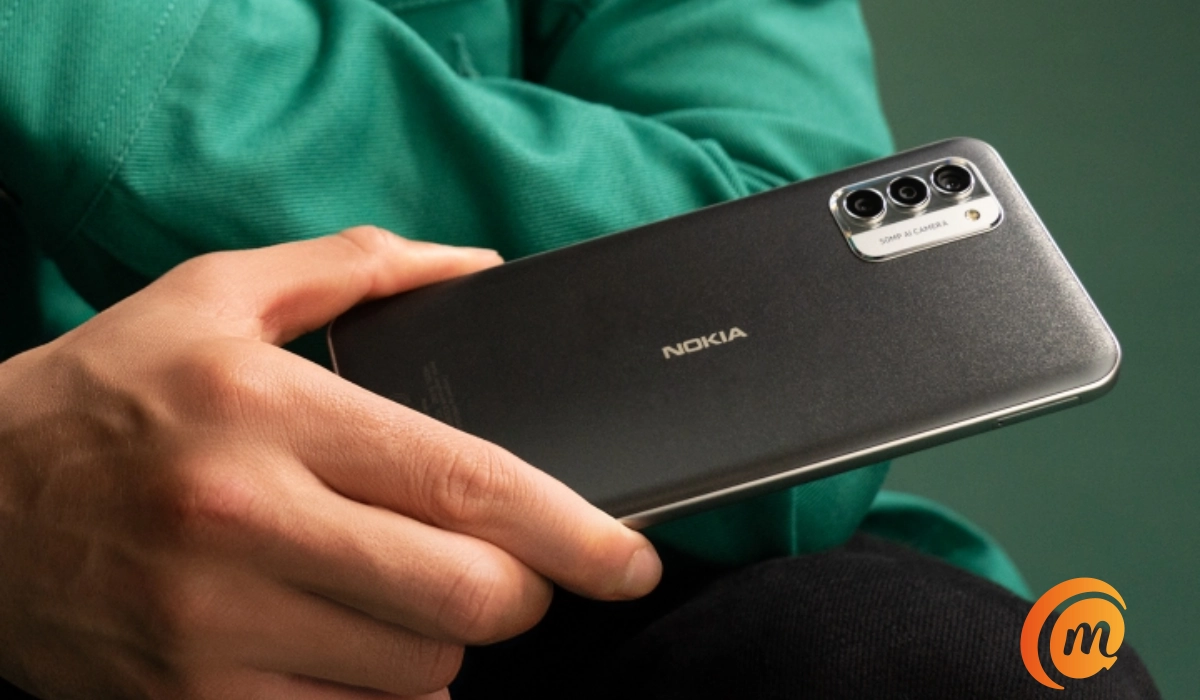
Nokia G42 is official, and you can fix it at home.
What things can you fix by yourself?
- A cracked screen,
- A dead battery,
- A broken USB Type-C charging port,
- A damaged rear cover.
You can repair any of the above parts of the G42 by yourself without taking the phone to a service center. Simply order the replacement parts from iFixit and follow the simple instructions to fit them at home. For any other faults, you will have to make that, hopefully, short trip.
Other features
The Nokia G42 features a 6.56-inch HD+ display with a waterdrop-style notch for the front-facing camera. The display is protected by Gorilla Glass. Under the hood is a Qualcomm Snapdragon 480+ 5G processor, which is paired with options of 6GB and 8GB of RAM and 128GB or 256GB of internal storage. The phone also has a microSD card slot for expandable storage.
HMD Global designed and built the Nokia G42 so you can fix it yourself
One of the key features of the Nokia G42 is its large 5,000mAh battery, which the company claims can last up to three days on a single charge and retain 80% capacity after 4 years of daily charging. The device also supports 20W charging via a USB-C port.
On the back of the Nokia G42, there is a triple-camera setup, which includes a 50-megapixel main camera, a 2-megapixel depth sensor, and a 2-megapixel macro lens. The front-facing camera is a 8-megapixel sensor.
2 Years software update & 3 years security updates
The Nokia G42 runs on Android 13 out of the box, with the promise of two years of software updates and three years of security updates. The device also comes with a dedicated Google Assistant button and a fingerprint sensor in the power button on its side.
Availability
The Nokia G42 is available from June 28, 2023, with a starting price of €199 in the United Kingdom (UK) and €250 in the European Union (EU) (approximately $252). The device comes in two colors: Purple and Grey. Check out the full specs of the Nokia G42 .
Author:MobileChic
That motivated, gadget-loving geeky chic who tries to stay on top of things. Unapologetic iFan.
