Add MobilityArena as a preferred source on Google
This probably happens to you a lot: you have a lovely Android phone that functions flawlessly, but you keep unintentionally activating the built-in voice assistant. The Google Assistant tool can surely be helpful in many situations, but it can also quickly become incredibly aggravating when it offers assistance at unsuitable times.
Perhaps – for instance – you’ve noticed that Google Assistant appears when you use a particular term in conversation or when someone speaks in a TV show or commercial. This tool has a tendency to just suddenly appear out of nowhere and interfere with your work or entertainment.
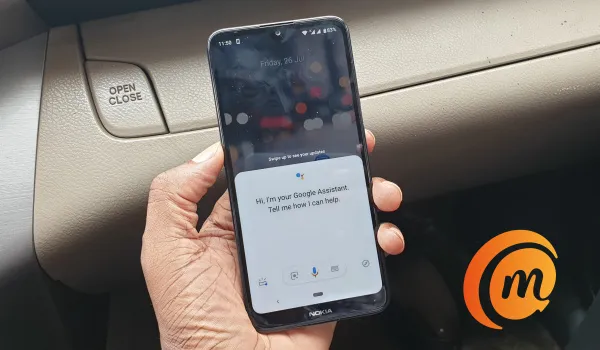
It is pretty easy to disable Google Assistant on your Android phone.
Not to worry, however — it is pretty easy to disable Google Assistant. As always, you just need to be equipped with the right instructions, and that’s exactly why we’re here. In this easy guide, we’ve provided you with the necessary steps to successfully turn off Google Assistant and keep this tool from being a nuisance on your device.
ToDisable Google Assistant Completely
You can always choose to totally disable the Google Assistant if you are convinced that you don’t want it to bother you anymore. Remember that if you decide to, you can activate it once more whenever you like.
There are two methods to use in disabling the Google Assistant tool completely on an Android device. Below are instructions for the first method:
- Launch the Google app on your Android smartphone or tablet.
- The Menu icon (three tiny dots), which is typically found in the bottom-right corner of the screen, should be selected.
- You should then navigate to Settings .
- Go back to the menu and select the Google Assistant option.
- Locate the General option by scrolling down.
- Toggle Google Assistant by tapping the slider adjacent to it. Ensure that it’s set to Off .
- Finally, tap Turn Off to confirm your action.
Follow these instructions and turn the switch back on if you decide to change your mind and want to use the Google Assistant tool once more.
The instructions below are for an alternative method to entirely disable the Google Assistant tool:
- Press and hold the Home button.
- You should tap on the box-shaped icon in the bottom left corner when the Google Assistant appears.
- In the top-right corner, tap the profile symbol to continue.
- Pick General from the drop-down selection that opens.
- Finally, to turn off Google Assistant, press on the slider switch next to it.
No longer will the Google Assistant show up without permission. If you desire to activate it again after changing your mind, follow these instructions again to turn it on.
Disable Google Assistant byTurning Off the Activation Button
When you least expect it, the Google Assistant tool has the annoying habit of intruding. In a similar manner, many individuals tend to unintentionally press the Home button on their smartphones and tablets, and this action frequently activates the Google Assistant tool.
Android smartphones give you the option to turn off Google Assistant”s appearance when you hit the Home button if you don’t want to see or hear it. For those who wish to get rid of the Assistant but are hesitant to entirely turn it off, this is an excellent solution. This is how you do it:
- From your Android device’s Home screen, open the Settings app.
- Navigate to the menu’s Applications section. It could be referred to as Apps on some models.
- Visit the Default apps/Applications section next.
- Open Assistance & voice input after that.
- You’ll need to click on the Assist app tab at this point.
- You will then get a list of the available assistance apps on your Android device. It will typically offer Google and None as choices. Choose None by tapping it.
By following the same steps as with every other approach in this guide, you can return to the default settings. In this instance, you should choose Google as the assistant app rather than None .
Disable Google Assistant By Uninstalling Google Updates
The updates for the Google app can be removed, and the Google app can be reset to its factory settings, which will rid your phone or tablet of the annoying assistant prompts.
Keep in mind that this is the most drastic action you can take in this scenario. It is also important to note that other Google features and services could be impacted. If they were recently added, you might notice a change in their behavior, and some of them might even vanish with the Google Assistant tool.
You can follow the instructions below if you’re positive you don’t want the Assistant anywhere on your phone. Both mobile devices and tablets can use this technique:
- Launch the Settings app once more from the Home screen of your device.
- Visit Applications or Apps next.
- You’ll need to select the Application Manager at this point. Alternatively, you should tap on Apps if there isn’t an Application Manager option.
- The list of all installed apps on your phone or tablet will then appear.
- Now, find Google and tap on it.
- You should press on the three dots icon in the top-right corner of the screen when the Google app’s details page appears.
- Then select Uninstall updates from the menu.
- When Google notifies you that all data will be deleted and that the app will be replaced with the factory version, press OK to confirm your decision.
Your phone or tablet won’t have the Google Assistant tool on it anymore, so it won’t annoy you. The Assistant will, however, return the next time you update the Google app or when your device does so automatically.
In conclusion , although a useful tool, Google Assistant can be quite intrusive so it’s normal if you’ve been looking for a way to disable it. Luckily, the process is easy and we’ve provided instructions to that effect in this article. Make sure to follow the instructions closely to keep Google Assistant from being a nuisance on your Android smartphone and tablets.
- Don’t miss our mobile phone reviews .
- Follow our news on Google News .
- Join our WhatsApp Group , to be notified of the most important articles and deals,
- Follow us on Instagram , Facebook , Twitter , and YouTube .
Author:Joan Agie
Add MobilityArena as a preferred source on Google
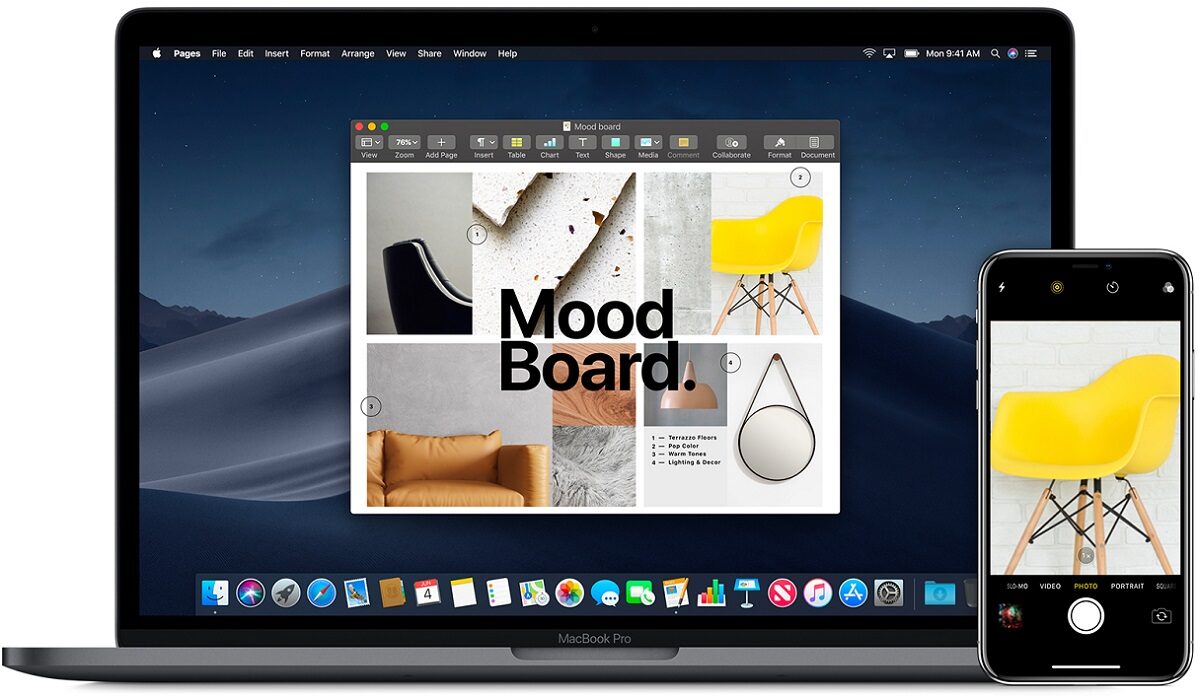
One of the highlights of this year’s Worldwide Developer’s Conference (WWDC) was Apple’s showcase of its latest operating systems for its gadgets. One of the biggest game-changers revealed for those who own both a Mac and an iPhone is the new Continuity Camera.
This is yet another continuity feature that Apple has been incorporating into its environment – the Continuity Camera. In essence, it implies that you may now use your iPhone as a webcam if the webcam on your Mac is terrible and you want to appear your best in video meetings.
This guide is divided into two parts, one to show you all the amazing features that the Continuity camera offers and how you can take advantage of them, and the other to show you how to successfully use the continuity camera feature on your iPhone and Mac devices.
What is the Continuity Camera?
Universal Control and Handoff are two continuity features that seamlessly connect all Apple products. Additionally, the Continuity Camera is currently going one step further.
You can essentially use your iPhone as a webcam on your Mac using the Continuity Camera. Everything about the process is simple. It doesn’t require much time to set up. Bring your iPhone close to your Mac, and it will instantly recognize it as an external webcam. All four of the iPhone’s orientations are compatible with the camera. Additionally, you may use the iPhone’s microphone in addition to the camera.
Features of the Continuity Camera
The best feature of this configuration is that it is entirely wireless, though a USB cable may also be used to connect it. This feature will astound you given the dramatic change in the nature of employment, where the majority of people are still employed or enrolled in school remotely.
The continuity camera also offers additional video effects like Center Stage , Portrait video , and Studio Light . Even when you move around, Center Stage keeps you in the picture. There is no need to introduce Portrait mode ; it retains the attention on you while blurring the background. Studio Light gives you a lovely light effect so you can look your best even in dim lighting conditions.
Not every Mac previously supported all of these effects. For instance, the Portrait mode was exclusive to Macs made on Apple silicon. But now even Intel-mac users may experience it thanks to Continuity Camera. These effects can be used separately or in conjunction with one another.
The Desk View is a highly novel and intriguing effect that is also brought by Continuity Camera. The iPhone’s ultra-wide camera is used by the Workspace View to give you a view of your desk. It creates the appearance of an overhead camera system. Additionally, the camera divides the stream between showing your face and the desk, so you are not forced to choose.
Keep in mind that only iPhone 11 and subsequent models can use Center Stage and Desk View , however iPhone 12 and later can use Studio Light .
How Does the Continuity Camera Work?
The continuity camera will operate quite magically anytime you start an app that uses the camera and your iPhone is in the vicinity. Apps like FaceTime can switch to the iPhone camera automatically because its rear camera is much superior to your Mac’s webcam. It will remember your preferences and choose the camera in accordance with them even if you primarily prefer the Mac camera over the iPhone camera.
However, you can manually switch between the cameras at any time. The iPhone will appear in the list of cameras in video conferencing programs alongside all the other webcams since your Mac will treat the iPhone as an external camera.
The majority of the functionality can be implemented by yourself right away. The continuity camera can already be used in apps like Microsoft Teams, Zoom, Google Meet, Skype, etc. since the Continuity Camera registers the iPhone device as a system-wide webcam. In other words, it can be used in any program that allows you to swap cameras. However, app developers must provide automated camera switching depending on user settings in third-party apps.
Requirements to Use the Continuity Camera
You’ll need the following to be able to use the Continuity Camera successfully:
- First, make sure your Mac is running macOS 13 Ventura and your iPhone is running iOS 16. You will have to wait until the fall of this year to obtain the public release or install beta versions of these two pieces of software because they are both in beta at this point.
- Next, sign in to the same Apple ID using two-factor authentication on both devices.
- The iPhone should be linked to the Mac using a USB cable to establish a wired connection. Furthermore, Bluetooth and Wi-Fi must be turned on on both devices for a wireless connection, and the devices must be close to one another.
- Basic continuous camera features are only available on iPhone XR or subsequent iPhone devices, and as was already noted, other effects vary depending on the device.
- Most importantly, you shouldn’t turn off the Continuity Camera on your iPhone. It shouldn’t be an issue because the feature is turned on by default. However, you must enable it if you have previously disabled it.
Here’s how to reactivate your iPhone’s continuity camera if you disabled it previously. Get your iPhone’s Settings app open. Select “General” from the drop-down menu by scrolling down.
- Navigate to “AirPlay & Handoff” in the General settings.
- Then turn on the “Continuity Camera Webcam” toggle.
- Keep in mind that only the iPhone and not the Mac has the capability to enable or disable the continuity camera.
Summarily , the continuity camera promises a lot of amazing features for iOS and Mac users, and this article means to show you all you stand to gain. In the second part of this guide, you’ll learn how to properly use the continuity camera to get the best out of your meetings.
Make sure to recommend this article to your iOS and Mac-loving friends and family so they can also benefit from all the helpful information in it. In the second part of this guide, we show you the different ways to use iPhone as Mac webcam with Continuity Camera .
- Don’t miss our mobile phone reviews .
- Follow our news on Google News .
- Join our WhatsApp Group , to be notified of the most important articles and deals,
- Follow us on Instagram , Facebook , Twitter , and YouTube .
