Add MobilityArena as a preferred source on Google
Touch screens have altered how we engage with our phones. They are easier to operate, and since they eliminate the need for physical keyboards, screens are now larger and better. Unfortunately, however, touchscreen displays are prone to unintentional touches that degrade user experience.
However, it’s possible to temporarily disable touchscreen input on your smartphone to get around this problem. In this article, I’ll show you how to successfully minimize or disable touchscreen input whether you own an Android or an iPhone.

- How Can You Disable Touchscreen Input on Your Smartphone? How to Disable Touchscreen Input on iPhone Disable Touchscreen Input on Android Use a Third-Party App to Disable Touchscreen Input Use App Pinning to Temporarily Disable Touchscreen Input How to Use Screen Pinning on Older Android Models
How Can You Disable Touchscreen Input on Your Smartphone?
It can be rather frustrating to constantly interact with your phone unintentionally through the display. Since this is a rather common issue, it’s great that there are ways to disable touchscreen input on your smartphone. You can do this for a certain app or your entire device, and below are different techniques to help you do this easily.
How to Disable Touchscreen Input on iPhone
The iPhone has a built-in feature that allows you to temporarily disable touchscreen input. The Guided Access function enables you to lock down physical buttons as well as disable specific screen sections. The steps to activate guided access in order to disable touchscreen input are as follows:
- Go to Settings > Accessibility > Guided Access .
- Turn on Guided Access .
- To set a Passcode or Touch/Face ID if you ever need to end Guided Access, tap on Passcode Settings .
- Finally, activate Accessibility Shortcut . This enables you to access Guided Access at any moment by clicking the Home button three times.
Here’s how to use Guided Access to disable touchscreen input after it’s enabled:
- Launch the app whose screen you want to disable touchscreen input for.
- To enter Guided Access , triple-click the Home button.
- Make a circle around the parts of the screen you want to disable. If you want to disable touchscreen input on the full screen, draw a circle around it.
- To disable the Power or Volume buttons, click on Options in the at the bottom-left screen portion.
- Click Done .
- Finally, touch Start at the top of the screen to launch Guided Access .
The disabled sections of the screen should appear grayed out meaning that they won’t respond to any touch. You can triple-click the Home button to exit guided access. To exit, enter the passcode you set during the configuration process, or use your Touch or Face ID.
Disable Touchscreen Input on Android
You have different options to disable touchscreen input on Android devices. Consider the following suggestions:
Use a Third-Party App to Disable Touchscreen Input
You can download one of the many touch lock apps as a great way to lock your phone screen and disable touchscreen input on Android. The Touch Protector app is one such option.
After installation, you must grant the app permission to display over other apps and to display notifications. It is also necessary to create an unlock pattern.
You can enable numerous options when using the touch protector. These options are divided into four tabs: Shake , Proximity , Upside down , and Hard keys . The While Locked tab is another option that offers the choice to permit access to certain settings.
If you want to lock the display to disable touchscreen input, choose an unlock method that is enabled (volume up is enabled by default), then follow these steps:
- Access the Notifications section.
- Click on the Touch here to Lock Screen option
- Your phone’s screen will now be turned off.
If you want, you can simply use the chosen unlock method to unlock the touchscreen. Your phone’s touchscreen should revert to normal afterward.
Use App Pinning to Temporarily Disable Touchscreen Input
If you own an Android, instead of completely turning off the touchscreen function, there is a better option to temporarily disable touchscreen input known as screen/app pinning.
App pinning is a feature in Android that allows you to restrict your phone to a single app. If, for instance, you have kids who use your phone for games or videos, you can use app pinning to restrict their access to your phone and prevent them from using the touchscreen to mess up your settings.
Here’s how to enable the app pinning to disable touchscreen input in Android 13:
- Navigate to Settings > Password & Security > System security .
- Locate and select App Pinning (you can also look for it by searching for “ app pinning “).
- Set the App Pinning toggle to On (keep in mind that navigation gestures must be disabled enabled in order to use app pinning).
- Also consider activating the Lock screen after unpinning option. It is a helpful backup in case the app pinning feature is removed.
To pin an app after you’ve followed the above instructions to enable the option in Settings , do the following:
- Start the app you want to pin.
- Select Recents .
- Swipe to the app.
- Tap the Menu button and then select Pin .
At this point, you’ve been able to disable touchscreen input through app pinning. You should see instructions needed to unpin the app if necessary.
How to Use Screen Pinning on Older Android Models
For Android 8.1 and earlier, do the following to pin your phone’s screen:
- Launch the app you wish to pin.
- Click the Overview / Recent Apps button.
- Swipe up on the Recent card and hit the pin icon in the lower right corner.
However, if you have Android 9 or a later Android device, follow these steps:
- First, launch the app you wish to pin.
- Depending on how you navigate, open the app switcher. Tap the square Recents button if you’re using the classic three-button navigation. Swipe up from the bottom of the screen and hold for a moment to display your recent apps if you’re using the newer two-button navigation or Android 10’s revised gestures.
- Press the icon at the top of the app you want to lock, then select Pin .
Sadly, this feature only functions well in a select few circumstances, such as when you want to lock a screen and minimize access. It does nothing to prevent accidental interactions or ghost touch issues.
To solve this problem, you must disable your touchscreen input totally through the third-party app as described earlier.
To conclude , with the instructions provided above, you should be able to disable touchscreen input on your Android or iPhone and prevent accidental interactions with your device.
Author:Joan Agie
Add MobilityArena as a preferred source on Google
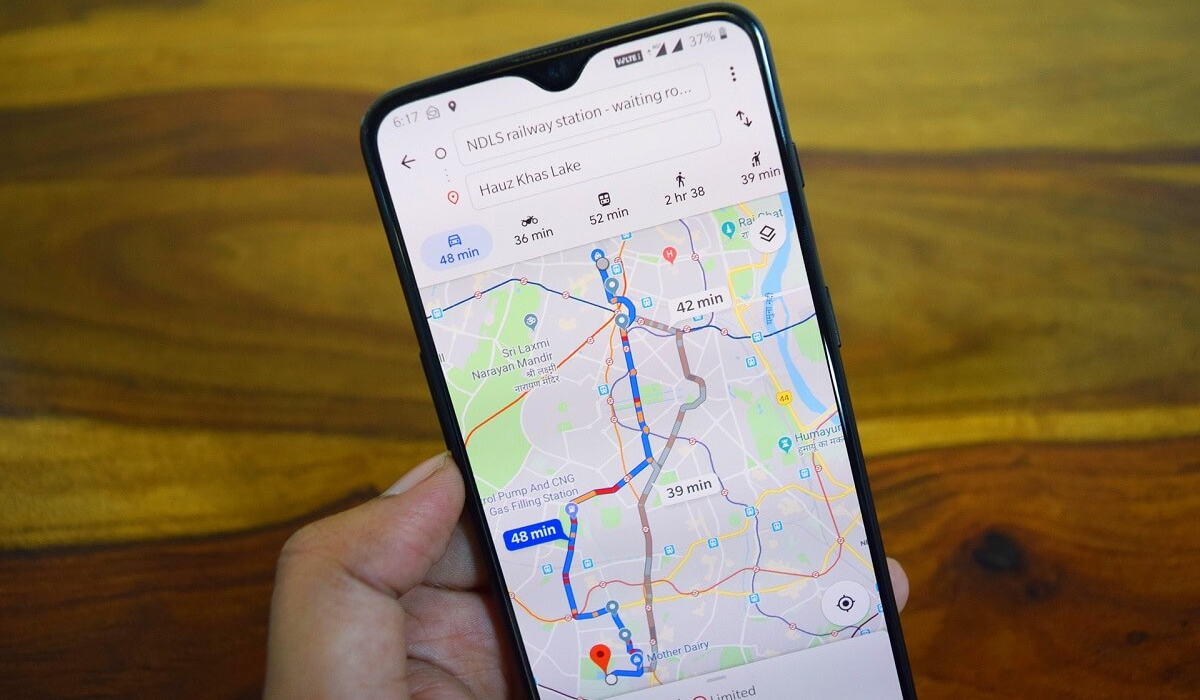
Even in unfamiliar places, my family still feels so safe when we drive using Google Maps. The voice guide makes navigation even better since you can hear the directions and not get distracted by looking at the device to check your location.
In this guide, I’ll show you how to fix Google Maps Voice Navigation not working on Android. There’s no need to get upset if the voice function stops working all of a sudden. By trying the potential fixes, you can quickly resolve this problem and get voice navigation to work again.
- How Can You Fix Google Maps Voice Navigation Not Working on Android? Examine Your Google Maps Navigation Settings Check the Settings and Connections on Your Phone Check the Battery Optimization Settings Clear the App’s Cache Update Google Maps or Google Play Services in the Play Store Restart Your Device
How Can You Fix Google Maps Voice Navigation Not Working on Android?
Several problems could cause Google Maps voice navigation to stop working, but there are several ways to fix the issue.
Here are some troubleshooting solutions to fix Google Maps Voice Navigation not working on Android phones.
Examine Your Google Maps Navigation Settings
It’s possible that you accidentally disabled the voice option, which is a regular issue. So, to fix Google Maps Voice Navigation not working on Android, check if the voice navigation feature is activated. Follow the instructions below:
- On your device, open the Google Maps app and start your trip. Click on the sound/speaker icon and confirm that it’s not muted. Also make sure that your volume is turned up.
- If you still get no sound feedback, press the Google Account profile symbol in the app’s top right corner, then select Settings > Navigation Settings > Sound & Voice .
- Toggle on all the switches you see under the Sound and voice area, tap Unmuted to make sure the sound is activated, then select and tap Normal or Louder to use as a volume guide.
- While under the navigation settings, you can also adjust the voice assistant’s language and change the speaking voice, speaking tempo, and loudness.
Afterward, restart the app and trip to check if you’ve been able to successfully fix Google Maps Voice Navigation not working on Android .
Check the Settings and Connections on Your Phone
If your phone is in silent mode or Do Not Disturb (DND) is on, you may not hear Google Maps’ voice navigation. So, to fix Google Maps Voice Navigation not working on Android, disable DND mode and make sure your phone’s volume is turned up.
For smooth operation, Google Maps also needs an internet connection. A slow internet connection or a total network outage may cause problems with the voice feature. Reset your Wi-Fi or mobile data connection to see if it helps to fix Google Maps Voice Navigation not working on Android, or ensure that Google Maps is configured to work offline.
Check your Sound Output Device
Make sure Play Voice over Bluetooth is turned on in the Google Maps settings if you have a wireless audio device connected to your phone. You can also attempt to resolve any Bluetooth issues, or you can unpair and re-pair the Bluetooth in your car to fix Google Maps Voice Navigation not working on Android.
Make sure that your phone is sending audio output to the appropriate speaker or device because there might be a problem with the earbuds you’re using, the device’s speaker, or the BT audio system in your car. If you have many audio devices connected to your phone, disconnect them all and make sure your chosen device is turned on.
Check the Battery Optimization Settings
The battery in your phone can establish priorities to maintain its longevity and good health. The background activities and data usage of some apps get restricted when you turn on battery optimization. This could impair the performance of the Google Maps app.
As such, to fix Google Maps Voice Navigation not working on Android, it’s a good idea to modify the battery optimization settings for Google Maps to ensure optimal performance. This is how you do it:
- Access the Settings on your device.
- Find and click on Apps by scrolling down.
- In the top right corner of your screen, click the vertical three dots . Select Special Access , then select Optimize Battery Usage or something like.
- Locate the Google Maps app and turn optimization off.
If the above suggestions do not help to fix Google Maps Voice Navigation not working on Android, you can attempt some common Android troubleshooting techniques to get voice navigation working again.
Clear the App’s Cache
If everything else fails, clearing the cache from the Google Maps app can help the app get off to a fresh start and fix Google Maps Voice Navigation not working on Android. The cache stores some temporary data that facilitates the app’s seamless operation. However, this data might become old or damaged, which would affect how well the app functions.
Then you can also decide whether to opt for the clear data option. Before proceeding, you should be aware that clearing the data will remove all previously saved settings, downloaded maps, and route selections. Go to Settings > Apps > Google Maps > Storage > Clear Cache or Clear Data .
Update Google Maps or Google Play Services in the Play Store
Google will probably learn about a problem and release a fix if there is a bug that prevents voice navigation from working or a more general problem in the app’s code. As soon as a new version of your app is released, make sure to update it on the Play Store to fix Google Maps Voice Navigation not working on Android.
Google Play Services is the engine that powers several apps, including Google Maps. By updating Google Play Services, you grant the app access to the most recent features and enhancements, which can help resolve any problems with the voice feature.
Restart Your Device
Any electronic device can be fixed quickly with a reset. Thus, restarting your phone can eliminate technical glitches that may interfere with Google Maps’ voice. The restart will free up RAM, increase app performance, and possibly help to fix Google Maps Voice Navigation not working on Android.
All in all, Google Maps is one of the most popular GPS apps, due in part to its voice functionality. Hopefully, one of the troubleshooting techniques outlined above will help you fix Google Maps Voice Navigation not working on Android.
But if not, there may be further underlying factors, so your best course of action may be to get in touch with Google service support or your device’s manufacturer.
