Add MobilityArena as a preferred source on Google
If you’re a Mac user, it’s possible that you’ll need to crop or annotate a screenshot at some point. Of course, there are a wide variety of apps for this purpose, but Preview saves you the time and effort of searching for them.
The editing functions available in Preview are simple but adequate. If you need to learn how to edit screenshots in Preview on a Mac, this guide is for you. Here, you’ll learn how to use Preview to crop and annotate screenshots on your Mac device.
What is macOS’s Preview?
One of Apple’s standard Mac programs, Preview is the built-in picture viewer and editor on macOS systems.
Clicking on an image automatically launches it in Preview. It’s a modest but useful application with the ability to edit PDF files as well as photos. You can find Preview through the Spotlight search feature in macOS or in Launchpad.
How Can You Edit Screenshots in Preview on a Mac?
It’s easy to edit screenshots in Preview on a Mac. You’d just need to double-click the image to start, then carry on. Alternatively, you could search for the image in Preview.
Here are some activities you can carry out when editing screenshots in Preview on a Mac.
Cropping Images in Preview
One of the ways to edit screenshots in Preview is by cropping. Through this helpful technique, you can remove undesirable aspects from your photos or select a portion of a photo to save.
To crop photographs in Preview, follow these steps:
● Select a tool from the drop-down list that displays after you click on Selection Tools in the Markup toolbar.
● Depending on the way you’d like to crop your image, drag the selection tool across it.
● In the Markup toolbar, select Crop to Selection .
Annotating Images
This is yet another function you can perform when editing screenshots in Preview on a Mac. In Preview, annotating images is simple. On the app, you can, add text or shapes, draw, and even include your signature. These elements can also be altered after you add them. Depending on what they are, you can modify their shape, size, or color.
Simply click the Markup button in the top-left corner of the Preview app to display a toolbar with all these tools.
Combining Images in Preview
It’s also possible to combine images when editing screenshots in Preview.
Follow these steps:
● Launch Preview and select the photographs you want to merge. By following the steps in the previous section, you can display them in a single window.
● By hitting Command + C , select the area of the image you want to merge with another.
● Use Command + V to paste it into the other image.
● Drag the image’s corners and sides to make changes.
Resizing Images in Preview
Another way you may need to edit screenshots in Preview is by resizing. With this function, you can adjust your photographs to make them larger or smaller.
This is how it works:
● Choose the Adjust Size tool just below the Markup button, which is located at the top of the window. Alternatively, select Adjust Size by clicking Tools in the menu bar.
● You can resize your image by pixels, percentage, or any other stated dimension using the Adjust Size menu. Next, enter values for the image’s desired height and width.
Note that altering the image’s height will also alter its width and vice versa. Uncheck Scale proportionally or select the padlock icon next to Width and Height to prevent this.
● Click OK once you’ve finished resizing.
Moreover, it’s also possible to resize numerous images at the same time by putting them all in the same Preview window, choosing them from the sidebar, choosing Tools , and then choosing Adjust Size .
● Select Preview in the menu bar, then select Settings to show photos in the same Preview window.
● Within the pop-up menu, choose Images .
● Choose the option to Open groups of files in the same window .
You’ll now be able to view numerous images in one window when you select and open them in Preview.
In conclusion , editing screenshots in Preview on a Mac involves really simple processes. Just make sure to follow our helpful instructions according to the changes you’re trying to achieve.
Author:Joan Agie
Add MobilityArena as a preferred source on Google
Some laptop owners generally prefer to use a mouse instead of the laptop’s trackpad. When you’re on the go, however, packing a mouse can sometimes be difficult or even impossible. Fortunately, if you have an iPhone, you may already be carrying a wireless mouse without even realizing it.
You can use your iPhone as a wireless mouse by downloading free software from the App Store. While there is no official Apple solution, there are free third-party apps available on the App Store that you can use instead.
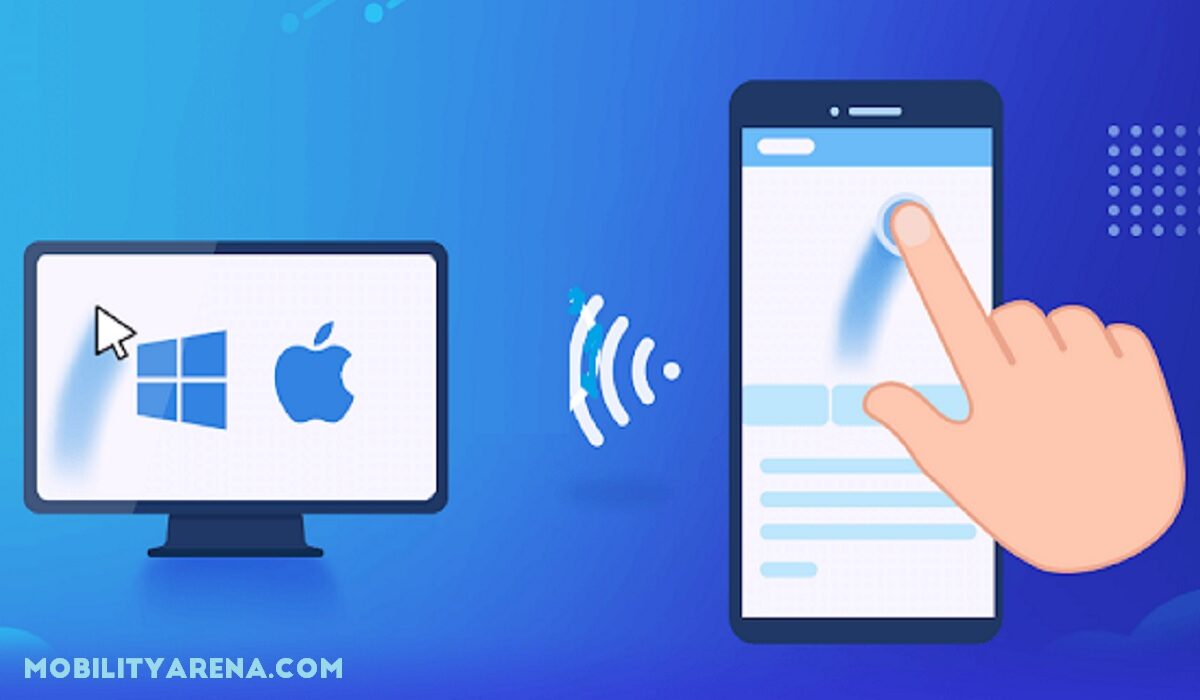
In this article, we’ll show you how to use your iPhone as a wireless mouse, so keep reading to find out.
How Can I Use My iPhone as a Wireless Mouse?
The iPhone has a lot of features, and you can use it as a wireless trackpad for your Mac thanks to an app. Here’s how to go about it.
In iOS 16, you can control many functions of your Mac directly from your phone using a free pair of apps called Remote Mouse. Here’s how to set it up, as well as the features you can control from your iPhone.
How to Use an App to Turn Your iPhone Into a Wireless Mouse Trackpad
The setup process on your iPhone and Mac is simple and only requires a few steps.
Here’s how to configure the wireless mouse functions on both devices.
On the iPhone:
● From the your iPhone’s App Store, download the “Remote Mouse” app.
● As soon as the download is complete, launch it.
● When you open the app, two notifications will appear asking you to grant permission.
● Give the app access to connect to Bluetooth and WiFi devices.
● You can use your iPhone to control your Mac once you give them permission to do so.
On the Mac:
● From your Mac’s App Store, download the “Remote Mouse” app.
● As soon as the app downloads, launch it.
● When you open the app, it will guide you through enablingthe application in the Accessibility settings .
● After allowing the app in the Accessibility settings , press the app icon in the toolbar and then click Auto Start .
Please take note of the following:
● After you’ve configured both devices with the app, make sure they’re both connected to the same WiFi network for the best connectivity.
● You can then choose which device to control and begin using your iPhone as a wireless mouse for your Mac.
● Both the iPhone and Mac apps are free to download from the respective App Stores of the two devices.
● Your iPhone must run iOS 11 or later, and your Mac must run macOS Big Sur or later and contain an M1 chip or later.
How to Connect your iPhone to your Mac for Wireless Control
There are several ways to connect your iPhone to your Mac and control it wirelessly.
You can see every connected device as well as some suggestions for devices you might want to control from the “Select a Computer” menu. You can save multiple devices to control from your iPhone.
Other devices can be added to your iPhone and Mac using various methods of connectivity.
Here’s how to add more devices to control.
● Navigate to your iPhone’s Remote Mouse app.
● Navigate to the “Select a Computer” menu.
● Click the Plus icon in the upper right corner of the screen.
● Choose the method you want to use to add the new device(through an IP address, through scanning a QR code on the device you want to control or from previous devices you have added)
On your Mac, you can connect a device using an IP address or a QR code from the same menu. You select “Show IP address” or “Show QR code” by clicking on the app icon in the toolbar, just as you did to enable Auto Start .
By selecting “Show IP address,” you will be given eight numbers to enter into your iPhone in order to connect the two devices. When you choose “Show QR Code,” a QR code will appear on your Mac’s screen that you can use the Remote Mouse app’s camera on your iPhone to scan.
For your iPhone to find the app, it must be opened and running on your Mac. To terminate the connection, select “Quit” from the upper taskbar icon.
The usability of your devices will be consistent regardless of how you connect them.
How to Use iPhone Gestures to Control your Mac
Though there are a variety of gestures to learn, most of them are the same as those you would use on the Mac’s trackpad.
Below are the most common gestures to know in order to make the most of using your iPhone as a wireless mouse.
● Click where the cursor is by tapping one finger .
● Right click by two-finger tapping .
● Swipe/scroll with two fingers to move up, down, left, or right on your Mac’s screen.
● To zoom in or out, pinch or spread your fingers (this only works on Macs)
● Drag three fingers to select and move
In conclusion , we hope the information in this guide makes it easier for you to use your iPhone as a wireless mouse to control your Mac.
