Add MobilityArena as a preferred source on Google
Even after installing the Truecaller app on your iPhone, it’s still possible that you won’t be able to identify unfamiliar callers on your phone. Maybe you’ve also noticed that the Truecaller app behaves differently on an iPhone than it does on an Android smartphone.
In truth, it can be annoying to try to use Truecaller on iPhones because they don’t automatically enable the app’s functionality. If you’ve had some issues with Truecaller as an iPhone user, we’ve created this guide for you. Here, you’ll learn what you need to know to enable Truecaller and get it working without hassles on your iPhone device.

Truecaller on iPhone
What is Truecaller?
In essence, Truecaller is a phone app that tells you who is calling. With the help of such caller identification, the intrusive activities of telemarketers, spam callers, and fraudsters can be prevented.
Truecaller divides callers into Safe and Spam callers using data from other users as well as contact information obtained from network providers. You can thus identify if an incoming call is a spam or not by the color of the caller’s contact. If the contact card is blue, it’s usually fine to pick it up; if it’s red, you shouldn’t.
Truecaller uses user-provided information and phone book data to identify callers. It can be considered the best at the fundamental task of recognizing calls from people you don’t already have on your contact list.
Why Is Truecaller On iPhone Different? Why Does It Work Differently?
On an iPhone, Caller ID functions differently than it does on Android smartphones. This is due to the fact that Truecaller interfaces with the stock Phone app on Android but not iOS, where the default phone app is the only app that can control the caller ID.
Due to this, you have to go through an additional process to make Truecaller function on your iPhone. However, it still works well as a spam prevention app for the iPhone.
Enabling Truecaller’s Functions on iPhone Devices
The privacy settings on the iPhone prevent automated access to your call history. As such, it’s necessary to allow Truecaller to access your call log. You only need to carry out the following steps to enable Truecaller on your iPhone:
- your iOS device’s Settings app should be opened first.
- Next, choose Phone.
- Click on Call blocking and identification
- Finally, enable every setting for Truecaller.
Additionally, you may use Truecaller to screen text message spam so that you don’t receive messages from spammers, marketers, or other undesired senders. You can enable this functionality on iPhones running iOS 14 and later. Follow these steps to enable the spam SMS filter:
- Select Settings > Messages > Unknown & Spam from the menu.
- Enable the Unknown Sender Filter.
- Turn on Truecaller.
Keep in mind that the message filtering option on Truecaller may filter authentication messages from banks or other organizations you are involved with if you choose to enable it. You can just add these numbers to your contact list to ensure that you don’t miss these messages when Truecaller is enabled on your iPhone.
What Other Functionalities are Available for Truecaller on iPhone?
You can use these instructions we’ve provided above to enable Truecaller’s functions on your iPhone. With an enhanced Truecaller experience on your iPhone device, you’ll now be able to discover more of the app’s features.
You might believe that Truecaller’s only goal is to find and stop spam calls. But there are also other helpful features available, so you’re sure to find something to get excited about, like call notifications or call recording.
For instance, with Truecaller, select calls may be manually recorded, or all calls may be automatically recorded. During the routine backup, Truecaller will transfer these recordings to your Google Drive account, so don’t worry about the required storage space.
It’s as easy as flipping a button to start or stop a manual recording before or during your call. One of the few apps, Truecaller, lets you record calls either before you answer or while you’re already on them. This may make some of the legal issues surrounding call recording less problematic.
You can also back up your contacts and call lists with Truecaller, integrate with other apps on your device, and look up numbers with your phone’s camera.
In summary, it’s pretty easy to activate Truecaller’s functionality on your iPhone device, so if you’ve been experiencing issues before now with the app, just follow the instructions we’ve provided for you in this guide.
- Don’t miss our mobile phone reviews .
- Follow our news on Google News .
- Join our WhatsApp Group , to be notified of the most important articles and deals,
- Follow us on Instagram , Facebook , Twitter , and YouTube .
Author:Joan Agie
Add MobilityArena as a preferred source on Google
Despite Android’s customization flexibility, the options offered by stock Android are somewhat limited. Users are typically only able to completely customize certain UI elements with the aid of third-party apps. It’s also possible to change the status bar, another OS component, thanks to a new software.
In this article, we’ll show you how to take advantage of certain apps to change the appearance of the status bar on your Android smartphone. So, pay attention to all the tips and instruction we’ve outlined for you in this guide.
Android Smartphone
How Do I Change the Status Bar on an Android Device?
Only a small number of apps provide you the option to modify the status bar’s appearance. The best choice was QuickStar, a Good Lock collection program, although it is only available on a small number of Samsung Galaxy handsets. However, developers have plugged this gap with a mobile application that runs on any phone running Android 5.0 or later versions.
Follow the instructions we’ve provided below to change the status bar on your Android smartphone with dedicated apps:
Step 1: Super Status Bar is the app that performs all of these tasks, and it can be downloaded for free from the Play Store. For a one-time price of $1.99, you may upgrade to the pro edition of the software to make the most of it.
Step 2: A few initial setup pages will be displayed when you initially launch the program. Then, select “Start” from the main menu. You will find two toggles for the required permission on the new page. You can tap each one to be directed to the relevant Settings page. On these pages, look for Super Status Bar, and turn on the permissions.
Once authorized, you will see that the “Start” button on the app’s home page has changed to “Stop,” suggesting that the main service is active.
Step 3: Select “Status Bar” on the home screen of the application. Although you’ll need to pay to the pro version to make more substantial modifications, you can still make a lot of changes without spending any money.
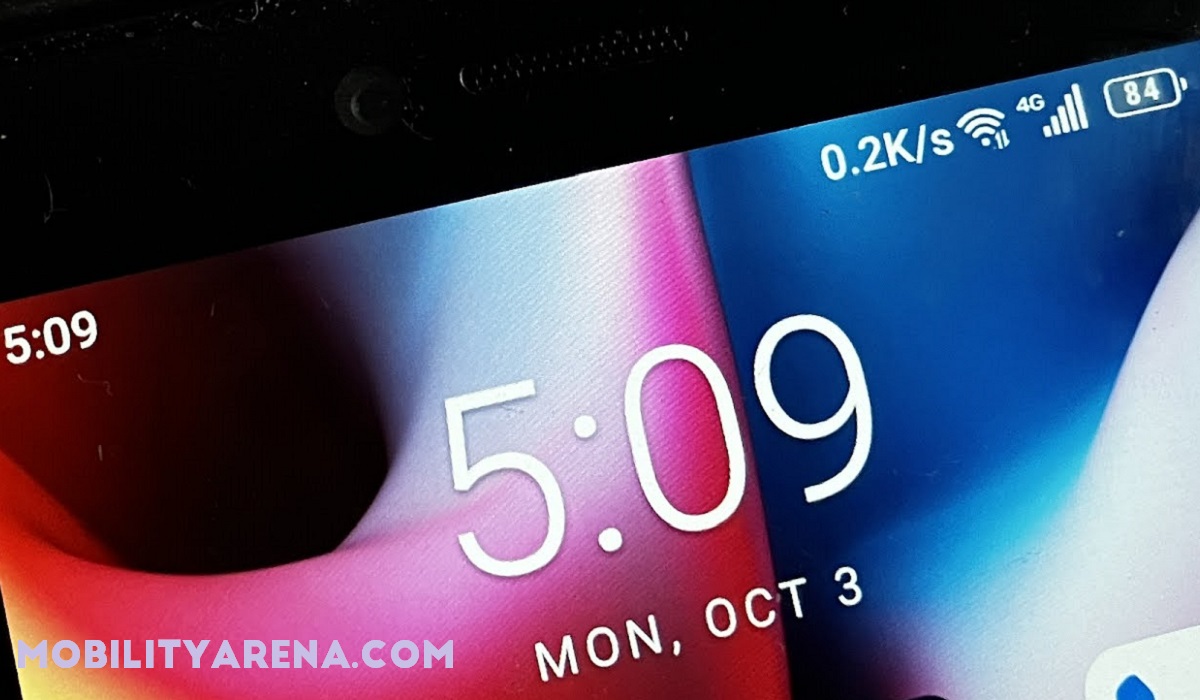
To access your customization options, turn to the Modify tab if you wish to keep the default status bar. A list of all the various icons that can be disabled can be found here. Additionally, you can enable hidden icons like “Network speed” and extend the clock so that seconds are seen. These settings rely on your phone and might not be compatible with all gadgets.
Returning to the Custom tab, you can do a lot more with the status bar by turning on “Enable custom status bar,” albeit the most of these features need the pro version. You can disable icons if you don’t want to spend money by choosing “system icons.” When the custom status bar is enabled, the color will also change to match the active app, in this case, green for the Super Status Bar app.
Step 4: Upgrade to the pro version of the Super Status Bar app if you’d like to get the most out of it. The first thing you need do with the pro version is turn on the “custom status bar” option under the Custom tab. The status bar icons’ look is then altered by “Style,” which functions similarly to a theme. You can currently replicate stock versions of Android, iOS, and MIUI, but more themes are coming soon.
With “Colors,” you can choose a stronger color or create a unique arrangement in addition to just matching the colors of the current app.
You can reorder the icons using “Item order,” which enables you to move the clock on your device’s screen to the right or center. The time can be positioned to the right or left of system icons by dragging it to the right.
Finally, since Android occasionally reverts to the default state, you can set the custom status bar to always be visible. Some apps will no longer function in full-screen mode as a result.
One thing to keep in mind is that the custom status bar presently only shows LTE and not 5G. This won’t be an issue for the majority of phones, but if you’re upgrading or intend to upgrade this year, the lack of an indicator may be an issue.
In summary, you can simply take advantage of Super Status Bar lets you reorganize the status bar on your Android smartphone as you please, so feel free to take advantage of this app if you’ve been seeking such a functionality on your device.
- Don’t miss our mobile phone reviews .
- Follow our news on Google News .
- Join our WhatsApp Group , to be notified of the most important articles and deals,
- Follow us on Instagram , Facebook , Twitter , and YouTube .
