Add MobilityArena as a preferred source on Google
Sometimes, you may send an email and then discover that you forgot to attach a file, edit some embarrassing errors, or worse, that you were sending it to the wrong recipient. This happens even to the best of us.
Thankfully, you can extend Apple Mail’s Undo Send delay and give yourself enough time to verify that your email is prepared to be delivered correctly to the intended recipient. This guide will show you the right steps to take so you can successfully extend Apple Mail’s Undo Send delay on different Apple devices, whether you are using an iPhone 13 series model or an iPad.
What is the Undo Send Feature in Apple Mail?
Everyone makes mistakes when sending emails, but iOS 16, iPadOS 16, and macOS Ventura versions of Apple Mail’s Undo Send function have been designed to help in such circumstances. With this function, it’s possible to delay sending so you can rectify any errors in your email.
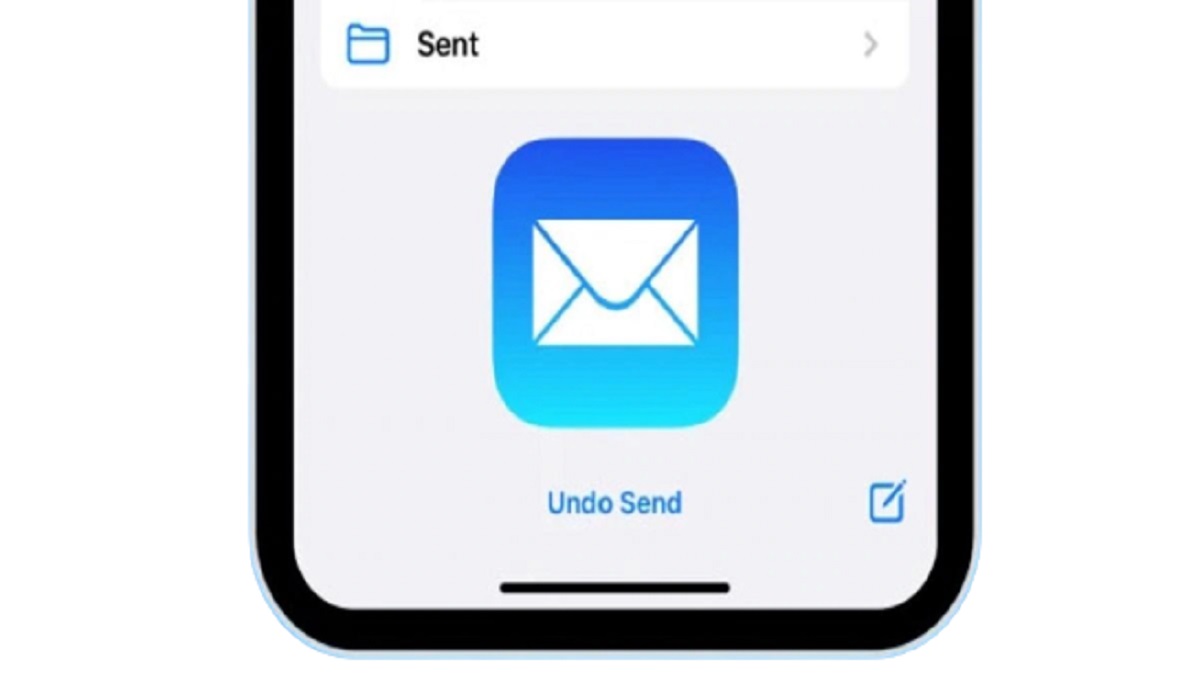
The Undo Send tool is simple to use, but you should note that nothing is truly reversed. The Mail app actually just waits for a predetermined period of time before sending your message. Since you’re effectively just canceling a planned communication with a very brief delay, this is what provides you the option to unsend it.
However, this delay is usually a 10-second default wait that may sometimes not be long enough. It’s good to know, therefore, that you’re not confined to 10 seconds when it comes to unsending emails. To extend this Undo Send delay on your Apple device, we’ve provided helpful tips below.
How Can I Extend Apple Mail’s Undo Send Delay on iPhones and iPads?
It’s pretty easy to extend the Undo Send delay period on iPhone and iPad devices. The delay duration can be increased to 20 or even 30 seconds from the normal setting of 10 seconds.
Even though we wouldn’t particularly advise it, you can also totally disable the Undo Send feature, allowing you to send emails immediately, just like you could on earlier iOS and iPadOS versions. Follow these steps:
● Open the Settings app, scroll down, and touch on Mail to extend the Undo Send delay period on iPhones and iPads.
● To access the Undo Send Delay setting, navigate all the way to the bottom of the screen.
● Select your chosen setting by clicking on it: Off , 10 seconds , 20 seconds , or 30 seconds are the available settings to choose from.
Any email communications you send will now be delayed until the time you’ve specified in the Undo Send delay setting. It’s also possible to go back to this menu whenever you want and adjust the setting if you think the delay is too lengthy or too short.
How to Extend Apple Mail’s Undo Send Delay on Mac Devices
Unexpectedly, along with the macOS Ventura update, Apple’s Mail program also received major upgrades, including the option to unsend emails.
With a Mac, extending the Undo Send delay is just as simple as doing so on an iPhone or iPad. Launch the Mail application, then select Mail > Settings > Composing from the menu bar.
The Sending options will be visible if you scroll halfway down this screen. Choose your selection from Off , 10 seconds , 20 seconds , or 30 seconds by clicking Undo Send Delay just below the Sending options .
The changes you’ve made will be applicable straightaway much like with the Mail app on the iPhone and iPad.
Note that the longest setting you can currently employ to extend Apple Mail’s Undo Send delay is 30 seconds. It’s possible that Apple will increase this Undo Send delay period in the future, but the 30-second duration should work just fine for most people.
You can always arrange for the message to send later so you can edit the mail as you like if you think you’ll need more time.
In summary , it’s pretty easy to extend Apple Mail’s Undo Send delay on Apple devices. You just need to follow the right instructions which we’ve provided you in this guide.
Author:Joan Agie
Add MobilityArena as a preferred source on Google
Have you ever found yourself in a situation where you needed to access websites that were otherwise blocked by your system administrators? Typically, such sites are blocked due to objectionable content, or virus-infected pages, so they may redirect you to other irrelevant sites, often without a valid reason.
Fortunately, there are several ways to unblock such websites. You could use a proxy service or a VPN , but proxies may also be blocked, and VPNs require more effort (and payment in some instances). So, how can you bypass blocked sites without using proxies or VPNs?

This article describes some methods you can employ to bypass blocked websites without the use of a proxy or VPN.
How Can I Bypass Blocked Sites Without Using Proxies or VPNs?
Although VPNs and proxies are popular methods for accessing blocked websites, they are not the only ones. There are numerous other methods for easily accessing blocked websites. You can bypass blocked sites without need for a proxy or VPN through the following techniques.
Using Short Links to Bypass Blocked Sites
This is a very popular method of bypassing blocked sites without proxies or VPNs; it works in the majority of cases. However, this also means that administrators are becoming more aware of the problem. Nonetheless, it should be your first port of call.
Shortened URLs became popular as a result of Twitter: when addresses counted against the character limit, using short links was a way to condense a tweet. It’s ridiculously simple.
Simply paste a URL into a service such as Bitly, TinyURL, or Firebase Dynamic Links , and you’ll get something like: https://tinyurl.com/25ey9ntv
Insert it into the address bar, and you should be redirected to your desired location, bypassing any blocks that may be present — fingers crossed.
Using an IP Address to Bypass Blocked Sites
This method for bypassing blocked sites without proxies or VPNs is similar to clicking on shortened links. IP addresses may not be blocked even if website URLs are.
A URL is a domain name, which is an IP address converted into words. So to locate the IP address of a website that is blocked, search for “Command Prompt” in the Windows search box. Then enter “tracert” and the desired domain name and press Enter. You’ll see the IP address, and you’ll br able to copy it into your browser’s search bar.
Since most browsers default to HTTPS , you’ll almost certainly see a warning that your connection is not secure . You can continue regardless if you are certain you want to.
Using a Translator to Bypass Blocked Sites
The translator, which is primarily used to translate text from one language to another, can also be used to bypass blocked sites without using proxies or VPN.
Open any translator service, such as Google Translate or Microsoft Translator , and copy the blocked site address you want to visit. It will translate the URL into the desired language and provide a link if one is available. However, this method may not be applicable in all circumstances.
Use Tethering to Bypass Blocked Sites
The idea is that you use the internet by tethering your smartphone, which requires a high-quality data plan. It’s not worth it if all you want to do is read something from a censored site. But if you need to watch YouTube and nothing else is working, this should also work to bypass a blocked site without using proxies or VPNs. Note though that it’ll probably be slow.
● Navigate to the Settings menu. The method will then differ slightly depending on your operating system.
● On iOS simply enable Personal Hotspot and take note of the password. You’ll be able to connect via Wi-Fi, USB, or Bluetooth. Follow the instructions in that section from there.
● To tether an Android device, go to Network & Internet , then Hotspot & Tethering
However, you should only use this in an emergency because exceeding your data usage limits can result in significant charges. Also, keep in mind that your organization’s IT department may have restricted access to new Wi-Fi networks.
In summary , the methods described above will help you bypass blocked sites without the use of a proxy or VPN. You can easily open blocked sites by using these effective and simple workarounds.
