Add MobilityArena as a preferred source on Google
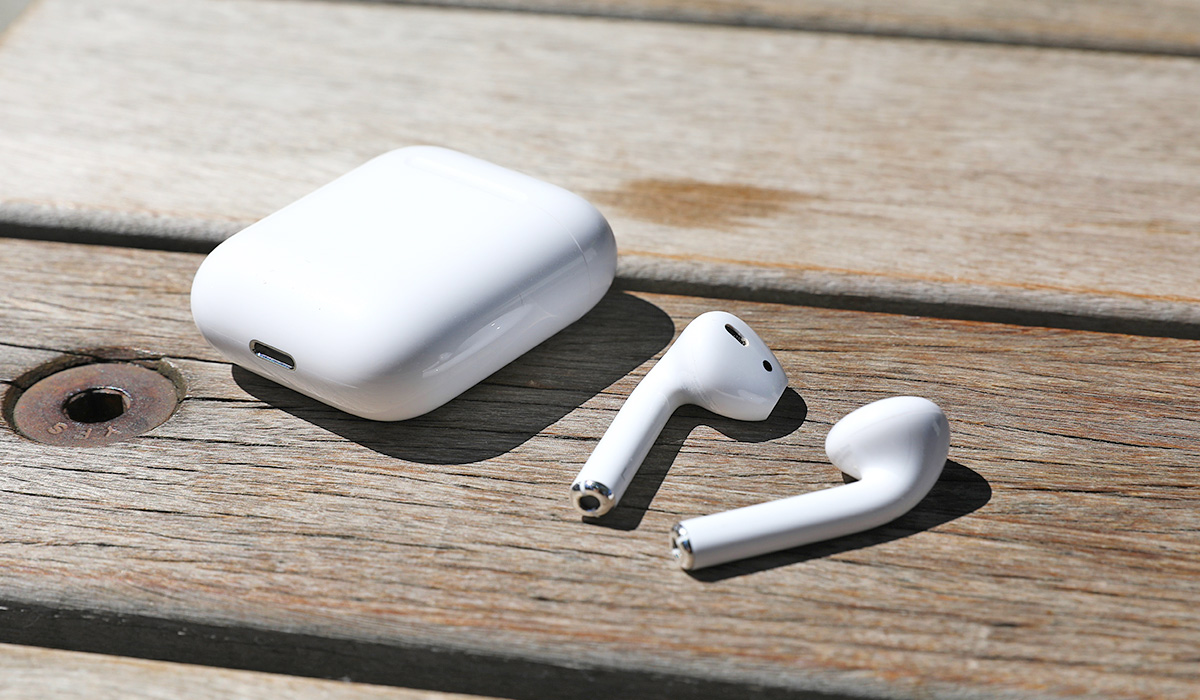
Many of us use our AirPods both to listen and talk at the same time. Apple has created them for top-quality that exceeds most competitors so as to accommodate all the talking. AirPods are usually dependable, but sometimes the microphone seems to stop working.
In this article, I’ll walk you through some step by step instructions to fix AirPods’ microphones not working. AirPod microphone issues can be really annoying because they make it impossible to use Siri or make hands-free calls. So keep reading to find out helpful troubleshooting tips.
- How Can You Fix AirPods’ Microphones Not Working? Reconnect the AirPods to your iPhone Disable Noise Cancellation Examine the Microphone Settings Update AirPods Firmware Restart your iPhone Reset and Re-pair your AirPods Reset the Network Settings on Your iPhone
How Can You Fix AirPods’ Microphones Not Working?
The qualities of AirPods undoubtedly make them one of the best earphones available. However, it might be annoying when your Airpods stop working, especially if you use them frequently to take calls. Here are some typical ways to fix AirPods’ microphones not working.
Reconnect the AirPods to your iPhone
Most times, you can fix AirPods’ microphones not working by establishing a new connection with your iPhone, especially if they worked properly just a moment earlier. Simply place both earphones in their charging case (or the Smart Case if you have the AirPods Max) and pull them out again.
Additionally, it’s a good idea to check the battery level in your AirPods because, if it falls below ten percent, audio quality may suffer. Before attempting again, make sure your AirPods have had at least a 30-minute charge. Another step in the troubleshooting process to narrow down microphone problems to a particular device is to disable AirPods’ automatic device switching.
Disable Noise Cancellation
Effective noise cancellation mostly depends on crystal-clear microphone audio, however some people disable this function to enhance the sound of their AirPods.
Open the Control Center while wearing the earphones, and hold down the Volume slider for a long time until the extra controls display. Next, turn it off by tapping the Noise Control symbol in the lower-left corner of the screen. Disabling noise cancellation this way may be just what you need to fix AirPods’ microphone not working.
Examine the Microphone Settings
Both AirPods include a microphone, and by default, they’re set to use the one in the best earbud. However, there is a feature that allows you to pick which earpiece the AirPods should always use. You may have set this back to default and forgotten about it, or it may have been altered by accident.
You can check necessary settings to fix AirPods’ microphones not working. Allow the AirPods to switch microphones automatically to achieve optimal performance. This can prevent complications, such as if one of the AirPods’ batteries is nearly or completely dead. Follow these steps:
- Place the AirPods in your ears and connect them to your iPhone. If your AirPods aren’t connected to your iPhone at this point, this won’t work.
- Launch the Settings app on your iPhone.
- Select Bluetooth .
- Tap the i to the right of your AirPods in the list of Bluetooth devices.
- Click on Microphone , then click Automatically Switch AirPods on the Microphone page.
Update AirPods Firmware
Due to issues in some firmware, the Airpods mic might not function. Apple usually releases a fix as quickly as possible when such issues are discovered. As such, you can update your AirPods to the most recent firmware to fix AirPods’ microphones not working.
Also consider upgrading your iPhone to the most recent version while you are updating your AirPods. Updated to the most recent versions of their respective software, AirPods and iPhones are more likely to function at their peak levels.
Restart your iPhone
It’s a common belief that shutting down your smartphone and turning it back on solves a number of issues. Restarting the iPhone may thus be the quickest way to fix AirPods’ microphones not working and get them back up and running.
This is especially true if the issue with your AirPods is related to something inside your iPhone, such as a software driver that allows the microphone to function with a specific app.
To restart your iPhone:
- Hold the Side and either Volume button for a few seconds while using Face ID devices.
- Hold the Side button until you see the shutdown screen on your iPhone if it has a physical Home button.
- Following that, to turn the device off, slide the Power symbol to the right. For your iPhone to restart, wait 30 seconds and then press and hold the Side button once again.
Reset and Re-pair your AirPods
If one or both of the microphones on your AirPods aren’t working, you can also try to reset the earphones. Place both of your AirPods in the charging case, then hold down the Status button on the back (or the Noise Control button and the Digital Crown on the AirPods Max) for a few seconds to cause the LED status indicator on the front to turn amber.
Once you’ve successfully reset your AirPods, open the lid (or remove your AirPods Max from the Smart Case) and place the charging case next to your iPhone. When a pop-up of nearby AirPods appears on your iPhone, tap Connect to continue reconnecting the earbuds. Check afterwards to see if this works to fix AirPods’ microphones not working.
Reset the Network Settings on Your iPhone
AirPod microphone issues can also be brought on by incorrect iPhone network settings. So to fix AirPods’ microphones not working, go to Settings > General > Transfer or Reset iPhone > Reset > Reset Network Settings to try to reset them. To confirm the operation, you need to type in your passcode.
I’m sure you’ll find the tips and suggestions above helpful to fix AirPods’ microphones not working. Keep in mind that a certified technician may be required to fix your AirPods if they have hardware problems.
Author:Joan Agie
Add MobilityArena as a preferred source on Google
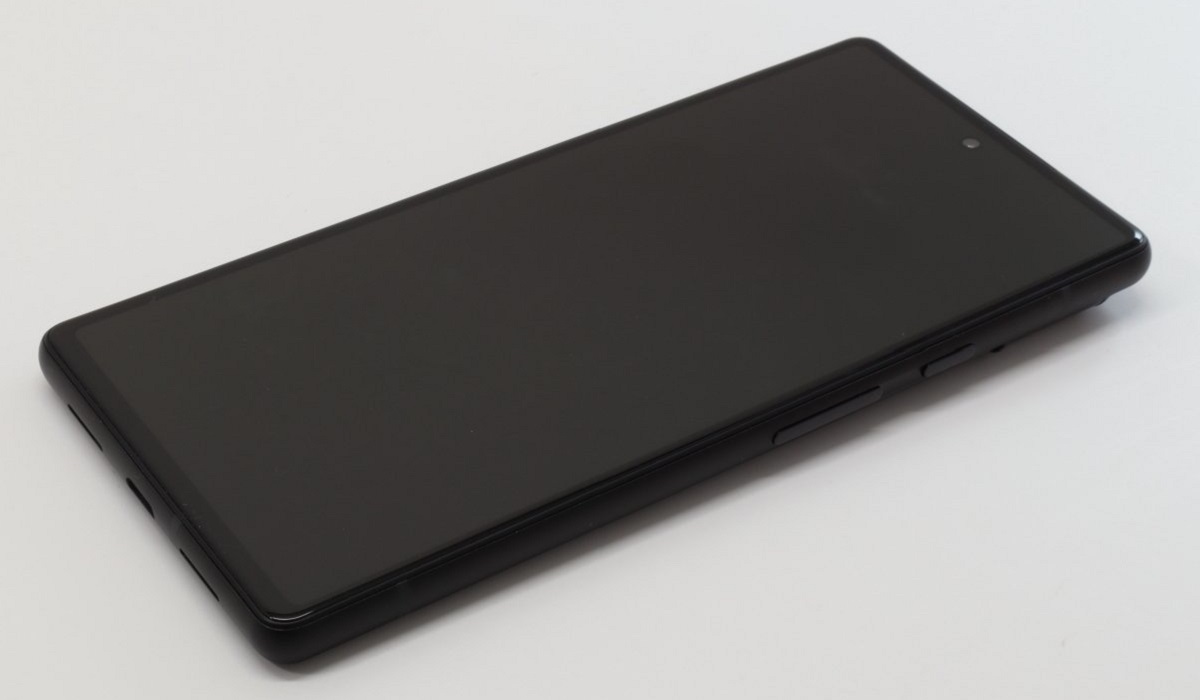
An Android phone or tablet refusing to power on is a common problem, and several factors could be at play. Your Android phone or tablet may not switch on or charge because the hardware is malfunctioning, the operating system is broken, or your phone is dirty with clogged up ports.
Fortunately, there are several options available to fix an Android phone or tablet that won’t turn on. I’ve included some of these tested and proven tips in this article, so keep reading to find out.
How Can You Fix An Android Phone or Tablet That Won’t Turn on?
The following troubleshooting steps can help you fix an Android phone or tablet that won’t turn on.
Check Your Case, Cable, Charger, and Outlet
First if you experience this problem, it’s possible that there’s a charging issue affecting the device. In that case, here’s what you must do to fix an Android phone or tablet that won’t turn on:
- Check the functionality of the charging cord and adapter that came with your Android phone. Try them with any other gadget to confirm that they work.
- Ensure your Android phone is safely connected to the charger with the charging cord attached.
- Ensure there is no lint or dust in the port of your Android phone.
- Ensure the outlet is in flawless functioning order. Plug in something else, such as a lamp, to verify this.
- Ensure that no accessories, including battery packs and covers, are pressing the buttons or covering the sensor on your Android phone.
Run a Power Cycle
We’ve all had our phones freeze, the screen typically becomes unresponsive and none of the buttons function. But did you know that a phone can freeze even when it is turned off?
A power cycle can help in this case, and it is one great way to fix an Android phone or tablet that won’t turn on. It’s as simple as pulling out the battery, waiting a few seconds, and replacing it on older devices with removable batteries.
Since modern phones lack a replaceable battery, press and hold the device’s power button for many seconds. You may need to hold it down for 10 to 30 seconds, depending on the manufacturer.
Examine Your Battery
It’s also a good idea to inspect your battery when trying to fix an Android phone or tablet that won’t turn on. Wait a minute after plugging your phone or tablet into the charger to see if the battery icon appears on the screen. If so, your battery is in good condition, and you can try another fix.
You might also notice a tiny red (or other color) light flashing. If you do, it indicates that your battery is insufficient to turn on the device or enable the screen to show any content. After 30 minutes of charging, try to turn the device on again.
However if you don’t see a light or a battery icon, that could imply that your battery needs to be replaced because it is dead. If the battery in your phone is replaceable, you can do so. If you’re using a device with a non-removable battery, you’ll need to take the phone to a specialized store for repair.
Troubleshoot on Your Computer
If none of the above suggestions work to fix an Android phone or tablet that won’t turn on, you might be able to troubleshoot the issue on your PC. Follow these steps below:
- Connect your phone to your computer with a USB cable.
- Allow it to charge for 15 minutes
- Remove the cable from your device. (not the computer)
- Reconnect the cord after ten seconds of unplugging it
- Charge it for 30 minutes more
- For five seconds, keep holding down the Power button. On your screen, tap Restart .
- Hold the power button for another 30 seconds if you don’t see the Restart option.
Start in Safe Mode
The Safe Mode feature in Android is another option to fix an Android phone or tablet that won’t turn on. Safe mode allows you to run your device only with system apps, so it can help if a recently installed app is the reason your Android phone powers on but cannot continue past the boot phase.
A competing third-party software may also prevent your Android phone from turning on even if your device properly starts in Safe Mode. So when Android fails to launch, press the Power button until the boot process begins. Next, press the Power and Volume Down buttons at the same time. If these instructions for launching Safe Mode do not work, look online for specific instructions from your device’s manufacturer.
Reset the Android Device
A corrupted upgrade or a custom ROM may be at fault if your phone exhibits signs of life yet Safe Mode did not help. In this situation, you could attempt a reset of your device to fix an Android phone or tablet that won’t turn on.
The methods below should help you reset your Android phone using Recovery Mode . However, depending on the model you’re using, the steps involved may vary significantly.
- For a few seconds, hold down the Volume Down and Power buttons until the Android logo appears on the screen. Note that some manufacturers have different key combinations.
- To access Recovery Mode , press the Volume Up and Volume Down keys simultaneously.
- Press the Power button after selecting Wipe Data/Factory Reset using the Volume keys.
- Finally, click the Power button after selecting the option to “ Yes—Erase all Data .”
If nothing works after trying all of the aforementioned suggestions to fix an Android phone or tablet that won’t turn on, it’s time to get a new device. You could also have it repaired by a trusted professional.
