Add MobilityArena as a preferred source on Google
Find My is a handy function I use to stay connected with loved ones and keep them informed of my location. Sometimes though, I need a break from the rest of the world — just to sit somewhere without anyone finding me or interrupting my thoughts. In times like this, I prefer to stop Find My from notifying anyone about my actual location, and there are different ways to achieve this.
In this guide, I’ll show you how to freeze your location on Find My iPhone for whatever reason you may need to do this. Now, you’ll be able to catch a private moment whenever the need arises with no one the wiser.

How Can You Freeze Location on Find My iPhone?
You know those times when you just want to hide away from everyone in your favorite spot? Knowing how to freeze your location on Find My iPhone proves really useful in such cases. Of course, you could just stop sharing your location, but this action will notify the other person that you’ve canceled location sharing. Depending on how often your folks try to monitor your whereabouts, this could just alert them to the fact that you’re somewhere you don’t want them to know about and thus raise their suspicions.
So, the best action, in this case, is to just freeze the Find My iPhone location. There are a few techniques you can attempt for this purpose. When individuals that have access to your location information try to view it, you can make it such that your position remains fixed in a set location. Here’s what you can try.
Change Your Location to a New Device
With this technique, you can switch the device with which you share your location and still use your iPhone while the new device’s location is remains locked to a particular place. Besides your iPhone, this technique will require another Apple product such as another iPhone or Apple Watch. Follow these steps:
- Launch the Find My feature on the new device
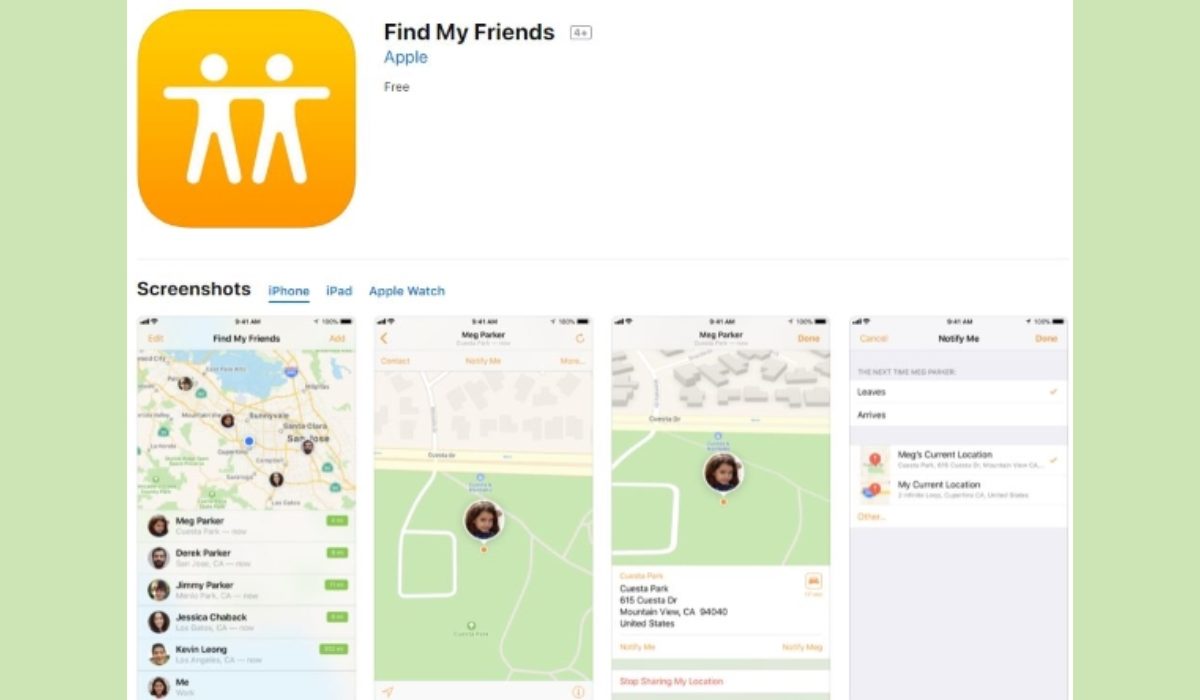
- Click the Me tab. The Find My app has this tab at the bottom. It features a circled person icon.
- Click on the Use this [device] as My Location tab. Your default Find My Location setting will now be this new device.
This means that you’ve frozen your location on Find My iPhone , especially if you keep the new device that has your default location in one place. You could leave it at home to go where you need to be for privacy or at a trusted person’s location.
Activate Airplane Mode
This is another ingenious way to freeze Find my iPhone location. When you try this method and someone tries to access your location, they will only see the most recent update to your location and your last known position. Here’s how to achieve this:
Launch the Control Center on your iPhone. Depending on your iPhone model, there are different ways to access the Control Center :
iPhone SE and iPhone 8 and earlier – move to the bottom border of the screen and swipe up
iPhone X and later – swipe down from the top-right corner of the screen
You can also access the Control Center via your phone’s Settings app.
- Once you’re in, select Airplane Mode by clicking the option. The Control Center ‘s top-left corner has the airplane icon. When turned on, it will turn orange.
- Disable Wi-Fi. To turn off your Wi-Fi if it’s active (showing a blue icon), click on it. The Wi-Fi icon should be gray with a line through it when turned off.
At this point, you’ve successfully frozen your current location on Find My iPhone . Keep in mind that updating your location on Find My iPhone will require deactivating Airplane mode or re-enabling Wi-Fi. So, don’t do any of these until you’re ready to be back on the radar of those you share your location with.
Switch off Your iPhone Device
This is the third and final method I’ll describe in this guide on how to freeze your location on Find My iPhone . Using this technique totally turns off your iPhone. Like the solution above which involves enabling Airplane mode , when someone tries to access your location, they will only see the most recent update to your location and your last known position.
Depending on the model, below are the steps to switch off your iPhone:
- Press and hold the Side button and either Volume button while using FaceID. Press and hold the Side button if you use an iPhone with a Home button.
- Next, slide the Power Off slider to the right of your phone’s screen. This action will turn off your iPhone will turn off and thereby freeze your location on Find My iPhone.
Don’t forget that the next time you switch on your iPhone, your location will be updated in Find My . I’d say use this method only if you’re sure you won’t need your iPhone turned on for whatever purpose during your private time. Otherwise, just go with one of the other two methods I’ve described above.
Author:Joan Agie
Add MobilityArena as a preferred source on Google
If you’re struggling with pre-installed apps on your Android phone, this guide is for you. I know how frustrating it can be to have apps that you don’t use taking up valuable space on your phone and cluttering your home screen. But don’t worry, deleting these apps is easier than you might think.
In this article, I’ll show you how to delete pre-installed apps on Android and free up space on your phone. I’ll also explain how to disable any default apps that can’t be uninstalled to reduce how they consume useful resources on your Android device.
- How can I Delete Pre-installed Apps on Android? Delete Preinstalled Apps on Android via Settings Uninstall Preinstalled Apps On Android Using Google Play Store How to Disable Pre-Installed Apps on Android How to Remove Preinstalled App Data from Android Phones Completely
How can I Delete Pre-installed Apps on Android?
All Android phones come with pre-installed apps that take up storage space without the user’s permission, and not all users are fine with it. So, if you want to know how to delete pre-installed apps on Android, try out any of the methods I’ve described below to uninstall and disable any pre-installed apps on your Android phone.
Delete Preinstalled Apps on Android via Settings
As I mentioned before, the preinstalled apps on Android devices are not all useful. Still, these apps use up memory, processing power, and battery life. Thankfully, you can delete them from Android phones via the Settings app. Below are useful instructions to delete pre-installed apps from an Android device through its Settings app:
- Launch the Settings application.
- From there, navigate to the General tab and choose Apps & Notifications .
- Then select the pre-installed application that you wish to remove.
- Then click on the Uninstall button, and you will be prompted to confirm the uninstallation.
- Tap OK to finalize the process.
If the button is grayed out, it means that the app is a system app and cannot be uninstalled. However, you can still disable it to free up space. I’ll go into more details later in this guide on how you can disable pre-installed apps on your Android phone.
Uninstall Preinstalled Apps On Android Using Google Play Store
You can also try to uninstall Android’s built-in apps through Google Play Store if you’re unable to do so using the Settings app. Follow these steps to get rid of pre-installed apps on Android through the Google Play Store:
- On your Android smartphone, launch the Google Play Store .
- Next, navigate to the profile icon in the top-right corner of the screen.
- Click on the Manage apps and device from the drop-down menu.
- Navigate to the Manage menu.
- Select all of the pre-installed apps you want to delete from your phone, then hit the Dustbin icon in the top right corner of the screen to uninstall them.
- Click on Uninstall .
Keep in mind that uninstalling certain apps may cause other apps on your phone to stop working properly. So make sure to confirm the right choices correctly before going through with the uninstallation process.
How to Disable Pre-Installed Apps on Android
While many apps on Android can be uninstalled, there are some system apps that come pre-installed on the device and cannot be removed. Doing so may negatively impact your phone’s performance.
That being said, some of these system apps are not necessary and can be disabled if you can’t remove them entirely. Disabling these apps won’t affect your phone’s performance and can help reduce processor usage and battery drain. To disable unwanted system apps on your Android device, follow these steps:
- Open the Settings app on your phone.
- Tap on the Apps & Notification option.
- Choose the app you want to disable and tap on it.
- Click on App permissions , then disable all permissions.
- Click on the Disable or Force Stop button. A warning will appear that disabling the app may affect other apps’ function. Press OK to confirm.
Although it is unlikely that disabling an unused app will impact your daily phone usage, it is not entirely impossible. Take note of this while disabling apps so you don’t disable useful functions at the same time.
How to Remove Preinstalled App Data from Android Phones Completely
Sometimes, pre-installed apps may leave data on your Android device that continues to consume resources even after disabling or removing them. In such cases, it’s recommended to remove the app data entirely.
To do this, you can use the Android Data Eraser tool . As privacy and security are major concerns with Android devices, it’s best to erase the app data completely so that it can’t be accessed by unauthorized parties. Using a data-erasing tool is the best way to ensure this.
The Android Data Eraser tool is designed to help you permanently delete various types of data. It’s a powerful tool that ensures data is erased permanently from Android devices. Additionally, this tool is compatible with most Android phones and OS versions.
Here are the steps to use the Android Data Eraser tool to remove preinstalled app data completely from your Android phone:
- Download and install the Android Data Eraser tool on your computer.
- Connect your Android phone to the computer using a USB cable.
- Launch the tool and select the “ Erase Private Data ” option.
- The tool will scan your phone and show you all the data types that can be erased, including preinstalled app data.
- Select the preinstalled app data you want to erase and click on the “ Erase Now ” button.
- Wait for the tool to complete the erasing process.
- Once the process is complete, the preinstalled app data will be permanently deleted from your Android phone.
To summarize, deleting or disabling pre-installed apps on Android can help you free up valuable storage space and reduce clutter on your device. While not all pre-installed apps can be deleted, most can be disabled so that they no longer take up space or use resources.
By following the simple steps outlined above, you can easily delete or disable pre-installed apps on your Android device. In need of more useful Android tips? You’ll love this category .
