Add MobilityArena as a preferred source on Google
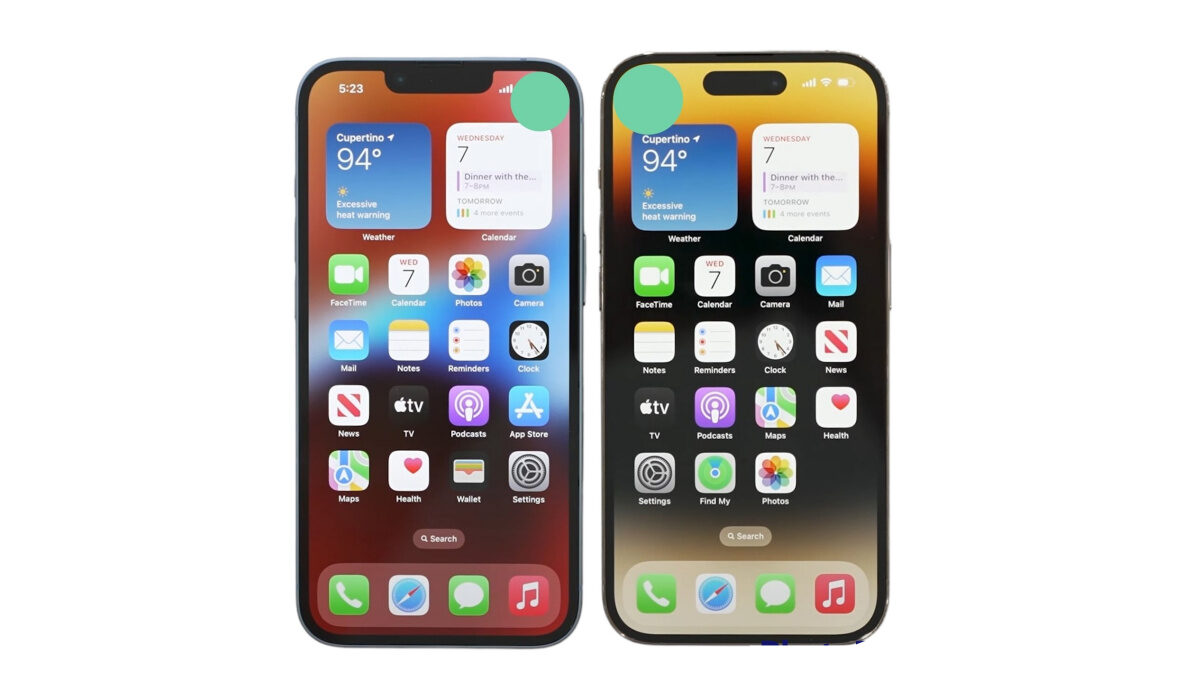
Since iOS 14 was introduced, the iPhone’s home screen unlocked new exciting levels and is finally starting to match Android’s functionalities in terms of home screen customization. Some of the new features since this upgrade include three different-sized widgets, a new, searchable App Library, and—most significantly—the option to conceal entire home screen pages.
If you’re not already familiar with how to take advantage of this upgrade and hide entire pages on your iPhone’s home screen, this guide is for you. Here, you’ll find the necessary instructions and helpful tips to get it done easily and introduce a simpler layout to your device’s home screen.
Why Would I Need to Hide App Pages on iPhone?
Having different folders for social media, mobile games, and other categories tends to muddle the layout of the home screen, although folders generally work well to manage a disorganized home page. However, when you have scores of third-party apps installed, the situation gets worse. There is less of a need for a large number of app icons on the home screen with the introduction of the new App Library, which allows you to search your apps via automatically formed directories and explore via vertical lists.
In order to allow you to conceal a full page of apps you barely use without having to delete each icon one by one, iOS 14 now lets you hide app pages on iPhone, in addition to just individual apps. The App Library still allows you to access hidden apps, and you can even restore previously-hidden home screen pages in their original form.
How To Hide App Pages on iPhone?
You’ll have to access the home screen editor on your iPhone running iOS 14 in order to conceal a whole home screen page. Previously, you could accomplish this by holding down on an app or folder for a lengthy period of time until the quick actions menu appears and disappears, or you could choose “Edit Home Screen” from any application or folder’s quick actions.
In iOS 14, those still hold true, but you may also long-press your wallpaper to enter the editor immediately. A widget or widget stack can also be long-pressed until the editor shakes everything else, or you can select “Edit Home Screen” out of its quick actions.
In iOS 14’s home screen editor, a number of new options will be visible on the screen, including the plus (+) symbol at the top (which is for widgets). There are dots for each page you have above the dock at the screen’s bottom. Previously, you could switch pages while in edit mode by tapping a dot or by swiping left or right across them all. Now, a button with a gray background appears out of those dots. To view and customize your home screen pages, tap that.
Your screen will show previews of your home pages; you might have to scroll to see all of them. Click on the checked circle beneath the preview to uncheck one home page and make it hidden. Although you can’t make all of them invisible because at least one page must be checked, it’s quite close.
To leave the page editor after unchecking the home page or pages you want to conceal, hit “Done” (on Face ID models), the backdrop, or your Home button (on Touch ID models). Do the same to exit the home screen editor after that. Now, the hidden home page or pages won’t show up as you swipe across your home screen. You will still remain able to gain access to the apps though.
Keep in mind that the first time you hide a page from your home screen, iOS will assume that you wish to conceal all subsequently installed iPhone apps from the home screen as well. As a result, only the App Library will receive any recently installed apps. You can disable the option in your Settings menu to fix this.
How Do I Access Apps from Hidden Pages?
We mentioned earlier that concealing a home page on your device’s screen does not erase its apps; rather, it simply stores them away from view. Fortunately, any apps that are on a home screen page you’ve previously hidden can be accessed very quickly.
Swipe left from any home screen page to access your App Library. If you’re looking for a certain app, you can browse through the list of categories, type the name of the app into the search bar at the screen’s top, or swipe down on the App Library to reveal the list of apps.
How Do I Bring Back Hidden Home Screen Pages?
In the event that you forget which apps are on a particular hidden home page, you can always restore the page to your screen. iOS preserves the layout of a hidden home screen page, so when you bring it back, the apps will still be there.
A hidden home screen page is just as simple to reveal as it is to conceal. Return to the home screen editor, select the page dots button to modify pages, select the circle beneath the grayed-out page to verify it, and then select the Exit button to leave the editor. Your page and all of its applications will then return to its previous location on your home screen.
In summary , it’s pretty easy to hide (and reveal previously hidden) home screen pages on an iPhone. The instructions we’ve provided in this guide are easy to follow and should help you achieve these easily. As always, we encourage you to recommend this guide to other iPhone users you know so that they can benefit from these helpful tips and instructions.
- Don’t miss our mobile phone reviews .
- Follow our news on Google News .
- Join our WhatsApp Group , to be notified of the most important articles and deals,
- Follow us on Instagram , Facebook , Twitter , and YouTube .
Author:Joan Agie
Add MobilityArena as a preferred source on Google
Although Apple’s operating system for computers comes with a large selection of fonts, some users will undoubtedly desire (or need) more. Mac users have a tendency to care about design and optics, and this typically includes thinking about fonts. Additionally, some specialized fonts can be useful for disabled individuals.
Fortunately, adding custom fonts to Apple computers is rather simple for everyone who uses a Mac. You don’t have to be a tech whiz to manage the process of downloading, installing, and enabling the fonts you desire on a Mac. You’ll just need to follow a few easy instructions, and we’ve provided them for you in this guide.

Installing Fonts on a Mac
We advise using Font Book as your starting point if you’re unsure how to install fonts to your Mac. It’s the simplest method to achieve this.
All Macs come with the free font management program Font Book pre-installed. You can use this software to install fonts for just your account, for all of the accounts on your Mac device, or for the entire network.
The procedure may vary significantly depending on what you require, and we will go over each one in this section.
Installing Fonts for only one Mac account
The instructions below should be followed if you wish to install new fonts just for your Mac account.
- Find the folder where your newly downloaded Mac typeface is located by opening Finder.
- Find a file in this folder that ends in “.ttf,” “.ttc,” or “.otf,” and double-click it.
- With this, Font Book will launch immediately for you.
- Click Install Font in the pop-up window to start.
It only takes these simple steps to add a new font to your Mac account.
Installing Fonts for All Accounts on a Mac
You will need to take a few more steps if your Mac device has more than one account and you want to apply the newly downloaded fonts to each of them.
The steps below will help you to install custom fonts throughout your entire Mac:
- Launch Spotlight or Finder
- Launch Font Book after searching for it.
- Select Font Book Preferences from the app’s menu bar at the top.
- To switch the default location from User to Computer , use the drop-down.
- Locate and browse the folder where the new font you wish to use is located.
- Double-click on a file in this folder that ends in “.ttf,” “.ttc,” or “.otf.”
- Click on the Install Font button located on the pop-up window of the Font Book.
Now that you’ve successfully added the new font to the Macintosh Fonts folder, you’ll be able to use it on your Mac from any account.
Installing Fonts for All Network Users
You must either be the network administrator yourself or ask someone who is to do it for you in order to install custom fonts for everyone on your network.
As a network administrator, you must perform the following actions:
- First, copy the required font files you’d like to install over the network
- Launch Finder and select the Go option from the top menu.
- In the drop-down menu, select Go to Folder and click it.
- Paste the font files into this folder after typing Network/Library/Fonts in the pop-up window and clicking Go .
After following these steps, all of the users on your network should now have access to the custom fonts.
Installing Fonts Manually
Mac font installation doesn’t always require Font Book. By manually copying font files to Library/Fonts, you can also accomplish this task quickly and easily.
Sadly, the Library folder and its subfolders are no longer visible to users as of OS X 10.7 Lion. Therefore, finding it will require some further work in the form of the steps below:
- Launch Finder and select the Go option from the top menu.
- From the drop-down menu, choose Go to Folder and click it.
- In the pop-up window, type /Library/Fonts and click Go
- You’ll see the Fonts folder there.
- All of the unzipped font files should be copied and pasted (or dropped) into the Fonts folder.
Using any of the methods described above, you’ll be able to download and install custom fonts easily on your Mac device depending on your needs.
Previewing Custom Fonts on Mac Devices
It can be challenging to select the ideal Mac font for your project because there are so many to choose from. When that happens, font preview becomes quite useful.
Using the Font Book program is the most effective approach for viewing installed fonts on a Mac; follow these steps:
- To discover and launch Font Book, go to Finder > Applications > Font Book or use Spotlight .
- Select the font by clicking it (fonts will be listed in the window’
- The right side of the window will display the preview.
- Click on the lines, grid, or letter-shaped buttons in the upper left corner of the window to transition between the various preview modes.
Disabling and Removing Fonts
As crucial as installing fonts is learning how to manage them efficiently on a Mac. We advise you to disable or totally uninstall the fonts you don’t use in order to reduce system clutter.
Fonts are easy to delete from a Mac, and this means removing them from the operating system. You will need to reinstall a removed one if you require it in the future.
Do this to remove fonts from a Mac:
- Open Font Book
- Select the font(s) you want to delete.
- Hold the Delete key down.
- Within the pop-up window, select Remove .
Disabling fonts on a Mac, on the other hand, results in their continued presence in your system although they’ll be removed from apps or the Fonts windows.
If this is what you’d prefer to achieve, follow these steps:
- Open Font Book
- Select the font(s) you want to turn off.
- Locate and select the Disable button at the top.
- On a pop-up window, click Disable .
In summary , we’ve provided all the instructions you’ll ever require to install and manage custom fonts on your device as needed. Make sure to follow them closely to achieve the right results.
If you know anyone else who might benefit from this helpful guide, don’t hesitate to share or recommend it to them.
- Don’t miss our mobile phone reviews .
- Follow our news on Google News .
- Join our WhatsApp Group , to be notified of the most important articles and deals,
- Follow us on Instagram , Facebook , Twitter , and YouTube .
