Add MobilityArena as a preferred source on Google
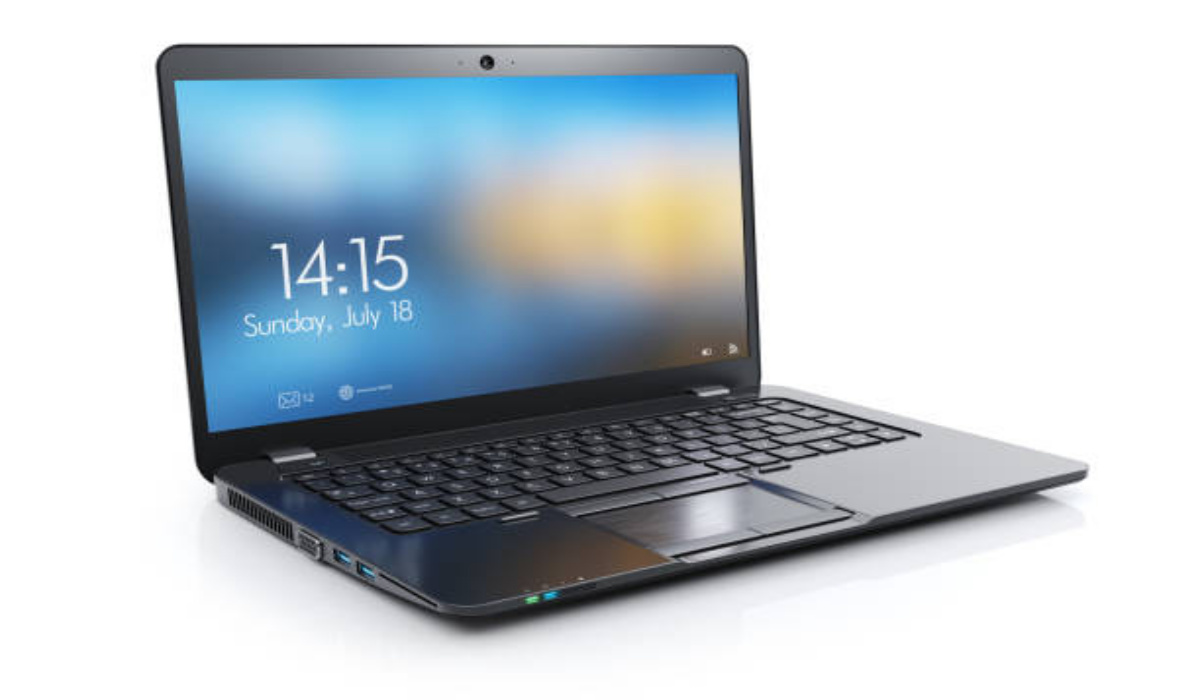
The most recent version of Windows, Windows 11, introduced arbitrary minimum requirements that effectively prevented many PCs made prior to 2017 from being upgraded. Long-time Windows customers were surprised by this, as Microsoft is often more accommodating.
Nevertheless, there are a few ways to get around Microsoft’s security measures and successfully install Windows 11 on your device if you’re using an older computer. We’ve created this guide to show you how to get this done effectively.
Can My PC Install Windows 11?
Before attempting any of the solutions in this guide, it’s smart to first confirm that Windows 11 is indeed incompatible with your computer. After all, if you can get your update directly through Windows Update, there may be no need to go through the extra stress.
Look through the minimum requirements first to verify that your PC satisfies them. If it’s a fairly recent PC, chances are high that you’ll meet all the requirements. We’ve listed them below:
- CPU: dual-core, 64-bit, 1 GHz at least
- RAM: 4 GB
- Storage: a minimum of 64 GB
- DirectX 12 compliant GPU
- TPM: 2.0
Your PC needs to be running Windows 10 from 2004 or earlier before you can install the upgrade. You should also exit S-mode if it is currently activated. You can use the WhyNotWin11 program to see if your PC is compatible as well. Your PC’s health will be indicated, and if not, what’s wrong will be explained.
You don’t need to take any action if everything looks fine from the assessment; simply wait until the update automatically downloads to your device. If your PC appears to be running Windows 10 for some reason, there’s no cause for alarm; the deployment is still in progress and will continue for the foreseeable future.
If not, look into what you can do to fix the situation. Before your PC is really listed as compatible, you may need to configure TPM and Secure Boot in the event of a TPM issue, for example. If it can’t be fixed, keep reading to find out other ways to install Windows 11 successfully.
How Can I Install Windows 11 If My Device is Incompatible?
There are two important steps in this process. Pay attention to the following:
Install a Windows 11 ISO
Installing an ISO is the simplest approach if you want to install Windows on a computer that is not supported. Microsoft decided to soften its new restriction in response to public criticism, allowing anyone with a suitable PC to install Windows 11 at their own risk. However, compared to a typical Windows installation, this will take a little more work.
Download the Windows 11 ISO file first. You can select here whether you wish to download the ISO file or the media creation tool directly. Both of these approaches are viable, but the media creation tool is probably preferable if you intend to put the installer on a boot drive or disc.
After reading the license conditions and selecting “Accept,” launch the media creation tool and select “Create installation media for another PC.” After clicking Next, choose the language, edition, and architecture for the Windows 11 installation.
Wait for the program to upload the installation to your drive after inserting your flash drive, which should have at least 8 GB of space.
Adjust the Registry to Prepare for Windows 11
You can’t install Windows 11 just yet, even if you’ve properly configured and set up the installer. You must first overcome a few roadblocks in the Registry Editor in order for the installer to work properly.
When the Registry Editor is launched (launch it by clicking Alt + R , typing “regedit,” and pressing Enter ), go to HKEY_LOCAL_MACHINE > SYSTEM > Setup > MoSetup . You’ll need to create a new value here. Allow your mouse to hover above “New,” then click “DWORD (32-Bit) Value.”
Put “1” as the value and “AllowUpgradesWithUnsupportedTPMOrCPU” as the name. Then press “OK.”
The Windows 11 installer should no longer indicate the absence of TPM 2.0 or your unsupported CPU as a result of this action. To be safe, restart your computer at this point.
You can then begin taking the update. Either retrieve the Windows installation directly from the flash drive or restart your computer and boot it onto the flash drive.
Note that this action is unsupported by Microsoft, so if you run into any problems, Microsoft may not offer any official support. As such, we advise you to carry out this update with caution because it’ll all be at your own risk.
In summary , installing Windows 11 on an older PC is as easy as following the instructions we’ve provided in this guide, so note them carefully.
- Don’t miss our mobile phone reviews .
- Follow our news on Google News .
- Join our WhatsApp Group , to be notified of the most important articles and deals,
- Follow us on Instagram , Facebook , Twitter , and YouTube .
Author:Joan Agie
Add MobilityArena as a preferred source on Google
In the ever-evolving realm of cybersecurity, there is never enough security. Just when you think you can handle everything, something unexpected happens. Safeguarding your data from all angles is therefore extremely important because no one is exempt from the possibility of a security breach, such as a routine third-party data breach.
Encryption is one of the extra layers of data security that you can employ to safeguard your data. If you encrypt your Windows folders or files, it also renders them unavailable to external unauthorized users.

How Can I Encrypt My Files on a Windows PC?
Now, you may be unsure how to do this correctly, so we’ll teach you in this guide. Keep reading to learn how to safely encrypt your important files.
Encrypting your Windows files or folders can be done in a variety of ways. The easiest technique to use is to use the Properties area of your Windows file or folder.
We’ll show you the different methods below:
Encrypting Windows Files or Folders via Properties
Using the tools that come with Windows is the simplest way to encrypt a folder or file. One such tool is the option to encrypt your files in the Properties section of each file or folder.
Follow these simple instructions:
- To encrypt a file or folder, perform a right-click, choose Properties , and then choose Advanced .
- Next, click OK , choose the checkbox next to Encrypt contents to encrypt the data, and lastly click Apply .
- When you click OK once more, the software will ask you if you want to apply the changes to the main folder only or to the files and subfolders inside as well. Select a choice, then click OK . As soon as you do this, a new dialog box asking for administrative rights will appear. To continue, click Continue .
You’re all done now, and your file or folder should now be safely encrypted.
Encrypting Windows Files or Folders using 7-Zip
As its name implies, 7-Zip is essentially a file compression program that is accessible to Windows and Linux users and helps you to shrink your files or folders without losing any data.
Furthermore, the app also allows you to encrypt your data in addition to zipping your files for compression like similar tools. AES-256 encryption, which is the first and only cipher designed by the NSA to be disclosed publicly, is used by 7-Zip to encrypt files and folders successfully.
Follow these steps to use 7-Zip to encrypt your files:
- Download the 7-Zip installer from the downloads section as the first step to get going. You can download it from this link . As soon as the download is complete, install the software, then go to the file or folder you want to encrypt.
- Right-click the file or folder when you have found it and choose 7-Zip -> Add to archive.
- In the Encryption area of the “Add to Archive” dialog box, provide a strong password. After 7-Zip has completed the file compression process, you can select the location for it and, if you’d like, play around with other parameters. After selecting all of the options, click OK to finish.
- Your folder or file will be compressed and password-protected for later use
- When you’re ready to decompress the contents, return to the file or folder in which you saved it, perform a second right-click, and then choose 7-Zip > Extract Here.
- As soon as you accomplish this, a password for decryption will be required. Your data will be decrypted when you input it and click OK .
In essence, the process is as simple as following the steps we’ve outlined above. Encrypting your files and folders is now as simple for Windows users as making new folders, and we’d even venture to say that it has become a habit for the privacy-obsessed lot of us.
Summarily , it’s smart to introduce an extra layer of protection to any crucial data you have contained in files and folders on your Windows PC. With the increasing data and security breach concerns nowadays, you can’t be too careful.
Take note of the instructions we’ve provided in this guide and follow them closely for the best results. We’d also encourage you to share or recommend this guide to any other privacy-conscious Windows users you know to help them guarantee the safety of their data.
- Don’t miss our mobile phone reviews .
- Follow our news on Google News .
- Join our WhatsApp Group , to be notified of the most important articles and deals,
- Follow us on Instagram , Facebook , Twitter , and YouTube .
