Add MobilityArena as a preferred source on Google
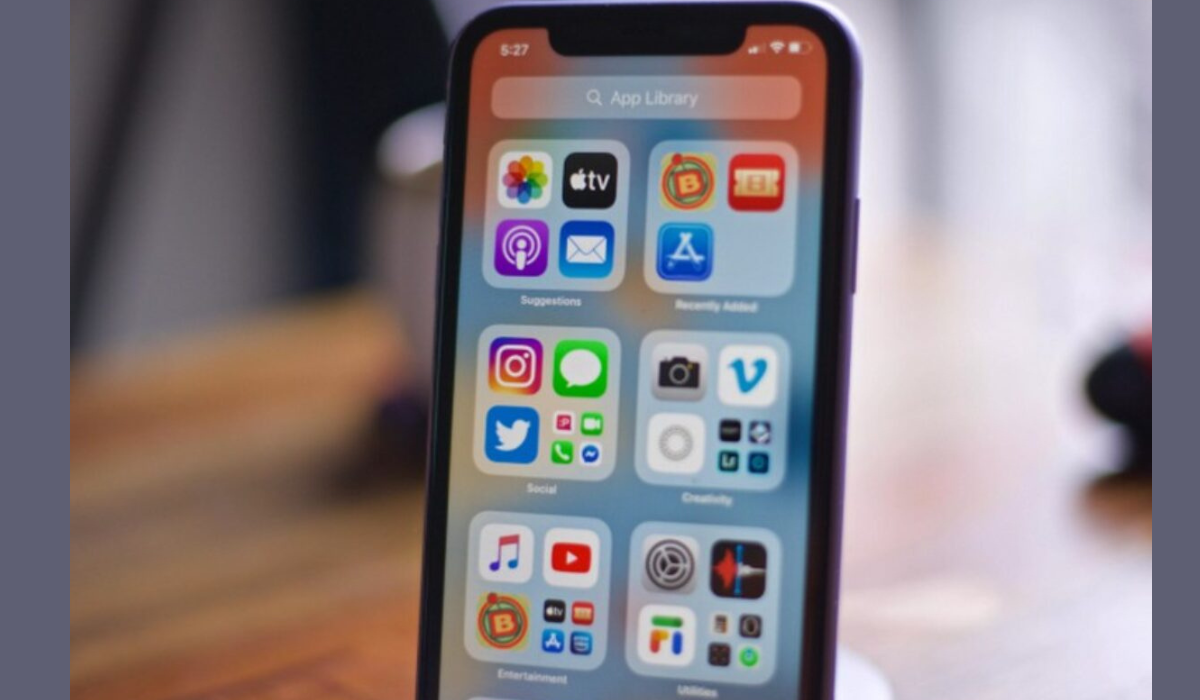
In iOS 16, Apple overhauled the iPhone’s lock screen by introducing several customization options. The ability to add widgets stands out as the most notable of these. In fact, it’s one of the features that many third-party iPhone apps use to allow users to customize their lock screen.
One such app is Lock Launcher, with which you can launch apps from your iPhone lock screen. It stands out for its capability to add app shortcuts to widgets on the lock screen for speedy access. So, in this article, I’ll show you how to use Lock Launcher to launch apps from your iPhone lock screen directly.
- How Can You Launch Apps from Your iPhone Lock Screen with Lock Launcher? Launch Apps from Your iPhone Lock Screen With Lock Screen Widgets Launch Apps from Your iPhone Lock Screen Using Live Activities
How Can You Launch Apps from Your iPhone Lock Screen with Lock Launcher?
Lock Launcher offers two options to easily launch apps from your iPhone lock screen. On your iPhone, you may either enable Live Activities to get a dock where you can place all the apps you usually use or you can set up a Lock Screen widget to contain just a few specific apps. Follow the instructions below to use either method to launch apps from your iPhone lock screen.
Launch Apps from Your iPhone Lock Screen With Lock Screen Widgets
The lock screen widget method to launch apps from your iPhone lock screen requires the least amount of setup. You won’t need the newest iPhone models to use it; it works with any iPhones running iOS 16 and later.
The steps to set up an app shortcut widget using this method are as follows:
- On your iPhone, open Lock Launcher .
- Navigate to the Widgets tab .
- To edit the first widget in the list, tap on it.
- Since this guide is showing how to launch apps from your iPhone lock screen, make sure to stay on the Featured page, press Choose Action , and locate and choose the app you want to add to the widget.
- To return to the Edit Action page, press the Back button.
- You can alter the widget’s icon, size, name, and switch to a circular backdrop from this page.
- Once you’re done, press the Save button to save the widget.
To create more widgets, repeat the steps outlined above. On the free plan of Lock Launcher, you can only build two widgets; however, you can pay to unlock more. After you’ve created the widgets, you’ll have to add them to the lock screen before you can begin to launch apps from your iPhone lock screen. The procedure is as follows:
- To enter edit mode, long-press the Lock Screen.
- Select Lock Screen from the Customize menu at the bottom.
- Click the + ADD WIDGETS button underneath the clock.
- Select Lock Launcher , and then on the screen that comes up, click on the widgets you’d like to add to your Lock Screen. Keep in mind that this widget can have up to four widget actions.
- Close the menu by pressing the X button, and then press Done to save the Lock Screen.
Now, all you have to do is tap on any of these apps’ widgets to open them. Lock Launcher will temporarily open the Shortcuts app because you’re opening it from the Lock Screen for the first time before directing you to the app you want to open.
Lock Launcher won’t do this the next time you open another app, but still note that the Shortcuts app must be open and operating in the background to successfully launch apps from your iPhone lock screen. Lock Launcher will reopen Shortcuts everytime you run any app from the Lock Screen widget if you close them.
Launch Apps from Your iPhone Lock Screen Using Live Activities
You’ll need to use Lock Launcher’s Live Activities feature if you require more than five shortcut widgets to launch apps from your iPhone lock Screen.
In order to set up Lock Launcher’s dock on your iPhone’s lock Screen and enable Live Activities , follow these steps:
- Launch Lock Launcher , select the Settings tab, select Live Activities ( Dynamic Island ), then turn on Live Activities . Afterward, click Done .
- Now, go to the Favorites tab, select Group 1 , and click the Add Action button.
- On the Edit Action screen, stay on Featured , hit Choose , and then look for the app you want to add to the Lock Screen. Tap it to activate it.
- After you’ve added one app to the Live Activities dock, use the Back key and go through the process again to add more apps to the widget.
- To save the widget, click Save .
When you’re done, the Lock Screen will display a dock with all the app widgets you just made. You can adjust some of the dock’s settings to make it more unique if you don’t like the way it looks.
You can easily do this by going to Settings > Live Activities ( Dynamic Island ) in Lock Launcher. There, you’ll find a few settings under LOCK SCREEN BOTTOM SETTINGS . The last three of them are what you’ll need.
If, for example, you want to add extra rows to your dock, tap the plus ( + ) button next to Dock Rows . Similarly, by changing the values for Icons Per Line and Icon Rounded , you can change the number of app icons displayed per line as well as the roundness of these app icons.
When you’re done with the configurations, click Done so that your changes can appear on the Lock Screen. You’ll now be able to launch apps from your iPhone lockscreen, and you can do this without opening Shortcuts .
I hope that the above explanation was helpful to show you how to use Lock Launcher to easily launch apps from your iPhone lock screen.
Author:Joan Agie
Add MobilityArena as a preferred source on Google
A cluttered camera roll might not seem like a big deal, but spending a lot of time searching through it in search of a particular image is time-wasting. Not to mention that it consumes a lot of storage space on your phone. Even if they are digital, cluttered spaces can result in stress.
In this guide, you’ll learn how to declutter your camera roll, so keep reading if you need a solution to your disorganized camera roll. I’ll go over the most effective methods and tips for creating an organized photo app, so pay close attention.
How Can You Declutter Your Camera Roll?
If you check through your camera roll, you’re likely to find thousands of photos that are just sitting there. However, if you’ve saved all of your memories, you’ll want to make sure they don’t get lost in the clutter. Here are step-by-step instructions to clean up and successfully declutter your camera roll.
Filter Your Photos by Date
Organizing your photos into sections, just like with piles of clothing, is one of the first steps if you’re trying to declutter your camera roll. The simplest way to accomplish this is to sort your photos by date.
Take the Photos app on iOS for instance (note that the method is the same for any photo app with a filter-by-date feature), locate the date filter in your camera roll. I recommend starting this process at the beginning to get the oldest camera items out first.
Start by deleting anything you don’t even recall taking a picture of, recording, saving, or screenshotting. Then proceed to the items that no longer have any value to you. Keep any files you’d like to look back on, such as photos of loved ones, and any important information.
The process will be tedious if you have thousands of files, but that is why the filter-by-date feature is so useful. You can filter through one month, or even just one day, every day, until you’ve gone through to the most recent files, rather than doing it all at once and getting overwhelmed.
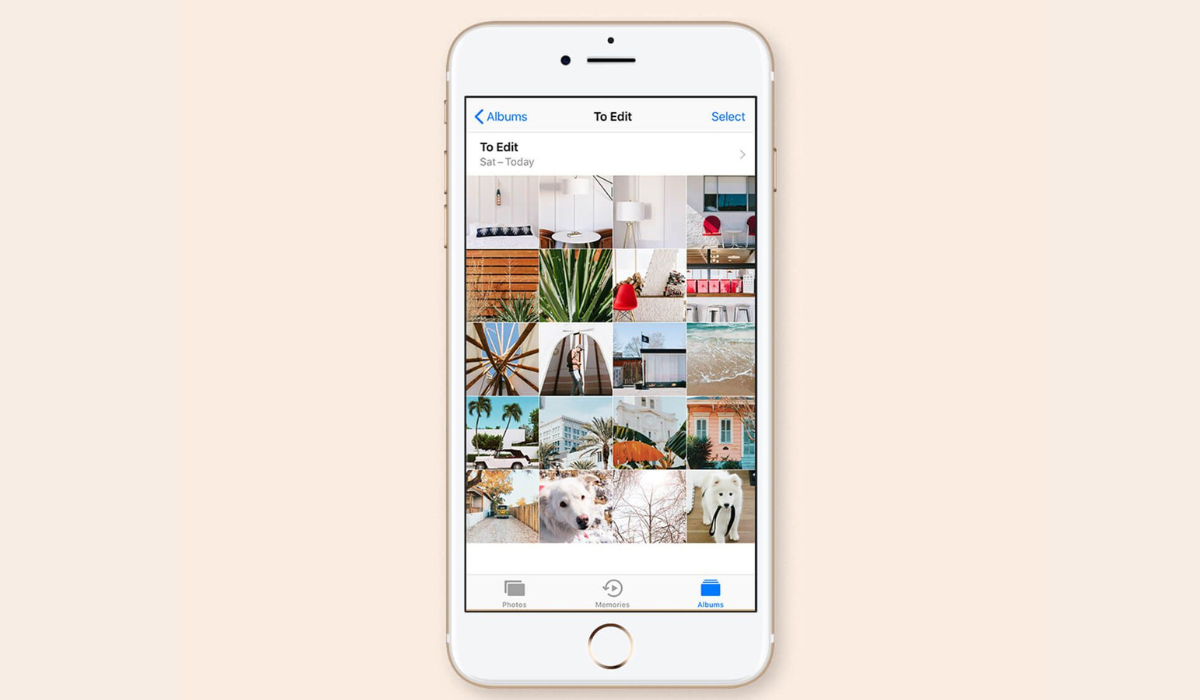
Create and Use Albums
Most photo apps include pre-built albums such as screenshots, selfies, and videos, and you’ll also be able to create your own albums. Also, if you grant any third-party apps access to your photo app, albums for those apps will be created automatically. It’s a good idea to use this album feature to your advantage when trying to declutter your camera roll
You can organize your camera roll by sorting them into categories, which is essentially what photo albums are. Go through each album and delete any files you no longer need. As with the filter-by-date method, do one album per day to keep the process from becoming too time-consuming.
Remove Your Least Favorite Shots
When taking pictures, you rarely get the perfect shot on the first try. You may sometimes need to experiment with different settings, composition, and perspectives, so of course, you’ll take as many shots as possible. This is useful for having options in post-production, but not for keeping a camera roll organized.
So, when trying to declutter your camera roll, you can transfer photos to your PC immediately you take them, then delete the ones you’re not using for editing from your phone. As soon as the shot is over, if you’re using a mobile editing program, try to go through and discard your least favored selections. Make this a habit to avoid accumulating unwanted shots over time and to successfully declutter your camera roll.
Use a Photo Removal App
Apps for deleting photos are a real gem that will make things easier when you want to declutter your camera roll. You may need to compare them to find one that doesn’t overwhelm you because they vary greatly in terms of user-friendliness and design.
I recommend choosing an app with a swipe feature, such as Gemini, which allows you to swipe up to keep something and swipe down to trash it. Also, one that includes premade albums like Screenshots , Similar , and Blurry that have all of your photos organized. This will make it much easier to declutter your camera roll.
Limit Image and Video Downloads
There are various “favorites” or “saved” features within TikTok, Instagram, and Facebook. Rather than downloading all of your favorite posts to your camera roll, use these app features. We tend to forget about saved photos and videos so quickly, so downloaded files from these apps can pile up and take up space.
To declutter your camera roll, give yourself a download limit for these apps—maybe one video and three photos daily. While it’s better to avoid downloading as much as possible, you can simply limit downloads this way if you’re worried a creator may delete their posts that you find necessary.
Reduce Screenshots
Screenshots are very popular culprits when dealing with a cluttered camera roll, most people don’t notice how quickly they accumulate. Taking screenshots of everything “just in case” will only cause you problems when it becomes time to declutter your camera roll.
Set some ground rules for yourself, such as only taking screenshots of things that might disappear forever, because some of the information you screenshot will be available elsewhere and will not be lost.
All in all, you’ll enjoy the unburdening that comes with an organized camera roll. I therefore hope you make good use of the tips and suggestions in this guide to successfully declutter your camera roll.
