Add MobilityArena as a preferred source on Google
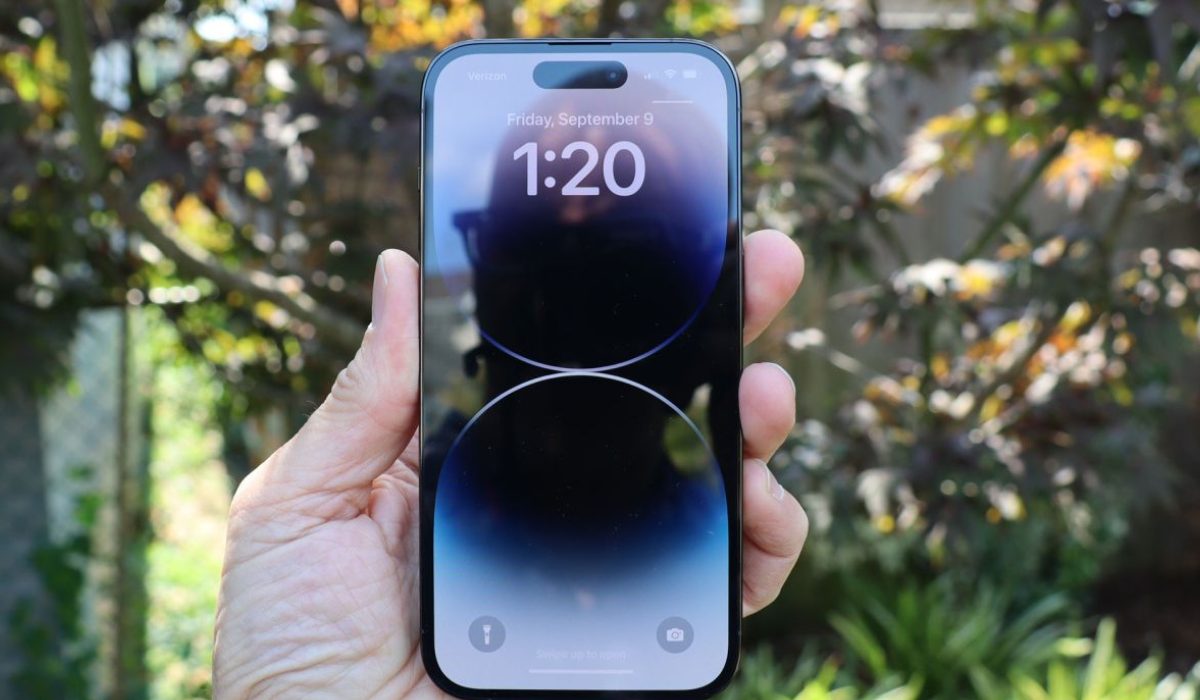
With the iPhone 14 Pro, Apple introduced a number of firsts. From the always-on display to the 48MP camera, there is a lot to discover. However, there’s also extra battery pressure brought on by such new functions, as several reviews claim that the iPhone 14 Pro can’t match the battery life of previous iPhone models.
In this article, I’ll discuss strategies to maximize iPhone 14 Pro battery life. Some of these suggestions require you to disable hardware components, others require software settings modification. Whichever you choose, you’ll surely get more use out of your battery.
- How Can I Maximize iPhone 14 Pro Battery Life? Turn off the Always-On Display Disable ProMotion to Limit the Frame Rate Disable Auto-Brightness Turn off Keyboard Haptics Reduce Background App Activity Turn Off 5G
How Can I Maximize iPhone 14 Pro Battery Life?
If the battery on your iPhone 14 Pro is depleting more quickly than you would expect, you are not alone. But that does not imply that your phone is faulty. Here are some tips to maximize iPhone 14 Pro battery life.
Turn off the Always-On Display
Unlike Android devices, the iPhone’s always-on display displays all of the elements normally visible on the Lock Screen. Each element, from your wallpaper to the Apple Watch-inspired widgets in iOS 16, keeps its position, although in a dimmed state while refreshing at 1Hz and constantly updating data in real-time.
However, if you keep using your iPhone 14 Pro in this manner, its battery life may diminish over time. So, follow these steps to maximize iPhone 14 Pro battery life by turning off the always-on display:
- Go to the Display & Brightness page in Settings on your iPhone.
- Locate the Always On setting by scrolling down and tap on it.
- Turn off the Always On Display toggle on the next screen.
Apple has added a few options if you don’t want to disable Always On Display to maximize iPhone 14 Pro battery life.
You can tweak the Always On Display setting instead of completely turning it off. Do this by disabling the Show Wallpaper or Show Notifications toggles in the same menu where you located the Always On Display toggle. If you turn off both of these toggles, your iPhone will only display the time, date, and widgets when it is locked. It’s another sufficient option to maximize iPhone 14 Pro battery life.
Disable ProMotion to Limit the Frame Rate
High refresh rate displays are attractive to look at and even more so to use, but they do run the risk of draining the iPhone’s battery. The iPhone 13 Pro handled this quite well, and we expect the iPhone 14 Pro to do the same.
However, limiting ProMotion to disable the high refresh rate display can help you maximize iPhone 14 Pro battery life if you’re ever in a pinch. To limit the refresh rate of your iPhone to achieve this, follow the steps below:
- Open Settings on your iPhone then navigate to Accessibility .
- Now, click on Motion .
- Enable the Limit Frame Rate toggle to limit your phone to 60Hz.
Disable Auto-Brightness
Disabling the Auto-Brightness setting in iOS is a vital trick for saving iPhone battery life. Since the iPhone 14 Pro can reach a peak brightness of 2,000 nits when used outside, this is even more crucial. If used for an extended time, such a brightness setting might affect the battery life of your iPhone 14 Pro.
You can disable Auto-Brightness and thereby maximize iPhone 14 Pro battery life through the following steps:
- Open Settings and select Accessibility .
- Then, navigate to the Display & Text Size menu.
- Scroll to the bottom of this screen and disable Auto-Brightness .
Turn off Keyboard Haptics
Keyboard Haptics, a new feature in iOS 16, is something you’re unlikely to value until you’ve used it personally. Sadly, the feature comes with a warning: according to Apple’s support page , it will diminish your iPhone’s battery life.
Although the option is disabled by default, if you’ve activated it or restored your iPhone 14 Pro from a device backup that included the feature, you should disable it now. Just follow these steps to do so and maximize iPhone 14 Pro battery life:
- Launch Settings , then choose Sounds & Haptics .
- Find Keyboard Feedback and tap it.
- Disable Haptics from the two options.
Reduce Background App Activity
Another way to maximize battery life on the iPhone 14 Pro is to minimize background app activities on the device. It’s common knowledge that programs on our smartphones are often running in the background. Working behind the scenes and always refreshing data ensures that you receive notifications on time and return to applications with little delay.
However, if background activities keep running, they tend to deplete the battery and consume mobile data. So, consider turning off the Background App Refresh option if you’re looking to maximize iPhone 14 Pro battery life. Follow the steps listed below to make the necessary adjustments:
- Access Settings and navigate to General .
- Find the Background App Refresh subsection.
- Which applications can refresh in the background will be up to you to choose for each one. Turn off the toggle for any applications that you believe are unnecessary.
Turn Off 5G
Another available option to maximize iPhone 14 Pro battery life is to disable 5G. The hardware components responsible for connecting to 5G networks consume additional power and affect iPhone 14 Pro battery capacity, despite the added speed benefit.
Also, with the lack of 5G-enabled towers, your smartphone may get stuck constantly searching for a signal. As such, I recommend switching off the 5G function to maximize iPhone 14 Pro battery life. To accomplish this, follow the steps outlined below:
- On your iPhone, go to Settings and then click on Cellular .
- Now, select Cellular Data Options, then Voice & Data .
- Select 5G Auto or LTE on this screen.
Note that on some devices, you might see the phrase Mobile Data instead of Cellular . This difference is due to the iPhone’s language settings.
The first option ( 5G Auto) allows your iPhone to search for and connect to 5G networks if the impact on battery life is deemed minor. The latter ( LTE) will restrict connections to 5G networks and stop the constant search for accessible networks in your area, thus helping you maximize iPhone 14 Pro battery life.
To conclude, the tips provided above will no doubt help if you ever need to maximize iPhone 14 Pro battery life. Try any or all of the suggested tips to get the best results. If you’re ever in need of tips to fix or maximize battery use in other iPhone models, check out our dedicated guides .
Author:Joan Agie
Add MobilityArena as a preferred source on Google
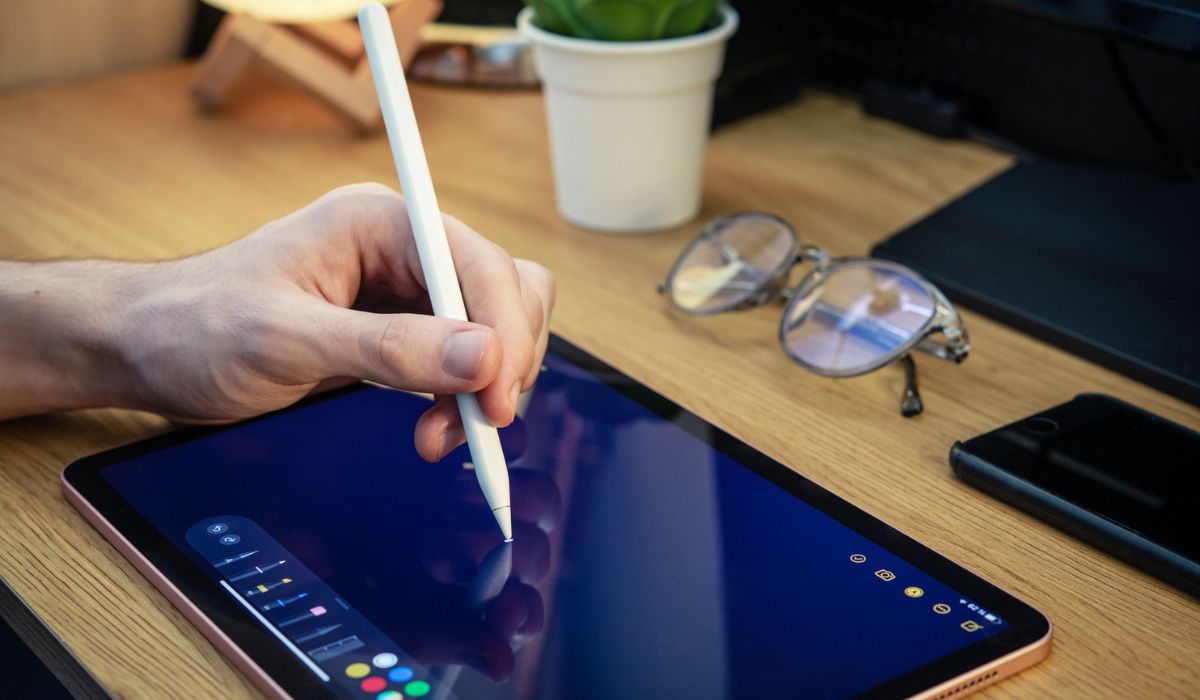
If you use an Apple iPad, I’m sure you’re already familiar with the loads of opportunities in terms of its features and usability. Whether work or play, Apple iPads offer tons of useful functionality. An even better way to use your Apple iPad is to pair it with an Apple Pencil, especially if you lean towards the artistic side.
In this guide, I’ll show you how to connect Apple Pencil to iPad if you own both devices. If you’ve not already purchased an Apple Pencil but plan to do so soon, you’ll also find out which options are best suited to your iPad. So, keep reading this guide to find out all you need to know to successfully connect Apple Pencil to iPad.
- Which Apple Pencil is Compatible With Your iPad? 1st Generation Apple Pencil 2nd Generation Apple Pencil
- How to Connect Apple Pencil to iPad Apple Pencil 1st Generation Apple Pencil 2nd Generation Charge your Apple Apple Pencil Check your Bluetooth Connection Plug Through the Correct Outlet
Which Apple Pencil is Compatible With Your iPad?
You’re in luck if you came across this article before purchasing your Apple Pencil. I say this because you might need to purchase either the first or second generation Apple Pencil, depending on the model of your iPad.
Check out the list below to find out the most compatible Apple Pencil model for your iPad. This way, you’ll have little to no issues when you want to connect Apple Pencil to iPad.
1st Generation Apple Pencil
Below are the iPad models that are compatible with 1st generation Apple Pencils:
- iPad 6th to 8th generation
- iPad mini (5th generation)
- iPad Air (3rd generation)
- iPad Pro 12.9-inch (1st or 2nd generation)
- iPad Pro 10.5-inch
- iPad Pro 9.7-inch
So if you own any of these models, you’ll easily be able to connect Apple Pencil to iPad if you buy or already own a 1st generation Apple Pencil.
2nd Generation Apple Pencil
For 2nd generation iPencils, you’ll be able to easily connect Apple Pencil to iPad if you own any of these devices:
- iPad Air (4th generation)
- iPad Pro 12.9-inch (3rd generation) and later
- iPad Pro 11-inch (1st generation) and later
Keeping this in mind, move on to the instructions in the next section to connect Apple Pencil to iPad.
How to Connect Apple Pencil to iPad
Now that you know which iPencil works for which iPad model, below are the instructions you’ll need to connect Apple Pencil to iPad depending on the models you own for both devices.
Apple Pencil1st Generation
If you own a 1st generation iPencil, here’s what you need to connect Apple Pencil to iPad. Note that the 1st generation Apple Pencil depends on a lightning connector, so follow the instructions below:
- Remove the back cap from your Apple Pencil to reveal the lightning output.
- Connect the Apple Pencil to your iPad’s lightning connector. Don’t forget that it’s the same one you use to charge your iPad.
- A pop-up box indicating a Bluetooth pairing request will appear. Tap Pair once, and you’re done!
As long as you don’t reboot your iPad, place it in Airplane mode, or link it to another iPad, the Apple Pencil will stay plugged in. To reconnect both devices if any of that happens, just repeat the steps to connect Apple Pencil to iPad.
Apple Pencil2nd Generation
If you’re using the more recent and feature-rich 2nd generation iPencil, you’ll find it even easier to connect Apple Pencil to iPad.
- Take the Apple Pencil and fasten it to the iPad’s side. It will stick because of the magnetic connector on the board.
- You’ll see an Apple Pencil overlay and a prompt to attach it to your iPad. You only need to press Connect to finish!
- As you can see, it’s easy to connect Apple Pencil to iPad if your iPencil is 2nd generation. If it disconnects, don’t forget to repeat the above instructions to reconnect them.
If you encounter any problems when you try to connect Apple Pencil to iPad, below are some useful troubleshooting tips:
Charge your Apple Apple Pencil
If you forget to charge your Apple Pencil, you may experience issues when you try to connect it to your iPad. So, before starting the connection process, make sure the iPencil is at least 50% charged. You’ll be better able to connect Apple Pencil to iPad when you charge both devices properly.
Check your Bluetooth Connection
You’ll need constant Bluetooth connection for the Apple Pencil to work as it should and connect to your iPad. As such, make sure Bluetooth is enabled on your iPad before attempting to connect Apple Pencil to iPad.
By navigating to Settings > Bluetooth and switching it on, you can enable Bluetooth on your iPad. Repeat the steps to connect Apple Pencil to iPad after doing this.
Plug Through the Correct Outlet
Despite how easy it is to connect Apple Pencil to iPad, you may still face some issues sometimes. All in all, don’t try to force the Apple Pencil into the iPad if it won’t connect because a side is broken or it won’t go in all the way.
If you’ve done all you can but keep experiencing resistance when you try to connect Apple Pencil to iPad, take both devices to an Apple Store and ask the employees for assistance.
Summarily , it’s great when you can get the best of your Apple devices. Follow the instructions in this guide to easily connect Apple Pencil to iPad if the need ever arises. If you need other dedicated guides for iPad purchase or troubleshooting, check out this page .
