Add MobilityArena as a preferred source on Google
Android devices are versatile and work for various functions, including audio recording. Whether you need to record a lecture, an interview, or create a personal memo, there are several different methods you can use to capture high-quality audio on your Android device.
In this guide, I’ll help you figure out how to record audio on Android through different methods, including built-in recording apps, third-party apps, and external microphones. With these tips and tricks, you’ll be able to capture and share audio on your Android device like a pro.
- How to Record Audio on Android How to Record External Audio on Android How to Record Internal Audio on Android How to Record Audio With a Free Android App
How to Record Audio on Android
One of the many features Android smartphones provide is the ability to record audio using built-in microphones. With the right setup, you may record calls, songs, broadcast your mobile games, and much more. You can also use this to take voice notes and set reminders. Find out below how to record internal and external audio on an Android device.
How to Record External Audio on Android
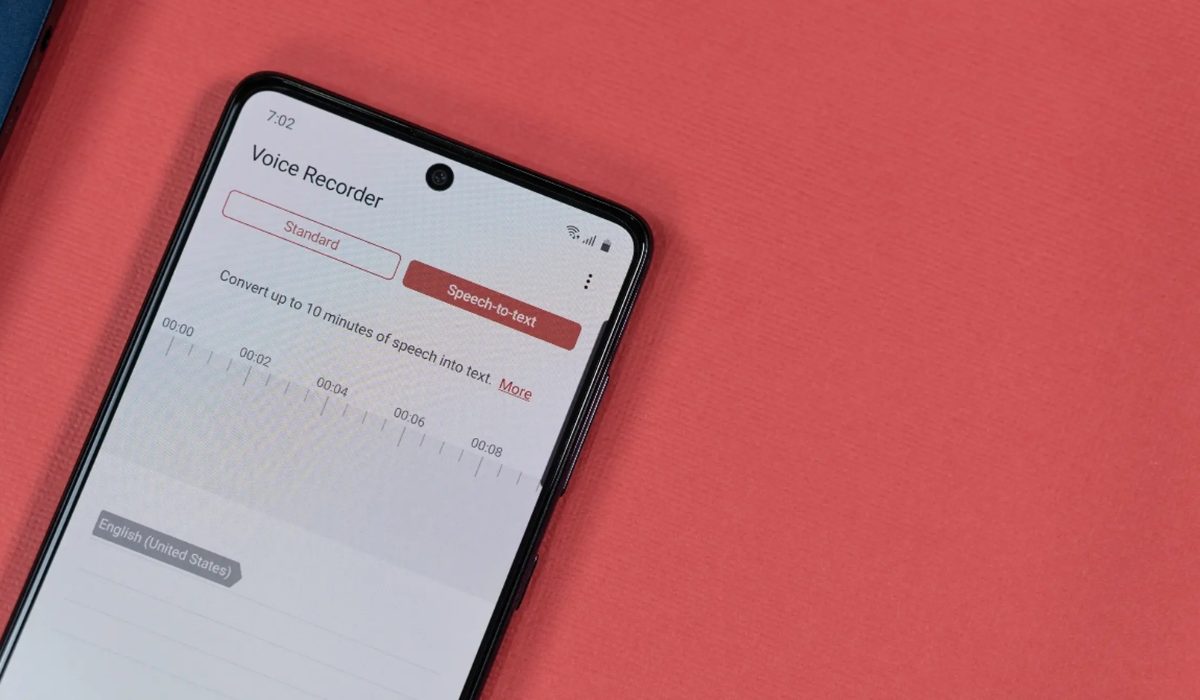
Most modern Android devices come pre-installed with a voice recorder or recorder app. I’ll show you how to record audio using the OnePlus Android phone’s recorder app. The procedure for your phone’s app may differ slightly.
- Swipe up from the bottom of the phone screen to access the app drawer. Click on the Recorder app to launch it.
- When you first launch the Recorder app, it will ask for your permission to record audio. You can permit Recorder to record audio whether at that time only or every time you use the app.
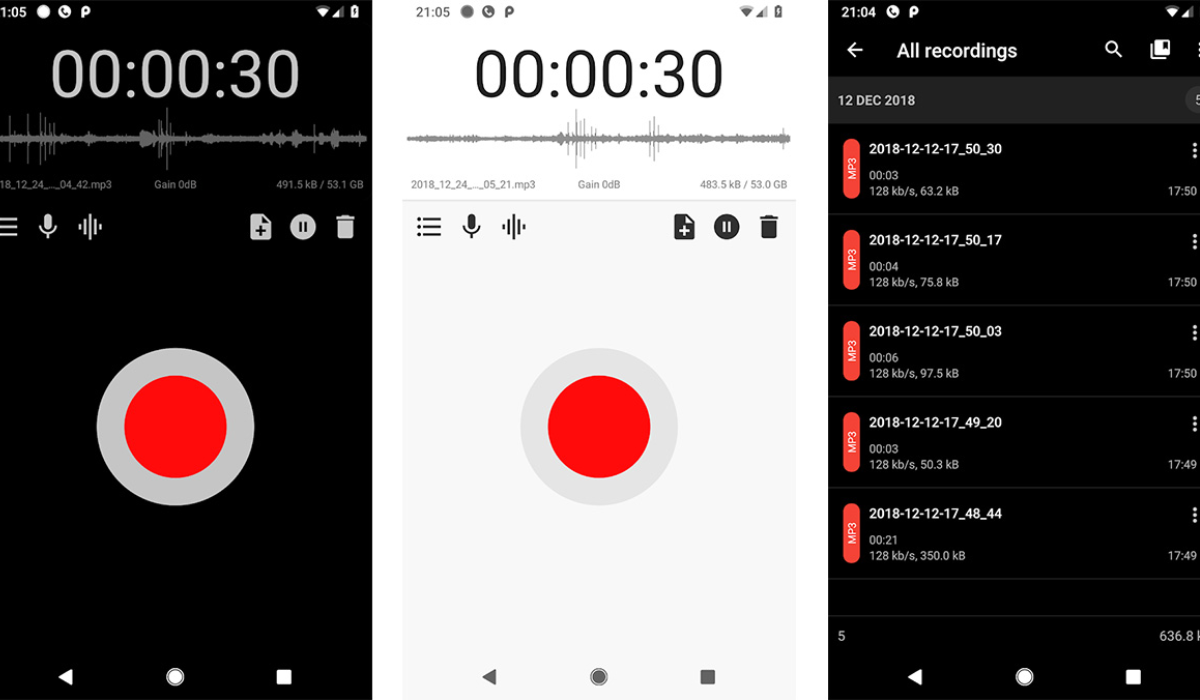
- To begin recording, tap on the microphone icon at the bottom of the screen.
- To record your voice, speak into the microphone. Keep some distance from the microphone when speaking because most phone mics are towards the bottom of the handset. Point the microphone in the direction of the sound if you are recording some other audio besides your voice. Additionally, when holding the phone, avoid accidentally covering the microphone with your hand.
- The timer will start to keep track of the duration as soon as the recording starts.
- When finished, press the Pause button.
- Then, tap the white square icon in the bottom right corner to save the recording. This brings up the option to save and name your recording.
In this manner, you can quickly make recordings on your phone without the need for a third-party app or additional tools. All of your saved recordings will be available to listen to in the Recorder app.
Open your File Manager to share your recordings on social media or email. Then, choose Audio , select the recorded file, and share it on social media, email, Bluetooth, or a USB cable.
How to Record Internal Audio on Android
Most smartphones running Android 10 or later have a screen recorder app installed, and you can record audio with this app. Also, many popular phone brands like Google, Samsung, OnePlus, OPPO, Vivo, Xiaomi, and others have integrated screen recording features that allow you to record internal audio.
The following steps are specific to OnePlus Android phones, so the process may vary slightly depending on your device:
- To open the Quick Settings menu, swipe down twice from the top of the phone screen. You might have to swipe left to find the Screen Recorder app. Click on it and then select Start now .
- The Screen Recorder menu will appear on the screen, with buttons for Record , Settings , and Close/Stop .
- To begin, press Settings to launch the settings menu.
- In the Audio source option, select Microphone audio . Only audio from the phone’s microphone will now be recorded. Choose the Internal audio option if you want to record the audio of an app or a game.
- Choose the app or game you wish to record and press the red Record button. The screen recording and timer will both start.
- Click the Pause button to pause the recording, and then press the Record button again to resume.
- When you’re finished, press the white square Stop button to end the recording. The screen recording will be stored in your phone’s gallery.
How to Record Audio With a Free Android App
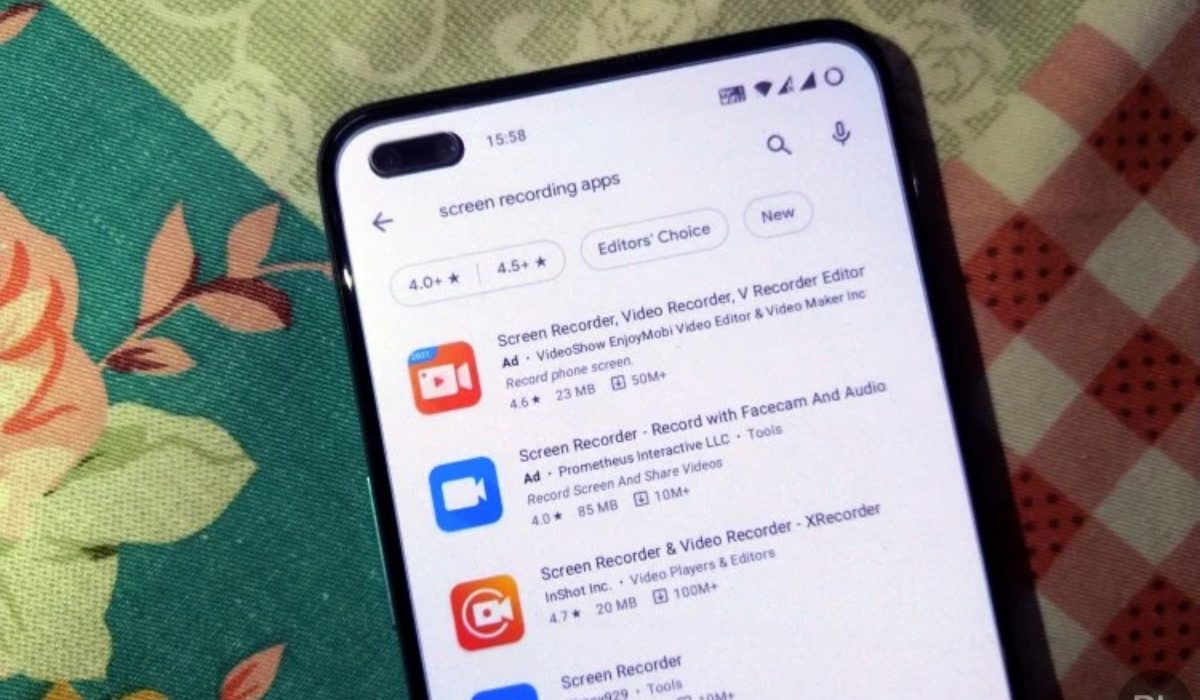
While the built-in voice recording apps may work perfectly for some, others may prefer a recording app with extra features. By going to the Google Play Store, you can easily find a variety of audio recording apps compatible with your Android phone. I’ve picked XRecorder by InShot for this guide, it’s free to use but with in-app purchases. It’s also one of the best screen recorders for Android and has several capabilities, including the ability to record both internal audio and microphone audio together.
- Launch the XRecorder app.
- To enable the floating menu ball on top of apps, select Allow .
- In the floating ball menu, tap the Settings icon. Under the Video section of Settings , choose Audio Settings .
- Choose the Microphone option if you wish to record your voice or audio using the phone’s mic.
- Alternatively, if you wish to record your voice with the audio of an app or game on your screen, select Internal and microphone .
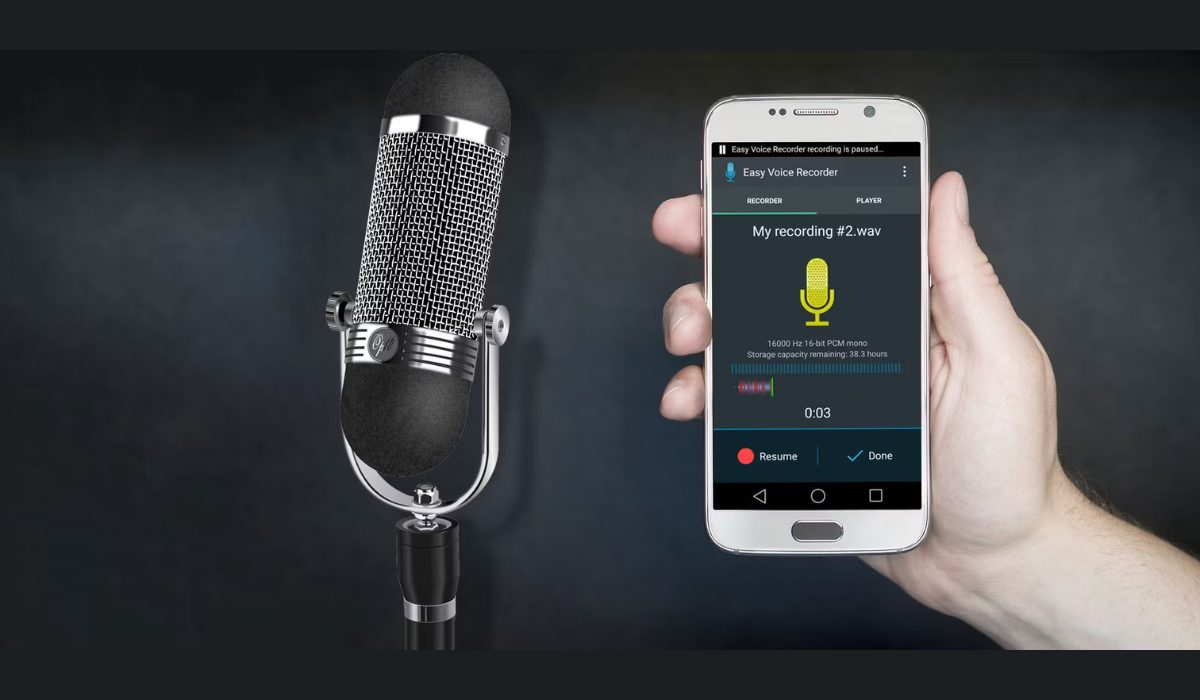
You can now start recording any app on your screen. Note that there are several other voice recording apps for your Android device on the Google Play store, such as Easy Voice Recorder , Smart Recorder , Samsung Voice Recorder , among others.
To conclude, I believe you now know how simple it is to record audio or voice on an Android phone. All you require are the built-in recorders or an app from the Play Store. By following these guidelines, you’ll be able to create and share audio content on your Android device with ease. If you need more useful Android tips, check out this category .
Author:Joan Agie
Add MobilityArena as a preferred source on Google
Sharing your location can come in handy in many situations, such as when meeting up with someone new or trying to locate an unfamiliar place. Fortunately, sharing your location on Android is easy and can be done in just a few steps.
In this article, I’ll show you how to share location on Android. Whether you’re an Android expert or a beginner, you can follow along and master this essential feature in no time. So, let’s get started!
How Do I Share My Location on Android?
Have you ever needed to send your location to a friend or family member, but didn’t know how? The steps below will guide you through sharing your location on Android, so you can stay connected with your loved ones and stay safe.
How to Share Location on Google Maps Android
Google Maps provides a feature that lets you share your Android device’s location with your contacts. Whether or not your contact has a Google account, you can share your location with any of them. However, note that how to turn on location sharing via Google Maps varies.
If your contact has a Google account:
- Launch Google Maps on your Android device. Log in to your Google account if you haven’t already.
- To open the menu, tap the icon with three vertical lines in the upper-left corner of the screen.
- Then select Location sharing .
- Click Get started .
- Choose the duration of time for which you wish to share your location. By selecting the + and – buttons, you can choose a specified duration, or you can select Until you turn this off to enable location sharing indefinitely.
- To share your location with a contact, tap on the contact and then Share .
Your contact can open their Google Maps app and locate where you are on the map. If you want to stop sharing your location, go back to the Location Sharing menu and click on the X icon next to the person you shared your location with.
If your contact does not have a Google account:
In a case where your contact doesn’t have a Google account, they won’t be visible among your contacts on Google Maps. In this scenario, follow the steps below:
- Scroll through your contacts until you find the More icon. Tap it.
- Click on Copy to clipboard .
- Tap the paperclip icon next to your profile’s avatar.
- Click on the link that shows up in the center of the screen. This will copy the link, allowing you to paste it anywhere.
- You can share the link with your contact through email or any messaging app of your preference. Once the recipient opens the link, it will direct them to Google Maps where they can view your location. This method is also helpful if you want to notify someone that you’ve shared your location with them.
To stop sharing your location, go to Location Sharing from the Menu and click on the X icon next to the contact(s) with whom you want to stop sharing your location.
How to Share Location on Android using Google Messages
You can also share your location with anyone who uses an Android or iPhone using Google Messages , including your current location and any other location. However, the downside is that Google Messages does not allow you to send your real-time location. For that, you need to use Google Maps, which I discussed above.
- Launch the Google Messages app and choose the contact to which you wish to send the location.
- To open the menu, tap on the Plus icon in the bottom left corner.
- Choose the Location option here.
- Your present location will be noted on the following page. To send it, simply click on the Send icon next to it. (Keep in mind that you are only sharing your current location and not a live one).
- If you’d rather send a different location, click the search icon in the upper right corner, input the location name, and then select the location you want to send.
- To send the selected location, click the Send icon.
You can also send the encrypted location if both you and the receiver have enabled RCS. Your location will also be sent as a link that the recipient can open in the Google Maps app.
How to Share Location on Android Via WhatsApp
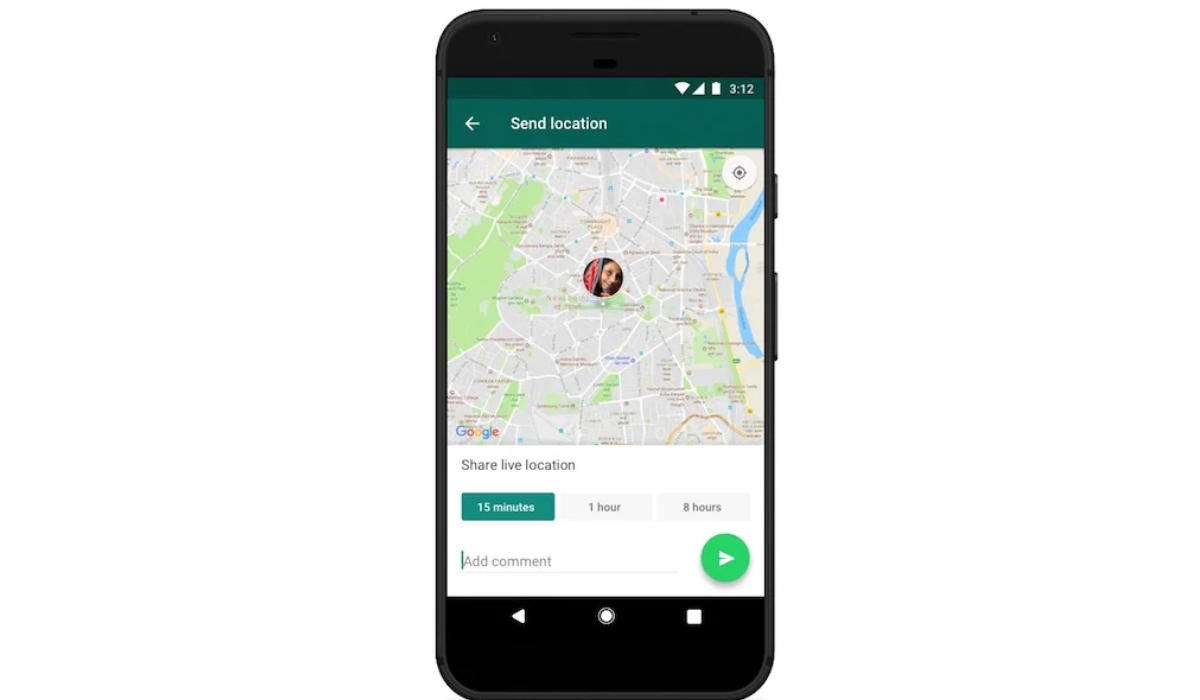
WhatsApp has more features than Google Messages and is used by more people worldwide. You can share both current and live locations on WhatsApp. The other person can also track your current location directly in WhatsApp rather than viewing the link in another map application. Follow the steps below to share your location on Android through the WhatsApp app:
- Start WhatsApp and choose the contact that you want to send the location to.
- To open the menu, click on the paper clip icon in the message box.
- Here, select Location .
- Simply tap on the Send my current location option to send your current location.
- To send any other location, press the search icon in the upper right corner, type the name/address, and then choose the location to send it immediately.
- On WhatsApp, you can also send a live location for a specific period of time. To do so, select the option to Share live location . Now, select the time period for which you wish to share your live location and press the Send icon to send it.
- To stop sharing live locations, click the Stop sharing option.
To conclude, knowing how to share your location on Android is a helpful function to inform your loved ones of where you are at any time. By following these simple steps above, you can easily share your location on Android and keep your loved ones updated on your whereabouts. In need of other useful Android tips? Check out this category .
