Add MobilityArena as a preferred source on Google
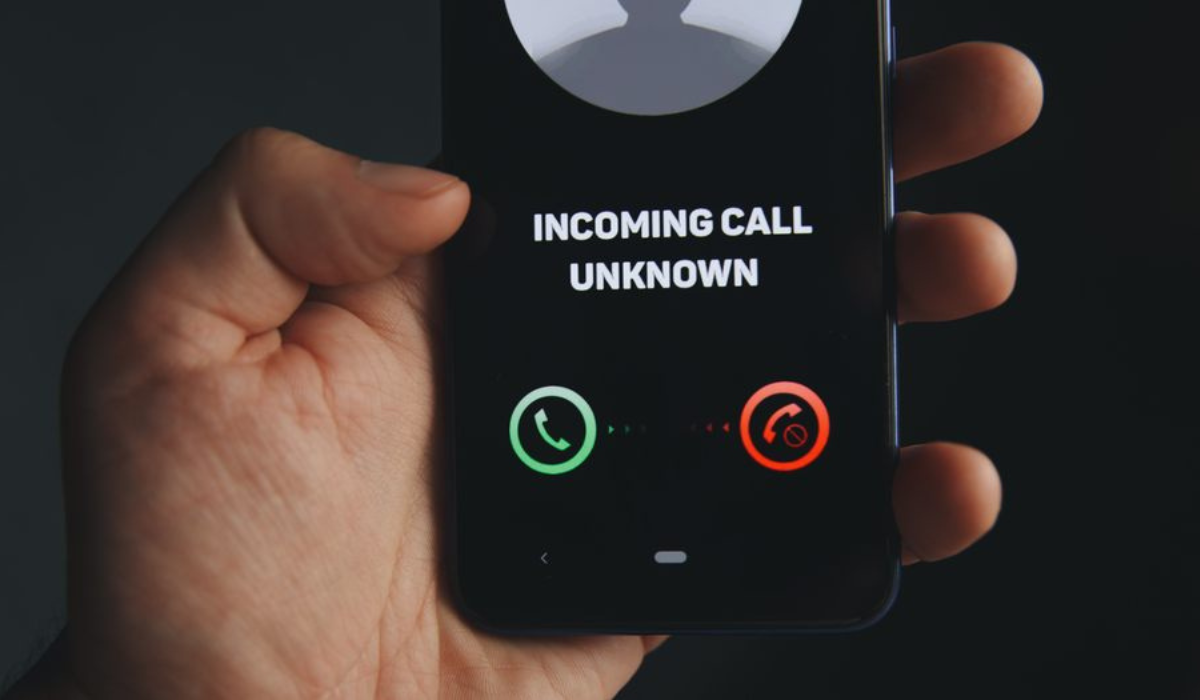
The Samsung Galaxy phones in supported areas come with a call recording feature, making Samsung one of the few Android OEMs (Original Equipment Manufacturers) to do so. I find call recording really helpful, especially when I need to take notes on important details from client calls, meeting, or other forms of important discussions on the phone.
I’ll show you how to record calls on Samsung Galaxy phones in this article. So, instead of writing down important call details with a pen and paper, you’ll now be able to easily record calls on Samsung Galaxy smartphones and listen to them later from your audio library.
- How Can You Record Calls on Samsung Galaxy Phones?
- Can You Legally Record Phone Calls on Samsung Galaxy Devices? How to Record Calls on Samsung Galaxy Phones Automatically How to Manually Record Calls on Samsung Galaxy Phones How to Access Recorded Calls
How Can You Record Calls on Samsung Galaxy Phones?
The call recording feature is built into all Galaxy devices, so recording calls is way easier. Several reasons could cause a need to record calls on Samsung Galaxy phones, and this is probably why Samsung provides native call recording features. In any case, follow the instructions below to record calls on Samsung Galaxy devices.
Can You Legally Record Phone Calls on Samsung Galaxy Devices?
Before proceeding to record calls on Samsung Galaxy phones, it’s important to note that certain local rules and regulations may cause the feature to be unavailable in your country or residence area.
Also, call recording without the consent of the other person is unlawful in various countries. So don’t be surprised if your Samsung Galaxy device lacks the call recording feature. You’re out of luck in such circumstances because there’ll be nothing you can do to enable this feature.
How to Record Calls on Samsung Galaxy Phones Automatically
It’s possible to program your Samsung Galaxy smartphone to automatically record all calls. You can record calls from all contacts in your phone book, chosen contacts, or unknown numbers, depending on your preferences. Here’s what you need to automatically record calls on Samsung Galaxy devices:
- On your Samsung Galaxy mobile, launch the Phone app.
- In the top-right corner, tap the 3-dot overflow menu button, then Settings > Record calls .
- Navigate to the Auto record calls menu and turn on the feature.
- Next, decide if you want to record All calls , Calls from Unsaved Numbers , or Calls from Specific Numbers .
How to Manually Record Calls on Samsung Galaxy Phones
On phones like the Galaxy S23, Note, or Galaxy Fold series from Samsung, you can manually record individual calls as well. Here are the steps to manually record calls on Samsung Galaxy phones:
- Open the Phone app on your Samsung mobile and dial the number of the person whose call you want to record. On the other hand, you could also accept the incoming call that you want to record.
- On the call screen, click the Record call icon to start recording. If you don’t see the option on the call screen, press the three-dot menu button in the top-right corner and then click Record call .
- You will be prompted to agree to the terms and conditions before you can use the call recording feature for the first time.
- The other party won’t be aware when you record calls on Samsung Galaxy devices, unlike some other phones. That only occurs on Android phones with the Google Phone app set as the default dialer app.
Keep in mind that the procedure for recording a phone call is the same on One UI 4, One UI 5, and One UI 5.1.
Furthermore, please take note of the following when trying to record calls on Samsung Galaxy phones:
- VoWiFi calls—that is, voice calls made over Wi-Fi—cannot be recorded.
- It’s also worth noting that you can’t record calls on Android with a third-party app. These apps do not work on Android 9 or later because of privacy concerns. Any app that promises to perform this function will necessitate the rooting of your Android device, which can void the warranty on that device.
- There is no Samsung call recorder app available. Rather, the call recording feature is built into the One UI Phone app. This also implies that the recorded call files can only be accessed through the Phone / Dialer app.
- As a result, if your device lacks the call recording feature, you cannot simply download an app from the Play Store to gain this functionality.
If your Android device includes the Google Phone app as the default dialer, follow the instructions below to record voice calls:
- Launch the Google Voice application.
- Go to Settings by clicking the hamburger menu in the upper-left corner.
- Enable the incoming call options.
- Open the keypad and press 4 to begin recording when you answer a call on your Google Voice number.
- All participants on the call are going to hear a “ This call is now being recorded ” message.
- Tap 4 to end the recording and locate the voice clip in the Voicemail menu.
How to Access Recorded Calls
The Phone app on your Samsung Galaxy mobile allows you to examine recorded calls.
- On your Samsung Galaxy mobile, launch the Phone app.
- In the top-right corner, tap the 3-dot overflow menu button.
- Navigate to Settings > Record Calls > Recorded Calls . All recorded calls will be displayed here. To make it easier to identify the recorded calls, the file name will include the contact name or phone number.
- Select any recorded audio file and then tap the Share button to share the call on WhatsApp, Gmail, Drive, and other services.
As you can see, it’s rather easy to record calls on Samsung Galaxy smartphones, assuming local regulations do not prohibit the company from providing the feature in your area. And always keep in mind that you should never record a call without first telling the other party.
Author:Joan Agie
Add MobilityArena as a preferred source on Google
The Windows 11 PC Clock app can do much more than just tell the time. It helps you create a countdown timer, set alarms, use a stopwatch, or start a focus session. But if the Windows 11 Clock fails to load or open on your PC, you may be unable to do any of the above.
In this article, I’ll show you some ways to fix the Windows 11 Clock App not working. Luckily, you can resolve this issue with a few simple and effective troubleshooting techniques. Let’s have a look…

- How Can You Fix the Windows 11 Clock App Not Working? Restart Your Computer Scan System Files with SFC and DISM Repair or Reset the Clock App Run the Windows Store Apps Troubleshooter Reinstall the Clock App With PowerShell Update the Clock App
How Can You Fix the Windows 11 Clock App Not Working?
There are many common fixes that the Windows Clock app has in common with other similar applications. As a result, you can attempt these general remedies for Windows apps to see if they work, and if they don’t, you can move on to the more advanced fix. With these Windows 11 fixes listed below you can restore the Clock app.
Restart Your Computer
Restarting your computer is a tried-and-true troubleshooting method that can help you resolve a range of issues with your apps and Windows. If it’s simply a little bug that’s causing the Windows Clock app to behave strangely, restarting your PC should solve the problem and save you a lot of time. As a result, it should be the first thing you try to fix the Windows 11 Clock app not working.
Scan System Files with SFC and DISM
Problems with your PC’s system files can potentially cause the Clock app to misbehave. SFC (System File Checker) and DISM (Deployment Image Servicing and Management) are two Windows system utilities that can help repair corrupted system files to fix the Windows 11 Clock app not working.
- Click the Search icon.
- In the Search field, type “ cmd ”
- Select the option to Run as Administrator by right-clicking the Command Prompt .
- Put in the command sfc /scannow and press Enter .
- After that, run the Dism/Online/Cleanup-Image/RestoreHealth command.
- Restart your computer afterward and see if you can now access all of the Clock app’s features.
Repair or Reset the Clock App
For UWP (Universal Windows Platform) apps, Windows 11 includes a handy repair feature. If the Windows troubleshooter fails to find any problems, you can use the UWP repair to try to fix the Windows 11 Clock app not working on your PC. The procedure is as follows:
- Go to the Settings menu and select Apps .
- Next, select your Apps and features .
- Look for the Clock app.
- Select Advanced Options after clicking the three dot-menu.
- Finally, click on Repair .
If repairing the app does not solve the problem, click the Reset option. By doing this, Windows will be able to clear any app-related data and restore the app to its original state.
Run the Windows Store Apps Troubleshooter
Your PC’s apps can be scanned for common problems by the Windows Store Apps troubleshooter, and it can then try to resolve them on its own. Running this tool should help fix the Windows 11 Clock app not working.
Follow these steps to launch the Windows Store Apps troubleshooter:
- To access the Settings app, press Win + I .
- On the System tab, select Troubleshoot > Other Troubleshooters .
- Locate the Windows Store Apps button and press the Run button beside it.
Reinstall the Clock App With PowerShell
Sometimes the way to fix the Windows 11 Clock app not working involves completely uninstalling the app and installing it again. So you might try uninstalling the app first, then using PowerShell, install it again. The steps are as follows:
- Open PowerShell using admin rights.
- To uninstall the application, use the following command: “ get-appxpackage Microsoft.WindowsAlarms | remove-appxpackage ”
- Then, to reinstall the Clock app, run the following command: Get-AppxPackage -allusers Microsoft.WindowsAlarms | Foreach {Add-AppxPackage -DisableDevelopmentMode -Register “$($_.InstallLocation)\AppXManifest.xml”
- Finally, restart your computer and launch the app.
If you can’t install the app via PowerShell, try installing it using the Microsoft Store.
Update the Clock App
If you’ve turned off the Windows Store app’s automatic updates at some point, you may be using an out-of-date version of the Clock app, which might cause performance issues. As a result, it’s a good idea to see if there’s an updated version available to fix the Windows 11 Clock app not working.
Search for the Windows Clock app in the Microsoft Store app. Click the Update button to install a new version if one is available. The app is already up to date if you see the “ Open ” button.
Basically, the Clock app in Windows 11 received a significant visual change, as well as some intriguing new functionality. Those upgrades, however, have not rendered the app immune to occasional glitches and hiccups. Hopefully, one of the above solutions has helped you fix the Windows 11 Clock app not working, and everything is back to normal.
