Add MobilityArena as a preferred source on Google
A need arises occasionally to record the screen of your device. Windows offers the Game Bar for this purpose, and macOS has a screenshot tool, both of which can be used to record the screen on your computer. Also, the Screen Recording function is available on Apple devices, but what do Android smartphones have to carry out this function?
Thankfully, Android 11 recently introduced a screen recorder to Google’s mobile operating system, and some Android 10 smartphones like Samsung, LG, and OnePlus have their own variations of the function.
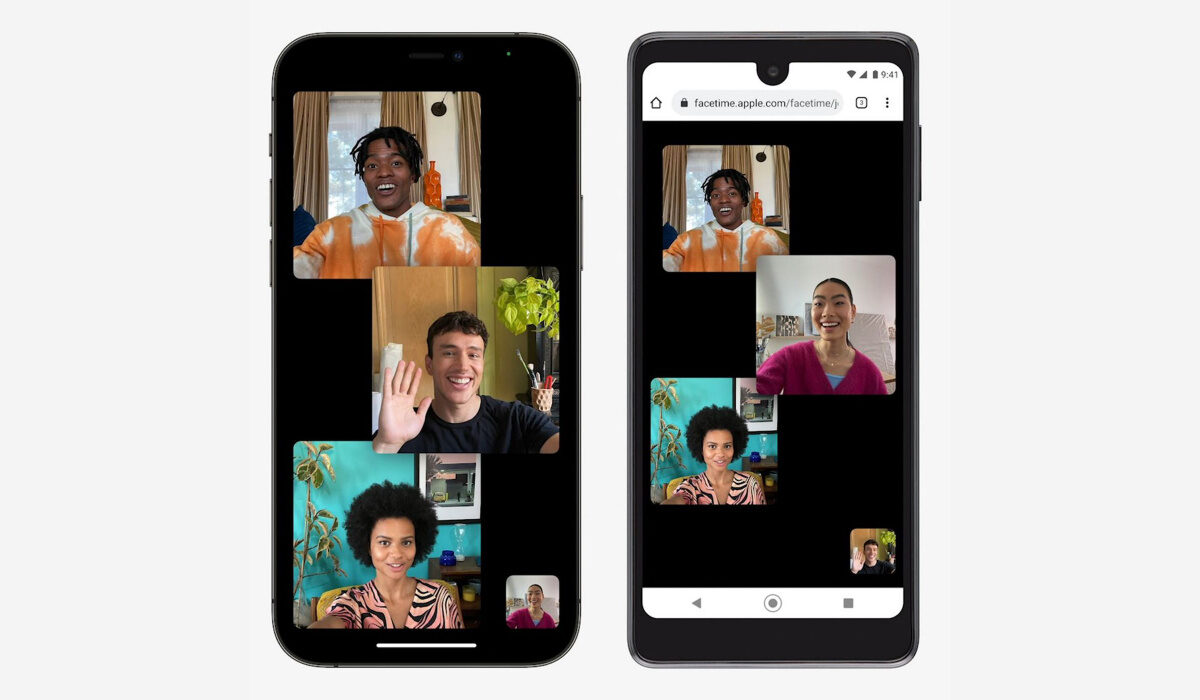
In this article, we’ll show you how these screen recording options work. We’ll also show you other options you have available to use if you’re working with an older Android device.
Use the Android Screen Recorder
The technique for screen recording is generally the same across different types of Android devices, with a few modifications here and there.
Basically, take note of the following:
- Slide the notification shade down from the top of your screen to display the quick settings options.
- Give the device permission to record the screen by tapping the Screen Recorder icon (keep in mind that you may have to modify the default icons that show up).
- Decide if you want sounds to be recorded or not, then adjust settings accordingly.
- When you select Start recording , a countdown will start before a toolbar displays, then the recording will begin.
You may activate your front-facing camera, reduce the toolbar, scribble on the screen, halt the recording, or stop it altogether. You can also reposition the selfie window and toolbar to wherever you want on the screen.
The video you record will be saved to your phone’s media storage when a recording is stopped. Simply long-press the Screen Recorder fast settings icon if you want access to further settings.
Use Third-Party Applications
There are a number of third-party applications that can help you record the screen of your Android smartphone. You can simply use this option if you’re using an Android device that does not support the Android Screen recorder.
These third-party apps are free, but you’ll also have the option to upgrade to a paid version wish should typically support more features. We have described some of the best ones below.
Google Play Games
Google Play Games is a good, free choice if you want to record some gaming. The app lets you record any game and add front-facing camera footage from your phone, however, it can only record in 480p SD or 720p HD.
To use the Google Play Games option:
- Opening the program will allow you to select a game from among those that are already installed on the Home page or one that you have downloaded. To view the game’s details, tap the thumbnail.
- Next, click on the Record button up top. Choose the video quality from here.
- After you tap Launch to begin your game, a floating video bubble will appear on the screen with recording options. Your microphone, front-facing camera, and recording are all controlled by the controls that are located around your head. To select the ideal spot, you can also drag your video bubble across the screen.
- Begin recording your video by tapping the red button. The recording for Google Play Games will begin after a three-second countdown.
- To stop recording, tap the record button once more. Optionally, you could also place the floating video bubble right next to the X in the middle of the screen.
- You have the option to edit the finished video or post it using the YouTube app.
ADV Screen Recorder
You can record any action on your screen with the free third-party tool ADV Screen Recorder. You can manage your recordings from any screen by opening the button overlay by tapping the + icon in the program. Remember that you won’t be able to interact with the remainder of the screen while this overlay is active.
You can begin recording, use a front-facing camera angle, browse your library of recordings, and draw on the screen when you activate the button overlay. Before all of these capabilities are accessible, you must allow the app the necessary permissions.
To begin recording, tap the record button. To stop or pause, tap the button overlay. From within the app, you can modify and share your recording. In the options, you can adjust the frame rates (up to 60fps), resolution (up to 1080p), and bit rate (up to 15Mbps). You can also change the parameters for the direction of the microphone and video.
AZ Screen Recorder
You can record video, take screenshots, and begin a live video with the third-party AZ Screen Recorder app, which is available for free but contains ads (you can purchase for $2.99 to remove the ads). When given the necessary rights, the software includes a pop-up control button on the screen and may be operated from the notification shade on the phone.
To use this app:
- To start recording your screen, open the app, tap the orange camera button, and then use your phone as usual.
- Additionally, a smaller camcorder bubble will appear on the screen and stay there even after you close the app. To pause or stop the recording, tap this symbol.
- You can access stored recordings in the app, activate other toolbox items, and begin a live broadcast on Facebook or YouTube using the bubble’s additional options.
You can see saved screenshots and video recordings inside the app, and they may be edited and shared as you please. You may also adjust video parameters such as frame rate (up to 60fps), resolution (up to 2,220 by 1,080), time-lapse, bit rate (up to 12Mbps), and device orientation, in addition to audio recording settings, using a settings menu.
There are other screen recording third-party apps you can benefit from using, such as the Superscreen recorder and Mobizen screen recorder. Feel free to choose the tool that works best for your needs and specific device.
In summary , recording the screen of your Android smartphone used to seem impossible, but not anymore. Simply take advantage of the helpful tips and instructions we’ve provided here.
We also encourage you to recommend this article to and of your loved ones who might be interested in recording the screen of their Android smartphones.
- Don’t miss our mobile phone reviews .
- Follow our news on Google News .
- Join our WhatsApp Group , to be notified of the most important articles and deals,
- Follow us on Instagram , Facebook , Twitter , and YouTube .
Author:Joan Agie
Add MobilityArena as a preferred source on Google
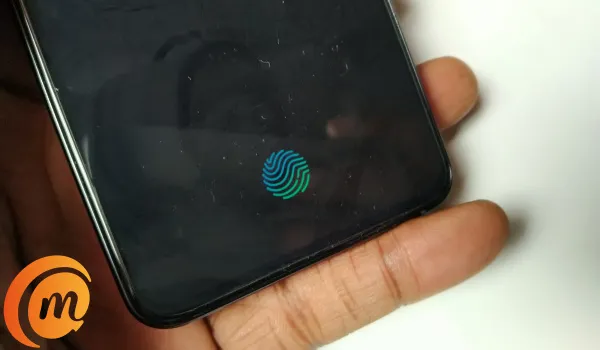
Why would you ever need to bypass fingerprint lock on Android phone e.g. a Samsung smartphone? When it comes to securing your Android smartphone, you have a variety of choices for locking the device. By using fingerprint authentication, you may lock your phone without having to remember complicated PIN codes or complex passwords. Fingerprint recognition is a simple and practical method of security. Additionally, you may use your finger to unlock some apps, including WhatsApp, and authorize payments.
However, there are some instances where you place your finger on the sensor to activate the fingerprint lock, but the phone refuses to unlock despite your repeated attempts. In situations like this, how exactly does one bypass the fingerprint lock?
There is no need to worry. In this article, we’ll show you different ways to unlock your Android smartphone without using fingerprint recognition.
- First Things First
- Use a Third-Party Tool (Android Screen Unlock) to Bypass Fingerprint Lock on Android
- Hard Reset your Android Smartphone
- Use Google Find My Device
First Things First
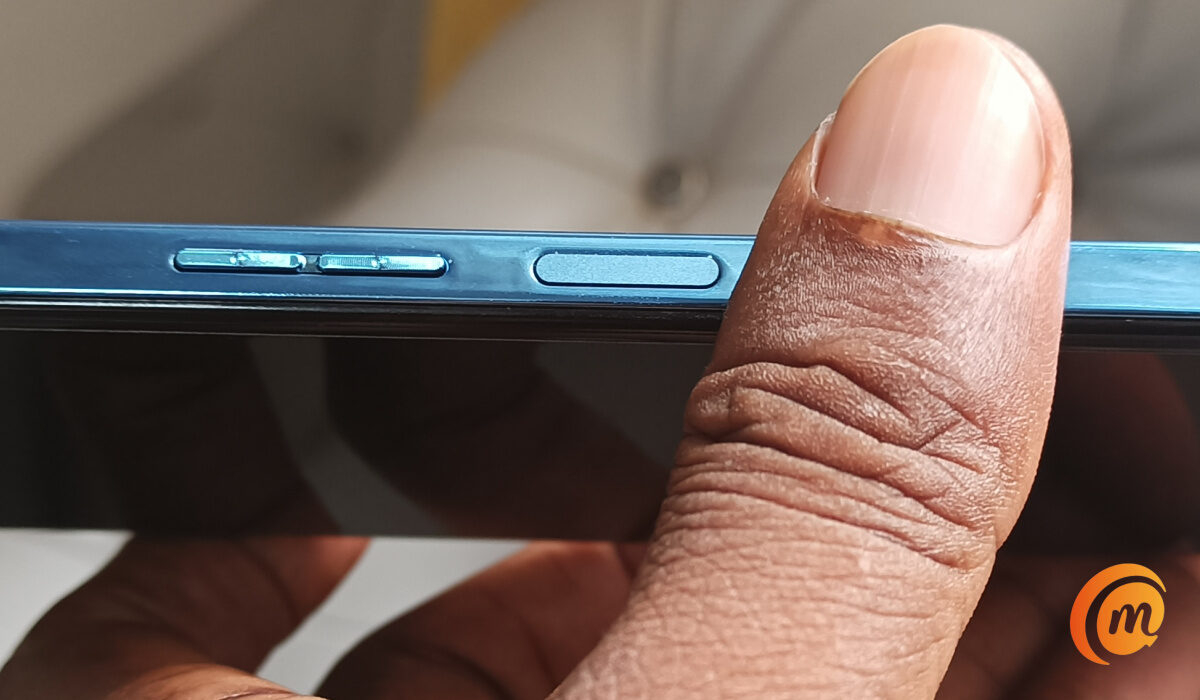
Before taking any drastic measures to unlock your phone, it’s a good idea to just verify if you’re placing your finger correctly on the sensor, or if a glitch is causing the fingerprint recognition to work.
Before placing your finger on the hardware of your smartphone, make sure it is clean. The software might not be able to detect and scan it if it has dirt or is damp. The biometric lock and the fingerprint lock are extremely similar. If your hands are unclean or moist, the fingerprint sensors frequently won’t function properly. You should thus thoroughly wash your hands before attempting to unlock the device again.
There could also not be enough space on your device to run the fingerprint method or your Android smartphone has a glitch issue. The programs that are running in the background could be to blame for this. Therefore, restarting your device is the most effective and convenient option to get your fingerprint to function properly. According to studies, rebooting your phone should fix any problems with your fingerprint lock screen.
If you’ve tried the above fixes and your smartphone still doesn’t unlock, it means it’s time to try a different approach. Consider the options we’ve described below.
Use a Third-Party Tool (Android Screen Unlock) to Bypass Fingerprint Lock on Android
Using the third-party tool is the ideal solution to the fingerprint lock bypass issue on an Android handset. The reason for this is that a third-party tool makes the procedure both simpler and easier. Although there are several Android unlocking tools available, Android Screen Unlock is the best option.
This software, which completes the task with only a few clicks, is advised. Because of this, the unlocking process is quick and highly successful. You’ll be able to get around the fingerprint lock with a few clicks. Additionally, it is a safe tool that helps you restore your device’s functionality and can unlock LG and Samsung phones without erasing data.
Here’s how to use the Android Unlock app to unlock an Android fingerprint password:
- You’ll first need to download and install the software on your computer, then run the software. Next, select the “Screen Unlock” tab.
- Click the “Android Screen Unlock” button after using a data cable to connect your Android phone to the computer. next, decide which model of your phone will allow you to unlock the fingerprint lock.
- Enter the Download or Recovery mode, then wait for the operation to be completed. Next, click “Remove Now” to get around Android’s fingerprint lock.
Hard Reset your Android Smartphone
Hard resetting your Android smartphone is another fantastic method for getting beyond the fingerprint lock screen on an Android phone. This process is also known as factory resetting. By erasing all of the data that is present on your Android phone, including all of the messages, movies, and photographs as well as the screen lock format, you can restore it to its initial state using this technique.
To do a hard reset to unlock an Android phone with a fingerprint:
- Long-press the volume and power buttons at the same time until the screen becomes dark. Doing this will turn off the device.
- When the Android bootloader menu appears, choose “Recovery Mode” and press the power button to confirm your choice. Press the Volume Up or Down buttons to swap between selections.
- From the Recovery menu, you need to click on the “Wipe data/factory reset” option.
- Reboot your device after waiting for the process to finish. You can use the phone without the need for a fingerprint lock once it has been booted up.
UseGoogle Find My Device
All Android devices have a feature called Find My Device that allows you to erase the device using your Google Account. Actually, if you have a Google Account and are logged in, this works. Find My Device is your best option to bypass the fingerprint lock if your Android phone is running an operating system lower than 7.0.
You will need a computer or laptop for this process, or another smartphone that has the Find My Device software installed.
Use Google Find My Device to remotely access the fingerprint device by carrying out the following actions:
- On your computer, launch Find My Device and sign in with your Google Account.
- Select your locked Android device and select “ERASE DEVICE.”
- For validation, enter your Google account once more. To remove the fingerprint protection from your Android phone, tap the “Erase” icon.
In summary , it can be quite distressing to get locked out of your smartphone and not be able to unlock it using your fingerprint. However, just try one or more of the fixes we’ve described above to unlock your device.
- Don’t miss our mobile phone reviews .
- Follow our news on Google News .
- Follow us on Instagram , Facebook , Twitter , and YouTube .
Author:Joan Agie
Add MobilityArena as a preferred source on Google
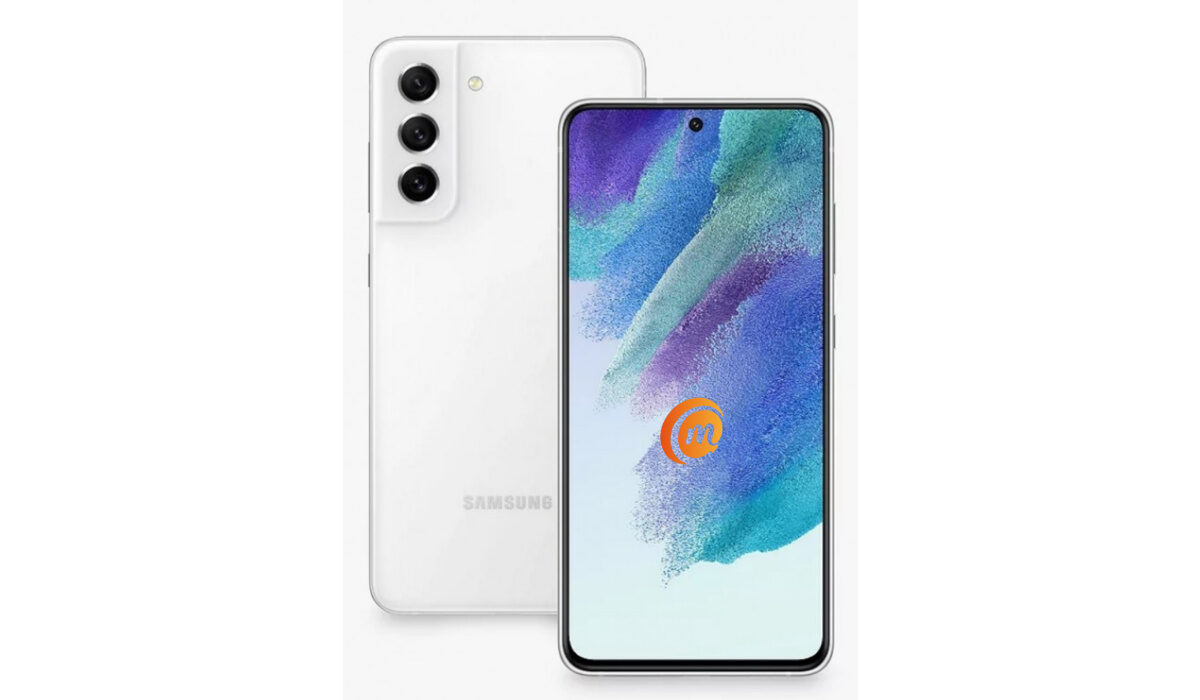
The Samsung Galaxy S21 FE 5G was released on the 11th of January, 2022 as the final variant in the S21 series. It is slightly cheaper than its older siblings but it is still a high-end smartphone with all its top-notch features. However, there have been users who encountered a few problems while making use of their S21 FE smartphones. The reviews for the Samsung Galaxy S21 FE have largely been positive but no phone is perfect. We’re going to take a look at some of these problems today.
Samsung Galaxy S21 FE 5G problem:Fast Battery Drain
For the most part, a lot of Samsung Galaxy S21 FE 5 G users seem to be perfectly fine with the amount of battery life they get after a huge while a couple has complained about the same battery. Battery draining issues usually stem from a bunch of factors. This means factors are causing your Samsung Galaxy S21 FE 5G’s battery to drain fast. Most users complain about the fact that the 120hz refresh rate the device has is the main culprit for the battery drain. Let’s take a look at some other factors that could be contributing to the battery draining faster than normal.
•Installing apps like a cleaner or an antivirus, that run in the background, and eat up your battery is a very common reason. Those apps need to be deleted.
•Playing mobile games for prolonged periods will drain your battery so fast that it will leave you shocked. Especially heavy games like Call of Duty Mobile, e.t.c. They engage the processors of your device at a rate that will cause so much battery power to be used.
•Turn off features like GPS, Wi-Fi, Bluetooth, e.t.c. when you are not using them.
•Using power-saver mode for a long time will run your battery down fast. Turn it off. Most times devices tend to last longer without a power-saver than when it is enabled.
Samsung Galaxy S21 FE 5G problem:Overheating
Overheating is a common issue among smartphones that can leave you frustrated over time because other problems tend to spawn from it. And quite several users have complained about overheating on the Samsung Galaxy S21 FE 5G. The most common causes of overheating are the level of screen brightness on your device and constant/heavy use of your device’s processor but the most common reason users have complained about is the phone excessively heating up while charging.
Smartphone manufacturers usually roll out firmware updates to fix problems like this when it becomes rampant across different users and worsens in terms of how much damage it does to the device. So, be sure to look out for any updates on your Samsung Galaxy S21 FE 5G. Here are some ways to fix or reduce overheating.
•If you are someone who plays a lot of games or games heavily, you might need to cut down on the amount of time you spend gaming, unless, no matter what you try to do your phone will always overheat because of the kind of games you are playing. A perfect example of a game like this is Call of duty: Mobile.
•Cleaner and Antivirus based apps cause serious overheating and lag when they are opened or activated. If you have any of these two on your Samsung Galaxy S21 FE 5G, delete them.
•Leaving your Wi-Fi, Bluetooth, Hotspot, GPS, e.t.c. on for some time will cause overheating. Turn them off when you are not using them.
•Using your Samsung Galaxy S21 FE 5G while charging will also cause it to overheat. Especially when you are playing games and charging. It is probably the worst combination you can attempt. Try as much as you can to let your phone charge before using it.
- Don’t miss our mobile phone reviews .
- Follow our news on Google News .
- Join our WhatsApp Group , to be notified of the most important articles and deals,
- Follow us on Instagram , Facebook , Twitter , and YouTube .
Author:Flamez
Flamez loves basketball, art, gadgets and cars.
