Add MobilityArena as a preferred source on Google
Apple users can typically save files on their devices and access them from wherever they want with iCloud Drive. This is also possible with other devices running non-Apple operating systems such as Android and Windows, as per common knowledge.
However, did you know that you can also recover any deleted file from iCloud Drive? It’s not an impossible feat, as long as you’re guided by the correct instructions. In this guide, we’ll show you how to recover deleted iCloud Drive files on both Apple and non-Apple devices.
How Can I Recover Deleted iCloud Drive Files?
As long as a period of 30 days has not elapsed since the deletion and you did not permanently delete the files, it’s possible to recover any deleted iCloud Drive file. Below, I’ve provided instructions you’ll need depending on the device you’re using.
Recovering Deleted iCloud Drive Files on iPhone, iPad, or iPod Touch Devices
These steps below will help you recover deleted iCloud Drive files if you’re certain that you fulfill the above prerequisites:
● First, open your device’s Files app
● At the bottom right, select Browse .
● Under Locations on the Browse tab, choose Recently Deleted . You can view all the files you’ve recently deleted from your internal memory and iCloud Drive on the Recently Deleted tab. An iCloud Drive tag should appear beneath deleted iCloud Drive files and folders.
● Hold down the mouse button over a file or folder you want to recover, then choose Recover from the pop-up selection.
● To restore many files at once, first tap the three dots in the top right corner and then click on Select from the pop-up menu. Next, touch Recover All at the bottom to restore every file, or tap Recover after selecting the particular files you want to recover.
Recovering Deleted iCloud Drive Files on a Mac
There is no Recently Deleted folder in the Files program on a Mac when you delete iCloud Drive files, unlike on an iPhone or an iPad.
On macOS, though, it’s still possible to recover deleted iCloud Drive files by using Time Machine or the Trash app.
Regardless of whether they are from your local hard drive or your iCloud Drive, all deleted files on macOS are placed inside the Trash.
If you’re recovering deleted iCloud Drive files from your Mac’s Trash, follow these steps:
● To launch the app, hit the Trash icon on your Dock’s right column. When you do this, a Finder window containing all of your Trash’s contents will appear.
● Control-click a specific file or folder and choose Put Back from the pop-up menu to restore it.
You won’t be able to differentiate between deleted files from your local disk and those from your iCloud Drive, unlike on the iPhone and iPad. Therefore, especially if you have a lot of deleted files, it’s important to know the file name so you’ll quickly locate it inside Trash .
So, if you want to recover deleted files strictly from iCloud Drive, we advise doing it via iCloud.com instead (the steps are provided below).
Recovering Deleted iCloud Drive Files from the web
If you’re without access to an Apple device, you can use the web-only access feature of iCloud to recover deleted iCloud Drive files. Follow these steps:
● Log in to iCloud.com using your Apple ID.
● Choose the menu button (rectangular button with white squares) in the top-right corner after logging in. Select Drive to launch iCloud Drive from the pop-up menu.
● Click on Recently Deleted from the left sidebar to view recently deleted files.
● To recover all deleted files, select Recover All from the top menu. A different option is to click on the file(s) and choose Recover from the top menu if you’re only interested in one or more of them.
Follow these guidelines instead if you’re using a mobile device to visit the website:
● Log into your account at iCloud.com .
● You’ll find Drive under Apps if you select the menu button (rectangular-shaped with white squares) in the top-right corner.
● Select Recents in the top-left corner, then click on Recently Deleted from the pop-up menu.
● Click Select in the top right corner.
● To restore only specific files or folders, tap them, choose Recover , or select Recover All to restore all the deleted files.
In summary , follow the instructions in this guide to successfully recover deleted iCloud drive files.
Author:Joan Agie
Add MobilityArena as a preferred source on Google
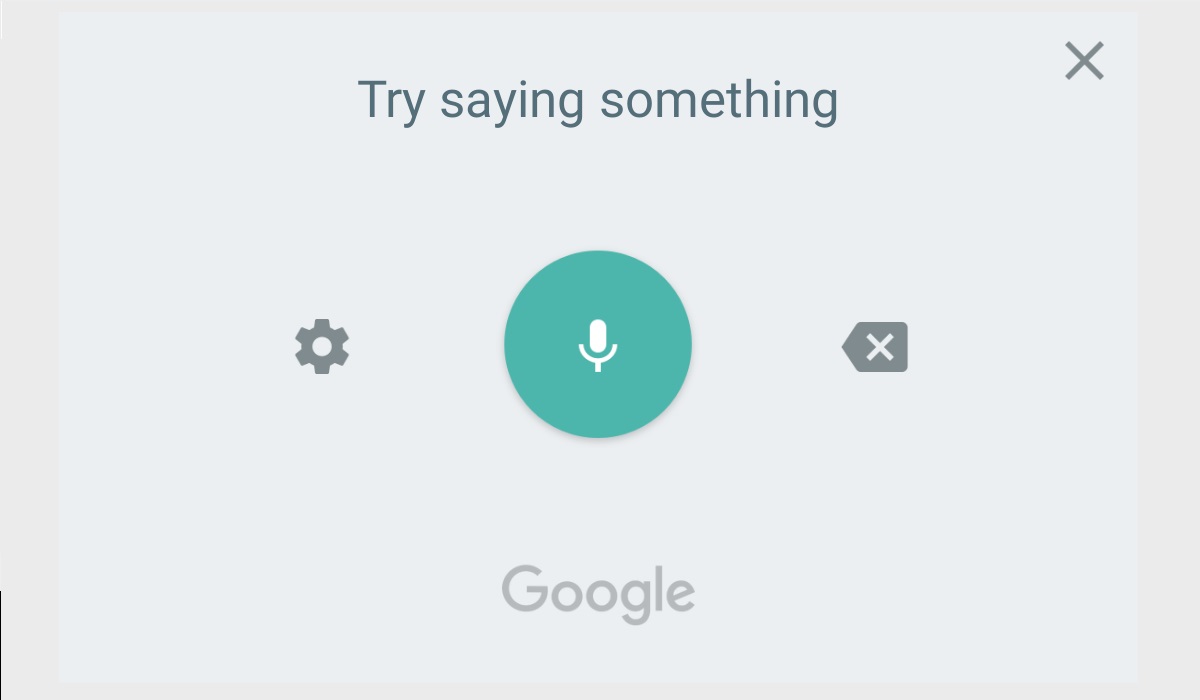
Voice Typing is the most popular voice-to-text feature on Android devices, allowing users to dictate words and sentences rather than typing them. It’s essentially a convenient way to send messages without holding your phone.
- How Can I Fix Google Voice Typing Not Working? Ensure that Google Voice Typing is turned on Uninstall Gboard Updates Deactivate the Google Assistant Voice Command Download Offline Language
How Can I Fix Google Voice Typing Not Working?
There are different things to try if Google Voice typing doesn’t work on Android and you’re looking to fix it. Follow the instructions below.
Ensure that Google Voice Typing is turned on
To fix Google Voice typing not working on Android, first make sure Google Voice Typing is turned on before anything else.
● Tap to open the keyboard in any app or search box.
● Select Settings (the cog icon).
● Select Voice typing . As an alternative, you can also find Voice typing under Settings > General Management or System > Gboard settings . Keep in mind that not all languages will support voice typing, so you’ll need to l ook over the available language list.
● Turn on the switch for Voice typing .
● Go to Settings > Apps > Default App s at this point.
● Choose Google from the Voice input section.
You should also verify that the language layout on the keyboard currently in use supports the language you intend to use for Google Voice Typing. Go to Settings > System > Languages & input if you wish to add a new language. Open Settings under Manage Keyboards . Once there, select the languages you want to use with Google Voice Typing by checking the boxes next to them.
If voice typing isn’t already enabled when you try to use it, go to Settings > Apps > Gboard > Permissions and give Gboard Microphone access. The majority of the time, that resolves the issue. You can continue to the next step and give it another shot if you’re still having trouble.
Uninstall Gboard Updates
Another thing to try if you’re looking to fix Google Voice typing not working is uninstalling Gboard updates. Since there is a specific service that deals with speech typing and voice-to-text input in general, you may not initially consider that Gboard may be the source of the issue. You can remove Gboard updates by doing the following:
● Launch Settings
● Open Apps
● Choose Gboard
● Updates can be uninstalled by tapping the 3-dot menu.
Once there, you can also do this for Google Speech Services, which ought to be listed among the accessible apps.
Deactivate the Google Assistant Voice Command
Disabling the voice trigger command for Google Assistant is another option to fix Google Voice typing not working on Android. Some users who are experiencing this issue have discovered that when the Hey, Google (OK, Google) voice command is activated, Voice Typing does not function as it should. Follow these steps to stop Google Assistant Voice Commands:
● Launch Settings
● Choose Google
● Go to Google Apps Settings > Search, Assistant & Voice
● Open Google Assistant
● Select Hey Google and Voice Match
● Turn off Hey Google .
Download Offline Language
To fix Google Voice typing not working on Android, you could also download the offline package for the language you’re using if it’s different from the system language.
You won’t have to do this if you’re online, although it’s still advisable. The languages also need to be current in order for offline recognition to function. Here’s how to download languages for offline use:
● Up until you reach voice typing, repeat the steps provided in the first fix we proposed.
● You’ll find Offline speech recognition under the Use voice typing option, open it.
● Add any languages you want from the All list. Activate the Auto-update languages over Wi-Fi only checkbox under the Auto-update tab.
In conclusion , we’ve covered possible ways to fix Google voice typing not working on Android. Try as many of the fixes as possible until you’re able to resolve the issue.
