Add MobilityArena as a preferred source on Google
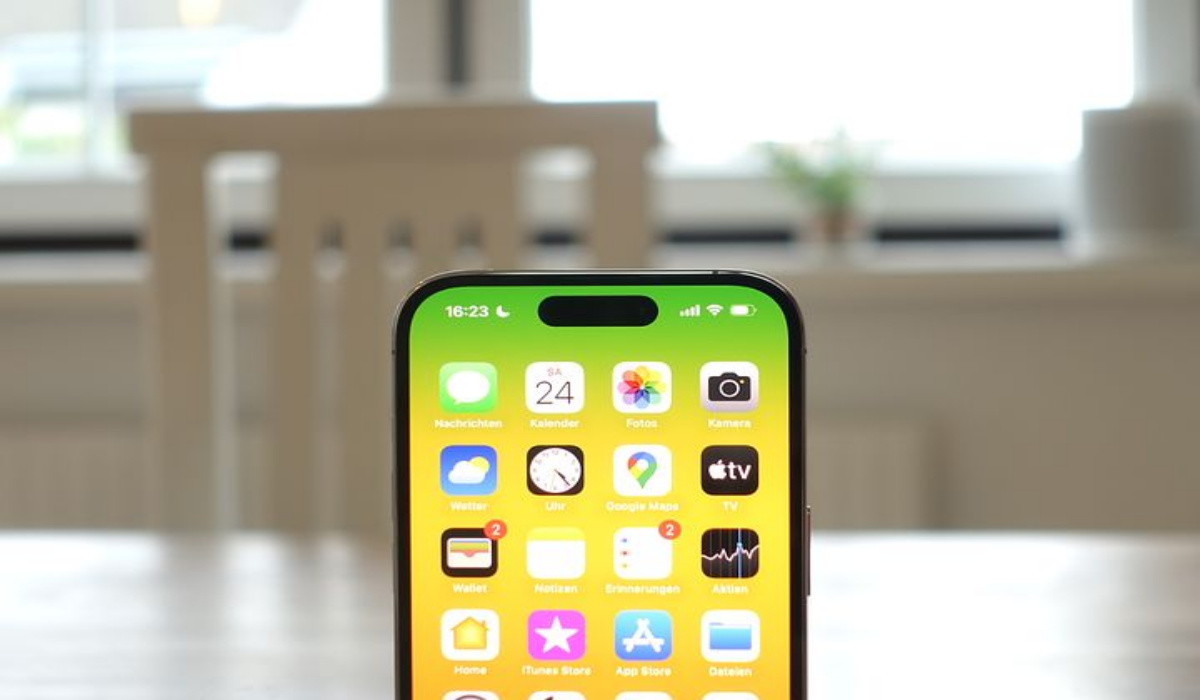
Taking a screenshot on an iPhone can be a convenient way to capture and share information from your phone, whether it’s a conversation or a funny, relatable post. Additionally, it’s a fantastic way to store data for later use.
Apple has added a new method for taking screenshots, the Back Tap, which is one of the new iOS 14 features. It is a useful shortcut that lets iPhone users double- or triple-tap the back of their devices to carry out various actions. The Back Tap is an excellent iPhone accessibility feature for those with limited tech-savviness or eyesight, but the ability to screenshot on an iPhone with a double back tap is practically useful for everyone.
In this guide, we’ll demonstrate how to screenshot on an iPhone with a double-back-tap. So, pay close attention to the instructions to set up and use the feature so you’ll be able to take screenshots on your iPhone quickly and effortlessly.
How Does the Back Tap Feature on iPhones Function?
Before you learn how to screenshot on an iPhone with a double back tap, let’s give you a little insight into how the back tap feature works.
With the introduction of iOS 14, a neat feature called “ Back Tap ” was added for iPhone users. The iPhone Back Tap adds a second hardware button to the device’s back and allows you to perform specific activities, such as opening shortcuts or calling for Siri, by double- or triple-tapping the device’s back.
It’s important to note that only iPhones that support wireless charging can use the Back Tap feature. This means that you must own an iPhone 8 or later device, including the iPhone X, iPhone XR, iPhone 11, 11 Pro, and the new iPhone series.
How Can I Screenshot on an iPhone with a Double Back Tap?
It is pretty easy to screenshot on an iPhone with a double back tap once you know how to set it up. On supported iPhone models, the Back Tap function enables you to carry out different functions by merely tapping the back of your device with your fingertips.
Here’s how to activate the Back Tap feature and screenshot on an iPhone with a double back tap:
- Launch the Settings app on your iPhone.
- Scroll down and select the Accessibility option.
- Select the Touch option.
- Now scroll to the bottom and press the Back Tap button.
- Click on the Double Tap option.
- Tap the Screenshot button under Shortcuts .
At this point, you’re good to go! After turning on the back-tap feature, and linking the screenshot shortcut to Double Tap, you’ll be able to quickly screenshot on an iPhone with a double back tap.
Simply tap your iPhone’s back twice quickly to take a screenshot and it will be automatically saved to your device’s Photos app, where you can edit or share it as needed.
Customize the Double Back Tap Action for Other Functions
Apart from being able to screenshot on an iPhone with a double back tap, this double-backtapping feature can also be configured to carry out a range of other tasks. The Control Center , as well as the App Switcher and other options, can be accessed easily with a double back tap.
Follow these instructions to customize the double back tap action on your iPhone:
- On your iPhone, open the Settings app.
- Choose the Accessibility option.
- Scroll down to the Touch option and click it.
- Scroll down to the Back Tap option.
- Select Back Tap and then select a different action (other than Screenshot ) from the menu.
In conclusion , it’s simple and convenient to screenshot on an iPhone with a double back tap. Simply enable the option in your phone’s accessibility settings, and you’ll be able to quickly capture and transmit or save critical information.
Also consider modifying the double back-tapping feature to carry out a variety of other tasks. Feel free to try out the various available options to find out which actions you’d like to further simplify.
- Don’t miss our mobile phone reviews .
- Join our WhatsApp Group , to be notified of the most important articles and deals,
- Follow us on Instagram , Facebook , Twitter , and YouTube .
Author:Joan Agie
Add MobilityArena as a preferred source on Google
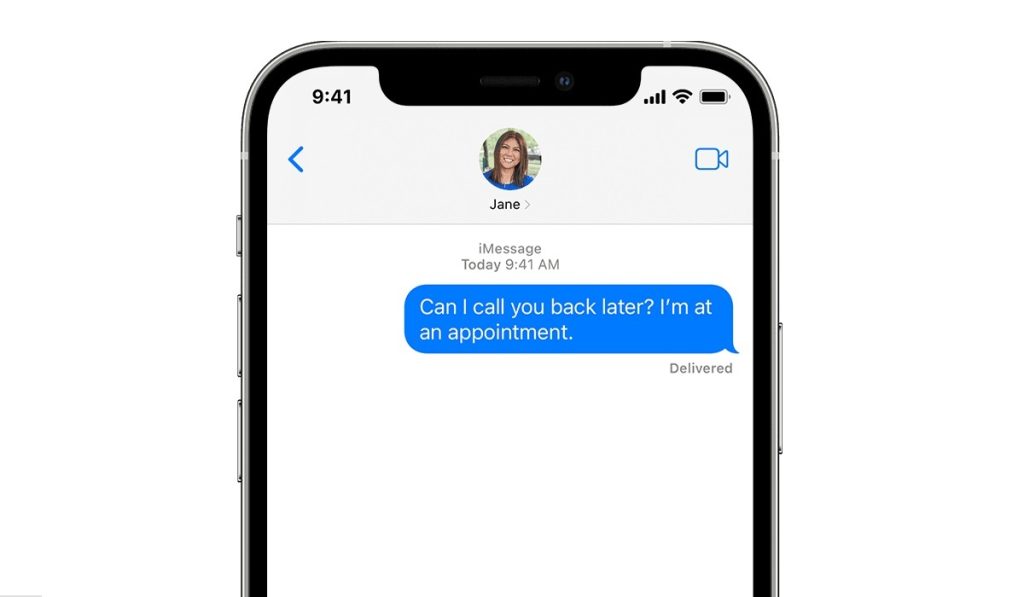
Every messaging service, including WhatsApp and Instagram, allows you to create a profile image and display your name. This was not possible with iMessage in the past, but since iOS 13 was introduced, any iOS 13 user can now set an iMessage photo and name on their iPhones.
This article will show you how to enable the iMessage feature on iOS 13 or a later version that lets you share your name and picture with contacts. So, keep reading to find out how to set an iMessage photo and name on your Apple iPhone.
- How Can I Set an iMessage Photo and Name on my iPhone?
- Set Up Group Name and Profile Photo for iMessage Group Chats
How Can I Set an iMessage Photo and Name on my iPhone?
Anyone can find the first setup of their iMessage profile to be a little difficult and time-consuming. However, it’ll be pretty easy for you to set an iMessage photo and name on your profile.
The most recent version of iOS also gives you the option to employ personalized Memojis and Animojis for more variation in addition to letting you choose photos as profile images. To set an iMessage photo and name, simply follow these steps:
- Navigate to Settings on your iPhone running iOS 13 or later.
- From the main list, select Messages .
- Select the option Share Name and Photo , then toggle it on to enable the feature. Alternatively, you can open the Messages application, press Edit in the top-left corner, and then choose the Edit Name and Photo option from the pop-up menu
- Select the recommended photo you want to use from the list, or press the three dots to explore the following other choices. Take a picture : To take a selfie or a shot with the rear camera to serve as your iMessage photo, tap the Camera icon. Pick a picture : To select a photo from your Photos app, tap the photos icon. Use an emoji : If you’d like an emoji as your profile photo, click the smiling icon and use any emoji on a colored background. Use your initials : To add a monogram and use it as your iMessage profile photo, use the pencil button. You can also select a headshot suggested by Siri
- Next, click Done > Continue . You can select Use to use the same image everywhere from the Use This Photo Everywhere popup or Not Now to limit its use to iMessage.
- Type your first and last names.
- If you want this information to be automatically shared with people you know, select Contacts Only or Always Ask.
As long as you follow the above steps correctly, you’ll find it easy to set an iMessage photo and name on your profile.
Set Up Group Name and Profile Photo for iMessage Group Chats
Apart from the option to set an iMessage photo and name on your iPhone, Apple has also made it possible for you to personalize the group chat information if you use iMessage for several group chats and wish to have more fun.
This means you can change the group’s name in addition to the profile picture, which can be one of your own photos or an emoji.
Follow these steps to set it up:
- On your iPhone, open the Messages app.
- Find and pick the group chat that you want to edit settings for.
- At the top of the page, in the menu bar, click on the contact bubbles.
- Click on Change Name and Photo .
- Enter a name for your group. Afterwards, choose one of the following options for the profile photo: Take a picture by clicking the camera icon. Choose a photo from your gallery clicking on the gallery icon. Use an emoji with a colored background as a group image. Enter two letters and choose a style with the pencil icon.
When you’re done editing the settings to your preference on the iMessage group chat, press the Done button in the top right corner.
In summary , it is quite simple to set an iMessage photo and name on an iPhone. All you need to do is follow the simple instructions we’ve provided for you in this article.
