Add MobilityArena as a preferred source on Google
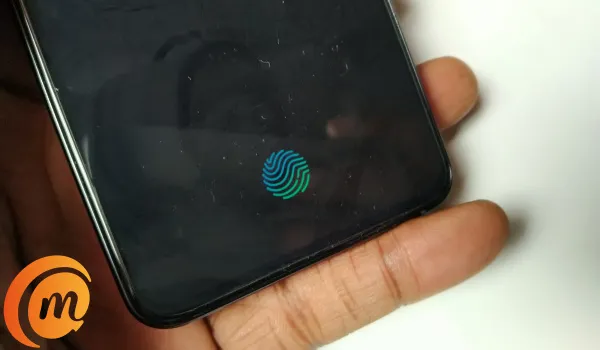
In today’s online world, keeping your personal data safe isn’t optional — it’s essential. That’s where Knox Security steps in as your digital bodyguard. Designed with government-grade protection and smart AI-powered privacy tools, Knox Security keeps your information locked tight while you go about your day. In this guide, you’ll discover how to make the most of Knox Security on your Galaxy Tab — learning how to set it up, customize your defenses, and stay one step ahead of digital threats. And don’t worry, we’ll keep things light and fun along the way — because protecting your data doesn’t have to feel like a chore!

- What Is Samsung Knox Security?
- Step 1: Access Your Knox Features
- Step 2: Set Up the Secure Folder
- Step 3: Use Knox Enhanced Encrypted Protection (KEEP)
- Step 4: Enable Advanced Threat Protection with Knox Matrix
- Step 5: Secure Your Network with Quantum-Resistant Secure Wi-Fi
- Step 6: Manage Privacy with Knox’s Granular Controls
- Step 7: Keep Your Knox Firmware and Software Updated
- Conclusion

What Is Samsung Knox Security?
Samsung Knox is the fortress built into your Galaxy Tab — both hardware and software layered together to secure your device’s operating system, protect sensitive data, and prevent unauthorized access. It’s been battle-tested by governments and enterprises worldwide, so it’s not just hype; it’s defense-grade security.
Step 1: Access Your Knox Features
- Go to Settings → Privacy and Security → Samsung Knox or simply search Knox in your device settings.
- Here you’ll find options like Secure Folder, Knox Vault, and Advanced Threat Protection — each a layer of defense against digital foes.
Step 2: Set Up the Secure Folder
- Secure Folder acts like a secret vault on your Galaxy Tab. Store private apps, files, and photos inside, separated from your everyday stuff.
- Set up Secure Folder by following the on-screen instructions: sign in to your Samsung account, set a PIN, pattern, or biometric lock — all tougher than your neighbor’s Wi-Fi password.
Step 3: Use Knox Enhanced Encrypted Protection (KEEP)
- KEEP is Samsung’s new architecture inside Knox that encrypts app data on-device, ensuring apps access only their own data, keeping your insights safe.
- You don’t need to do anything manually here; it works silently in the background protecting AI-powered features and private data.
Step 4: Enable Advanced Threat Protection with Knox Matrix
- Knox Matrix offers proactive security by detecting suspicious activity or attacks and automatically logging you out of Samsung services if something fishy is detected.
- Enable and monitor Knox Matrix in Knox settings to keep your ecosystem safe from emerging threats.
Step 5: Secure Your Network with Quantum-Resistant Secure Wi-Fi
- Samsung Knox supports Secure Wi-Fi, now enhanced with quantum-resistant encryption (fancy name, super strong protection).
- Turn it on in Settings → Connections → Secure Wi-Fi to protect your internet activities from snoopers on public or untrusted networks.
Step 6: Manage Privacy with Knox’s Granular Controls
- Review app permissions in Settings → Privacy and limit which apps access your camera, microphone, location, and data.
- Knox ensures apps cannot sneakily access sensitive data without permission, raising the privacy bar for your tablet.
Step 7: Keep Your Knox Firmware and Software Updated
- Like any fortress, Knox gets stronger with updates. Regularly check for security patches via Settings → Software update to keep defenses sharp.
Conclusion
Knox Security on your Galaxy Tab isn’t just an extra layer of protection — it’s your digital bodyguard, always on duty. With Knox Security, you get a perfect mix of powerful hardware defense and smart software protection that keeps your data safe from prying eyes. From setting up a Secure Folder to using KEEP for constant encryption and keeping tabs on threats with Knox Matrix, Knox Security makes sure your information stays secure, no matter where you go. So go ahead — use your tablet freely and confidently, knowing Knox has your back.
Author:Ifeoluwa Adeleke
Add MobilityArena as a preferred source on Google
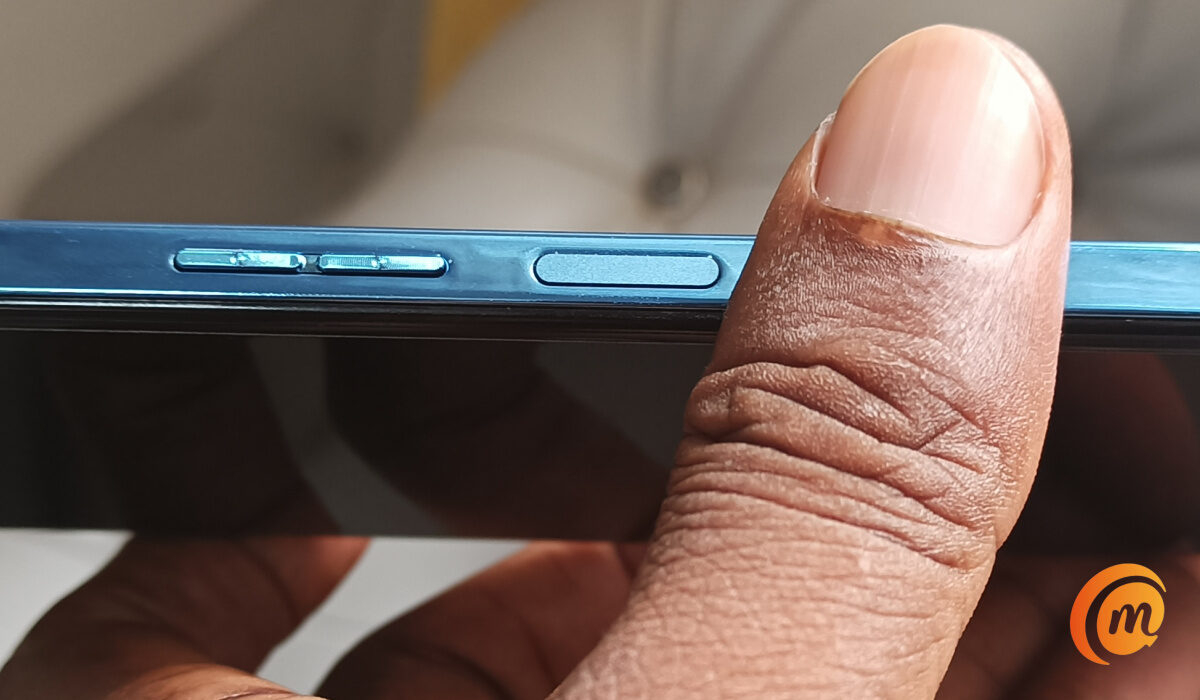
Why would you ever need to bypass fingerprint lock on Android phone e.g. a Samsung smartphone? When it comes to securing your Android smartphone, you have a variety of choices for locking the device. By using fingerprint authentication, you may lock your phone without having to remember complicated PIN codes or complex passwords. Fingerprint recognition is a simple and practical method of security. Additionally, you may use your finger to unlock some apps, including WhatsApp, and authorize payments.
However, there are some instances where you place your finger on the sensor to activate the fingerprint lock, but the phone refuses to unlock despite your repeated attempts. In situations like this, how exactly does one bypass the fingerprint lock?
There is no need to worry. In this article, we’ll show you different ways to unlock your Android smartphone without using fingerprint recognition.
- First Things First
- Use a Third-Party Tool (Android Screen Unlock) to Bypass Fingerprint Lock on Android
- Hard Reset your Android Smartphone
- Use Google Find My Device
First Things First
Before taking any drastic measures to unlock your phone, it’s a good idea to just verify if you’re placing your finger correctly on the sensor, or if a glitch is causing the fingerprint recognition to work.
Before placing your finger on the hardware of your smartphone, make sure it is clean. The software might not be able to detect and scan it if it has dirt or is damp. The biometric lock and the fingerprint lock are extremely similar. If your hands are unclean or moist, the fingerprint sensors frequently won’t function properly. You should thus thoroughly wash your hands before attempting to unlock the device again.
There could also not be enough space on your device to run the fingerprint method or your Android smartphone has a glitch issue. The programs that are running in the background could be to blame for this. Therefore, restarting your device is the most effective and convenient option to get your fingerprint to function properly. According to studies, rebooting your phone should fix any problems with your fingerprint lock screen.
If you’ve tried the above fixes and your smartphone still doesn’t unlock, it means it’s time to try a different approach. Consider the options we’ve described below.
Use a Third-Party Tool (Android Screen Unlock) to Bypass Fingerprint Lock on Android
Using the third-party tool is the ideal solution to the fingerprint lock bypass issue on an Android handset. The reason for this is that a third-party tool makes the procedure both simpler and easier. Although there are several Android unlocking tools available, Android Screen Unlock is the best option.
This software, which completes the task with only a few clicks, is advised. Because of this, the unlocking process is quick and highly successful. You’ll be able to get around the fingerprint lock with a few clicks. Additionally, it is a safe tool that helps you restore your device’s functionality and can unlock LG and Samsung phones without erasing data.
Here’s how to use the Android Unlock app to unlock an Android fingerprint password:
- You’ll first need to download and install the software on your computer, then run the software. Next, select the “Screen Unlock” tab.
- Click the “Android Screen Unlock” button after using a data cable to connect your Android phone to the computer. next, decide which model of your phone will allow you to unlock the fingerprint lock.
- Enter the Download or Recovery mode, then wait for the operation to be completed. Next, click “Remove Now” to get around Android’s fingerprint lock.
Hard Reset your Android Smartphone
Hard resetting your Android smartphone is another fantastic method for getting beyond the fingerprint lock screen on an Android phone. This process is also known as factory resetting. By erasing all of the data that is present on your Android phone, including all of the messages, movies, and photographs as well as the screen lock format, you can restore it to its initial state using this technique.
To do a hard reset to unlock an Android phone with a fingerprint:
- Long-press the volume and power buttons at the same time until the screen becomes dark. Doing this will turn off the device.
- When the Android bootloader menu appears, choose “Recovery Mode” and press the power button to confirm your choice. Press the Volume Up or Down buttons to swap between selections.
- From the Recovery menu, you need to click on the “Wipe data/factory reset” option.
- Reboot your device after waiting for the process to finish. You can use the phone without the need for a fingerprint lock once it has been booted up.
UseGoogle Find My Device
All Android devices have a feature called Find My Device that allows you to erase the device using your Google Account. Actually, if you have a Google Account and are logged in, this works. Find My Device is your best option to bypass the fingerprint lock if your Android phone is running an operating system lower than 7.0.
You will need a computer or laptop for this process, or another smartphone that has the Find My Device software installed.
Use Google Find My Device to remotely access the fingerprint device by carrying out the following actions:
- On your computer, launch Find My Device and sign in with your Google Account.
- Select your locked Android device and select “ERASE DEVICE.”
- For validation, enter your Google account once more. To remove the fingerprint protection from your Android phone, tap the “Erase” icon.
In summary , it can be quite distressing to get locked out of your smartphone and not be able to unlock it using your fingerprint. However, just try one or more of the fixes we’ve described above to unlock your device.
- Don’t miss our mobile phone reviews .
- Follow our news on Google News .
- Follow us on Instagram , Facebook , Twitter , and YouTube .
Author:Joan Agie
Add MobilityArena as a preferred source on Google
Google’s Pixel Watch 4 just made its release with the Wear OS 6 as expected. Before it even made its debut, Google had already started rolling out the latest Wear OS 6 update to eligible devices in the October update. Google only lists Pixel Watch 2 and Pixel Watch 3 as the eligible smartwatches .
The October update for the Pixel Watch lineup will roll out in phases in the next few weeks as it has always been. To check if the update is available for your wearable in your region, head over to Settings on your Pixel Watch. Under System , select System Updates . Tap on Your watch is up to date to check for updates and start the download.
Settings > System > System Updates > Your watch is up to date
You’ll also get a notification when the update is available for your watch.

The original Pixel Watch, released in 2022, will still receive the Wear OS 6 eventually. This is in agreement with Google’s three-year software commitment as it is listed to receive updates until October 2025.
Wear OS 6 is bringing new features to your wrist
With Material 3 Expressive redesign, everything feels fresh and new. Daily tasks are more obvious with the changes in buttons. Dynamic colour theming, rounded fonts and icons and more components like Edge buttons and Pickers are all part of the package.
Now, you can spice up your rides and walks. Your Pixel Watch will automatically launch Google Maps to give you directions as soon as you head out on a walk or a bike ride. Driving is not included. It won’t be convenient squinting at the directions on a tiny screen when in the car.
You can also add time to the watch’s Safety Check feature. If you don’t check in after a particular time to show you are safe, your emergency contacts will be notified. You can easily adjust the time on your wrist.
The main focus of the October update is bringing Wear OS 6 to older watches, but there are also minor changes. The October release brings a new security patch. It fixes a vulnerability affecting certain Qualcomm components.
You don’t have to use Pixel Watch 4 to enjoy the latest software update, Wear OS 6. With the October update, your older Pixel watches feel brand new.
Author:Obiajulum Ndubuisi
Obiajulum is a tech enthusiast passionate about writing. When she isn’t writing about gadgets, she will probably be playing badminton, watching a movie, or surfing the internet.
