Add MobilityArena as a preferred source on Google
Nowadays, it’s almost impossible to distinguish between business and personal time because of the little computers — cell phones — in our pockets, which keep us constantly connected to work-related chats, emails, to-do lists, and tasks whether we like it or not.
The continual connection can surely be a benefit sometimes, but it can also be a drag at other times and contribute to depleting your energy. This is the blessing and the curse of the modern workplace.
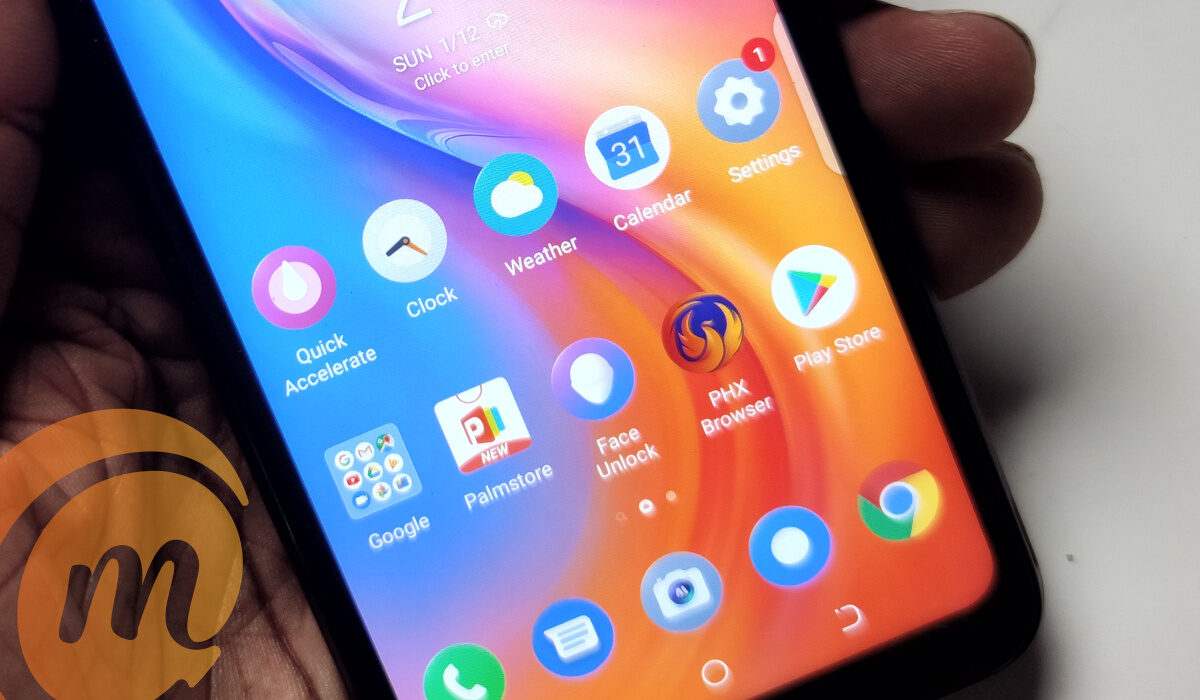
You can separate Work and Personal apps on your Android phone
This is why it’s such a relief that some Android smartphones allow you to set up separate profiles on your device that distinguish your work and personal lives from each other. This is pretty easy to achieve, and we’ve provided the different methods and instructions by which you can do so in this easy guide.
Set up a New User Profile (OEM-Specific)
The ability to create numerous profile accounts on a user’s phone is offered by many Android OEMs (original equipment manufacturers), including Samsung, Pixel, and OnePlus. As a result, when you move to a new account, you will also have a different lock screen, storage that is partitioned into various sections, notification preferences, and more. It has a similar vibe to setting up an entirely new phone, so you can effectively use this function to establish a work account.
To set this up:
● Open the Settings app > System > Multiple Users . On your phone, try looking for “Users” in the Settings app if you can’t find this option.
● To begin creating a new user account, click Add User here and tap OK in the pop-up.
● Select a profile picture and name for your user account, then press OK.
● You’ve successfully added a new user at this point. To access the Quick Settings panel, scroll down from the top and tap the profile symbol. To open the profile you just made for work, select it.
● Complete the setup procedure, add professional apps, lock the screen, modify your settings, and tailor it to your work environment.
● You can now simply change during business hours to the newly set up work profile. Applications installed on the original/personal profile typically won’t send you any notifications during this period.
Since using a personal and work account in this manner is like using two different accounts, the separate work profile set up for Android works nicely. You should note, however, that there are a few drawbacks as well. For instance, you’ll have to manually switch to the work profile first before accessing it. Additionally, you cannot use your personal profile to access your business apps or notifications and vice versa.
Select the work account under Settings > System > Multiple users to remove a user. To remove the user from this screen, hit the Remove user option. Keep in mind that doing so will remove all installed apps and settings from that specific profile.
Use Android Enterprise Demo
You can officially build a work profile on Android using the aid of Android Enterprise. However, if your employer gives you an activation code, you can use that. To exert control over the apps that their workers install on their work profiles, companies typically use this. However, you can also use the Demo to install work mode for personal use on your Android phone.
Here’s how to do it:
● Scroll down on the Android Enterprise Demo website and select the Work Profile option. You should locate the link under the headline “Begin setup” in the drop-down; tap it to open. Your phone’s Work profile setup page will be opened immediately. To proceed, tap Next .
● As you use the demo, it will then check for the code and automatically proceed. Click Accept and Continue .
● The work profile will afterward be installed on your phone. Then select Next .
● The load time for the work profile is a few minutes, and then it is installed completely. After that, you may discover some standard Google work apps under the launcher’s Work area. To customize the work profile’s ringtone, sound, lock, etc., you may also access Settings .
You must use the default launcher if you must make use of this functionality. Launchers from other companies won’t function. Open Settings > Accounts > Work > Remove Work Profile to disable the work profile. Then select Delete from the pop-up menu to finish.
You also have the option of using a third-party app such as Shelter or Island apps from the Google Play Store. Their setup process is fairly easy and you’re able to effectively distinguish your personal apps from your work apps.
In summary , we’re sure you’ll find these instructions beneficial to keep your work separate from your personal life and maintain a semblance of balance. This will help you to stay productive without feeling like work is overwhelming your entire life.
If you found this article helpful, then you should also help others by sharing or recommending it to them.
- Don’t miss our mobile phone reviews .
- Follow our news on Google News .
- Join our WhatsApp Group , to be notified of the most important articles and deals,
- Follow us on Instagram , Facebook , Twitter , and YouTube .
Author:Joan Agie
Add MobilityArena as a preferred source on Google
Do you sometimes wonder about the RAM, CPU, motherboard, graphics processing unit (GPU), or other particular features in your computer? Occasionally, you might need this information, whether to understand what kind of things to look out for when upgrading your device or to get device-specific information in case you need to troubleshoot some functionality issues.
Whatever the case, you’ll learn in this easy guide how to check your computer specs on your Windows laptop or desktop. We’ve provided detailed instructions to that effect to make the process an easy one for you.

Checking the Systems Specs on your Windows Device
To find your device specifications, Windows offers several options. You can verify your CPU specs and learn other information using one of the following techniques, depending on the level of detail you require.
Use Windows System Settings
Checking the specifications of your system is simple and convenient thanks to your Windows system settings. We’ll walk you through doing this on Windows 10 first, then we’ll show you how to do it on Windows 7.
OnWindows 10 devices:
● Open your Settings by clicking Start , then select System . From the menu on the left, choose About . This will display your PC’s basic specs and the Windows version that is currently installed.
● Your specifications can be easily copied and pasted from this screen.
On Windows 7 devices:
● Select Properties after performing a right-click on the computer icon.
● Your available RAM, processor, some support numbers (depending on the PC manufacturer), and the version of Windows you’re using will all be listed in this basic list of specifications. The information provided here isn’t all that thorough, but it will suffice.
● To view specific details of devices, select Device Manager from the menu on the left side of the screen (we’ve provided instructions for this below).
Check Using the Command Prompt
You can also find out the specs of your device using a command prompt.
● Press Windows + R to open the Run window on your computer. Type cmd and click Enter to launch the Command Prompt window.
● Press Enter after entering the command line systeminfo. You can easily scroll through the results and you’ll find the details you need.
● Your computer will display all the specifications for your system, and you can note it down somewhere for future reference.
Check through Device Manager
Device Manager is the best option if you need to determine the exact name of a particular device, such as your graphics card or sound chip.
To accomplish this, right-click on your Windows menu and choose Device Manager . You’ll see your PC or laptop’s built-in features listed in the window that immediately follows. Check the device names for each item on the list as you go through it.
Device Manager typically lists each accessory or device connected to or built into your PC or laptop with its clear and complete name.
The device’s GUID (Global Unique Identifier) can also be used to determine some specifics if you’re still unsure or if the listing says “Unknown.” Double-click on the strange entry, such as Broadcom 802.11ac, in Device Manager. next click on Details. Select Hardware Ids under Properties. To find out more, right-click on one of the entries, copy the URL, and enter the term into your preferred search engine.
You can quickly discover the precise name of the unknown device on the internet using this information.
Check through System Information
System Information is the best and most complete built-in utility for examining your PC’s specifications. Click on the Windows menu and start typing “System Information” to access it. Windows will typically do the searching for you.
You can access system information by clicking it (or hitting Enter ). The tool that appears next is the most thorough but also the trickiest for determining your PC’s specifications. You can look up anything here, including the BIOS/UEFI version of your computer, the motherboard revision number, and all the drivers and software programs that are currently installed.
You can use this tool to achieve the following:
● To look up specific information : You’ll typically be able to use the Find what field at the window’s bottom to search for anything, including USB ports or graphics cards.
● Making a system report : To store and share all of this information in a convenient text file, open the File menu and select Export . When a service agent asks you for these facts or when you need to submit your device specifications on an online forum, this can be helpful.
In summary , you should also consider using a specialist spec-checking tool if you’re feeling overwhelmed by all the information in this guide. You may easily and quickly obtain the information you need by using the free program Speccy, which conveniently shows your computer’s specifications.
The information in this article will prove helpful to many PC users, so we encourage you to share it with your loved ones.
- Don’t miss our mobile phone reviews .
- Follow our news on Google News .
- Join our WhatsApp Group , to be notified of the most important articles and deals,
- Follow us on Instagram , Facebook , Twitter , and YouTube .
