Add MobilityArena as a preferred source on Google
Sometimes, you may find it hard to remember your Wi-Fi password when you need to provide someone with access to your home Wi-Fi. Thankfully, this may not always be necessary because there are simpler ways to share your Wi-Fi password on an Android phone.
The option to share your Wi-Fi network information with other devices is typically integrated into Android 10 devices and others that run newer versions. In this guide, we’ll show you the different options you have to easily share your Wi-Fi password on your Android.
How Can I Share my Wi-Fi Password on Android?
There are two easy ways to share your Wi-Fi password on your Android device. Keep in mind though that some of the menu options may be somewhat different, but the methods we’ve described below should work on any Android smartphone even though they are specific for Samsung Galaxy devices.
Share Wi-Fi Password on Android with a QR Code
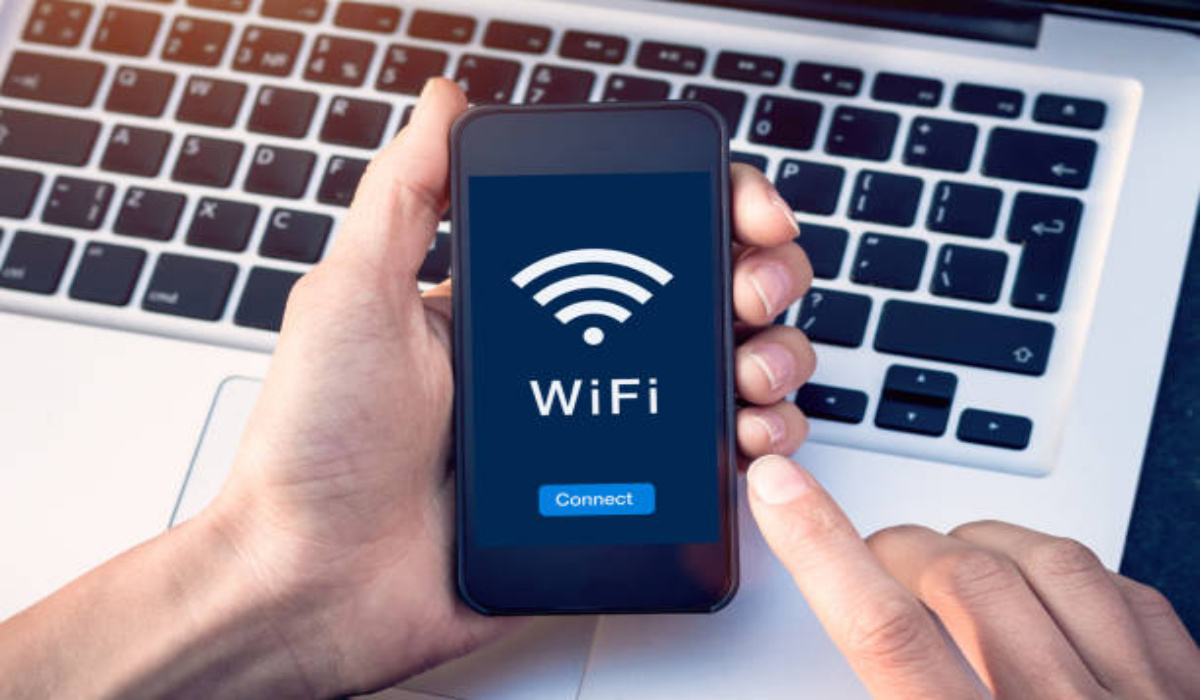
To share your Wi-Fi password on Android as well as other network information with other devices, you can create a QR code and avoid having to input the password.
Keep in mind though, that exchanging QR codes merely lets you share your password on Android without having to remember it, and it helps you avoid manually entering the information on another device. It does not conceal your password. Creating a network share QR code involves the following steps:
● Launch the App drawer , then select Settings . Alternatively, click on Settings after swiping down to reveal the Quick Settings window.
● To examine your connectivity options, click on Connection .
● Choose Wi-Fi .
● Verify that you are logged into the network you wish to share. Then click the gear icon next to the network name, which represents Settings .
● To make use of the share network feature, tap the QR code symbol.
● A QR code will show up on your screen. To display the QR code, enter your PIN when requested or verify with fingerprint scanning.
● There are several ways to share the QR code once it is ready. The built-in or external QR code reader on the visitor device can scan the code to display network information.
● Go to Settings > Connection > Wi-Fi on another device to use the built-in network scanner.
● To start the Scanner, tap the QR code icon in the top-right area.
● Scan the QR code for the network share, then wait for the device to recognize the network
Sharing a Wi-Fi password on Android is easy with this method. The network name and password will be included in the QR code’s network information. So, to connect your phone to the network without inputting network information, just click on the Connect option.
Take note that some older Android smartphones might not have a network QR code scanner built-in. Instead, you can do it by using a third-party program like QR & Barcode Scanner.
Share Wi-Fi Password on Android using Nearby Share
It’s also possible to share your Wi-Fi password on Android without scanning a QR code, you can simply use Nearby Share . This method does not require QR code scanning but it does need you to build a network share QR code.
The Android feature called Nearby Share enables wireless file and app sharing between devices. Also, it helps you exchange network information with nearby Android devices.
You’ll first need to enable and configure Nearby Share if you haven’t used it before. Below are the steps you need to follow:
● Tap Settings on your Android smartphone
● Click Google after you scroll down
● Click Devices & Sharing , then select Nearby Share
● Toggle the Use Nearby Share switch to the on position
● On your phone, enable Bluetooth and location
● Once finished, repeat the first method’s steps to produce a network share QR code.
● Select Nearby Share from the QR code screen, then hold your friends’ phones in close proximity to yours
● If necessary, click your friend’s phone name to accept the connection.
● After receiving the content, select Save network . The Android device will automatically save and establish a network connection.
● To close Nearby Share, tap Done .
In summary , either of the methods we’ve described above will help you successfully share your Wi-Fi password on Android. Ensure to follow the instructions correctly to get the right outcome.
- Don’t miss our mobile phone reviews .
- Follow us on Instagram , Facebook , Twitter , and YouTube .
Author:Joan Agie
Add MobilityArena as a preferred source on Google
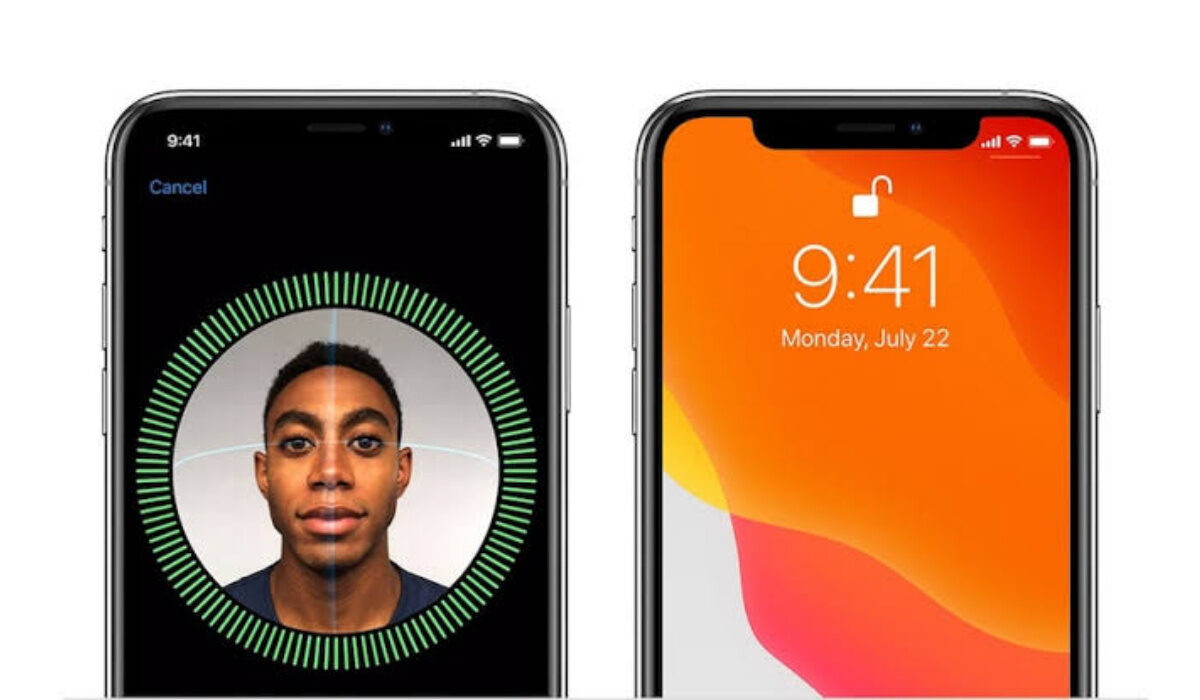
Two-factor authentication works as an additional layer of security for your Apple ID that ensures you are the only person who can access your account, even if someone else happens to know your password.
With all the valuable information on your Apple devices these days, you want to make sure no one can reset it. Thankfully, two-factor authentication ensures the complete protection of your Apple ID accounts, so take a moment to set it up now and protect your account.
In this guide, we’ll walk you through how to set up two-factor authentication for Apple ID accounts.
How Can You Set Up Two-Factor Authentication for Apple ID accounts?
It’s possible to set up two-factor authentication for Apple ID accounts on your iPhone, iPad or Mac device. We’ve described the steps to follow below.
Setting Up Two-Factor Authentication for Apple ID accounts on iPhones and iPads
You won’t need to download any third-party apps to set up two-factor authentication for Apple ID accounts if you have an iPhone or iPad. Apple has a built-in authenticator to help secure websites or apps that support the feature. Here’s how to do it.
Step 1: Go to Settings and enable two-factor authentication
Follow these steps if you have iOS 10.3 or later:
● Open the Settings app.
● At the top, tap [your name] or your Apple ID profile as you’ll see on devices running iOS 14.5 or later. Make sure you’re logged in to the account that you want to secure with two-factor authentication.
● Select Password & Security .
● Locate the Two-Factor Authentication setting and enable it.
● Press Continue .
If you’re using iOS 10.2 or earlier, follow these steps:
● Navigate to Settings > iCloud .
● Tap your Apple ID and then select Password & Security .
● Turn on two-factor authentication by tapping the button.
● Press the Continue button.
You may be asked to provide answers to your Apple ID security questions.
Step 2: Enter and confirm your reliable phone number
● When you sign in, enter the phone number with which you want to receive verification codes. You can receive the codes via text message or automated phone call.
● When you click on the Next button, Apple will send a verification code to the specified phone number.
● You’ll receive a text message or call, and the next screen will prompt you to enter the six-digit verification code.
● Tap “ Didn’t get a verification code? ” to send or resend a verification code.
That’s all! It’s pretty easy to set up two-factor authentication for Apple ID accounts on your iPhone or iPad through the steps outlined above.
You will only be asked for a verification code again on your iPhone if you sign out completely, erase your iPhone, sign in to your Apple ID account page in a web browser, or change your Apple ID password for security reasons.
Setting Up Two-Factor Authentication for Apple ID Accounts on Mac
The process of setting up two-factor authentication for Apple ID accounts on a Mac is nearly identical to setting it up on an iPhone or iPad. Here are the steps to follow if your Mac runs macOS Big Sur 11.3.1.
● Navigate to System Preferences .
● Click on Apple ID in your profile at the top.
● It should launch the Apple ID pane. Click Password & Security in the left column.
● Locate the Two-Factor Authentication setting , then enable it
● You may be asked to confirm your identity by answering security questions.
● Enter a phone number to receive verification codes and select whether you want text messages or phone calls.
● To complete the process, enter the code sent to you immediately.
If, on the other hand, your Mac runs macOS Mojave or an earlier operating system, follow these steps to set up two-factor authentication for Apple ID accounts:
● Navigate to System Preferences .
● Select iCloud .
● Press the Account Details button and, if prompted, sign in.
● Click the Turn on two-factor authentication button on the Security tab . Read the message and then press the Continue button.
● Answer your security questions to verify your identity.
● Enter a phone number to receive verification codes and select whether you want text messages or phone calls.
● To finish, enter the code that was sent to you right away.
Please note that you should add more than one trusted phone number in case you lose access to your primary trusted phone number.
In summary , use the instructions in this guide to set up two-factor authentication for your Apple ID account on your iPhone, iPad or Mac.
