Add MobilityArena as a preferred source on Google
Although I am an Android user, I still find myself dabbling into the iOS world to try out new features and additions to the iOS software. For today, we will be talking about one of the newest features, Notification Summary.
Ever since I started using iPhones, receiving notifications have always been a bit cluttered. Unlike it’s Android counterparts whose notifications came in orderly groups from their respective applications, iOS notifications have always been pretty random and needed to be sorted out and dealt with individually.
This issue really needed to be fixed quickly by Apple and thanks to updates made on the operating system all of that is being fixed gradually. At the moment, notifications on iOS are not yet “picture perfect” but visible changes have been made to how they are being presented.
iOS 15 Upgrade Came With Something New For Notifications
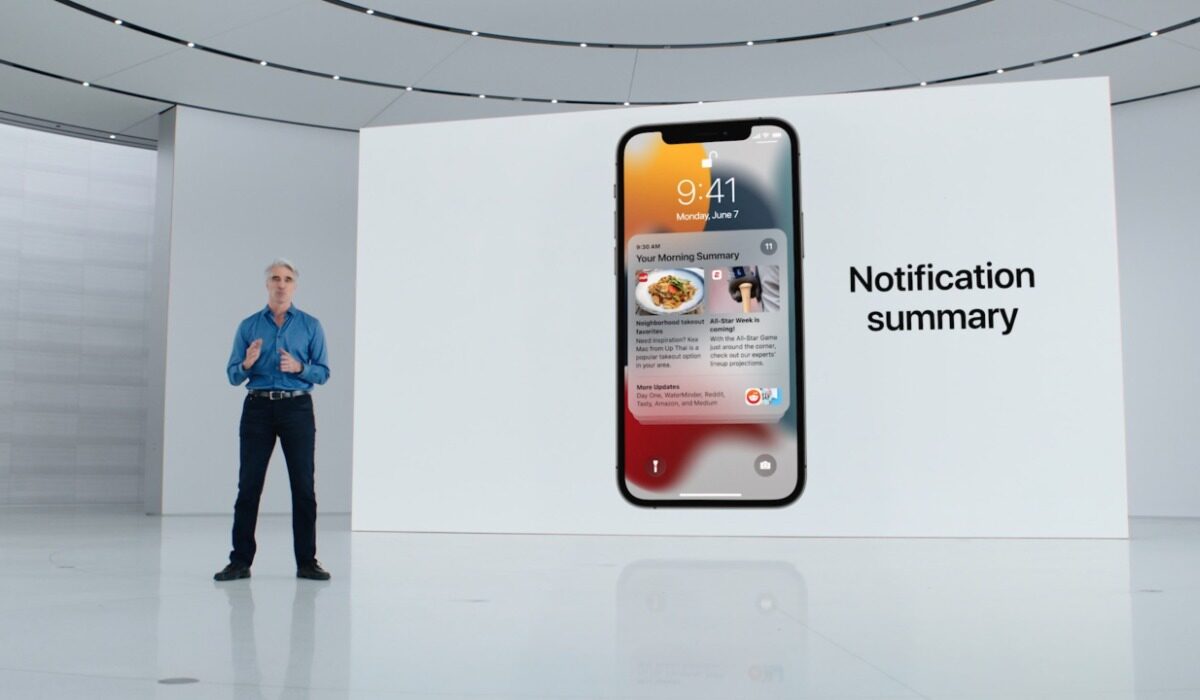
So, iOS 15 came with a lot of cool new features and refinements, and one of them that caught my attention was the notification summary. What is a Notification Summary? How can we set it up? These questions will be addressed in this article.
The notification summary feature from iOS 15 is a bit like what we see on the Post Box application. Well, Post Box is a digital wellbeing application from Google Creative Lab that helps summarize your notifications and delivers them to you at your stipulated time(s) during the day. But Notification Summary on iOS is not the Post Box application, there are a few differences here, let’s take a look at them.
To get started, let us have a little insight into what Notification Summary is all about. This is a new productivity centric feature on iOS 15 that delivers notifications at stipulated times during the day. For people that get swarms of notifications from various applications, this feature was made just for you. Even if you have your data turned on, you will not receive any notification from applications placed under the Scheduled Summary until the allotted time. This feature helps reduce distraction at every beep from your iPhone.
How To Set up Notification Summary
Like we said earlier Notification Summary is not an application rather it is a feature baked into the iOS 15 software. What this simply implies is that you do not need to go to your app store to download any application in other to gain access to Notification Summary. All you need to do to make use of this feature is to first update your iPhone software to the latest version (iOS 15).
Setting up Notification Summary on your iPhone is pretty easy, just carefully follow the five steps below, and you will be good to go.
- Go to your device settings application.
- Select notifications
- Select scheduled summary and turn it on.
- Now you will see an option menu where you can choose applications to add to the schedule.
- You can also set the desired time to receive your notification, and how many times to receive them.
Now you can rest easy knowing that you would not be getting annoying notifications occasionally. Be sure to share these tips with your friends, they might also need to take a break from the constant influx of notifications. Also, check out these iOS 15 nifty features that you can use here .
Author:KittysTech
Tech analyst, Collins Eshiet, writes about technology. Follow me on Twitter @KittysTech.
Add MobilityArena as a preferred source on Google
AirPods are expensive to purchase, and losing them can be very painful considering the price. Personally, I can admit that I have carelessly dropped my TWS earphones (not AirPods) and spent a good amount of time searching the whole place for it only to find it lying under the throw pillows.
That is how frustrating it can be to find these wireless earphones, if you are an AirPods user you might share in my pain. Looking for misplaced AirPods is no easy task due to their size, well as long as you have your iPhone with you, it is easier to find your lost AirPods. How?
One very beautiful thing about Apple products is that they all operate under the same ecosystem, hence they can be easily interconnected with one another. AirPods are not left out here, these devices are part of that large ecosystem. Due to the fact stated above, Apple has been able to build some nifty features into the AirPods that make them quite easy to find in case you misplace them.
In this article, we will show you how you can find your lost AirPods by taking a few easy steps on your iPhone.
How To Find Your Lost AirPods Using Your iPhone
Apple has been adding a lot of new features to its products to make them more user-friendly, but one feature we will be looking at here is the “Find” feature. The Find feature is used not only to tell the location of an AirPods but any other Apple product.
Apple released the “Find” feature for all Apple products, this includes AirPods of any generation. So, how can you use this feature to enable you to find your lost AirPods? The following steps will guide you on how you can find your misplaced AirPods using this feature.
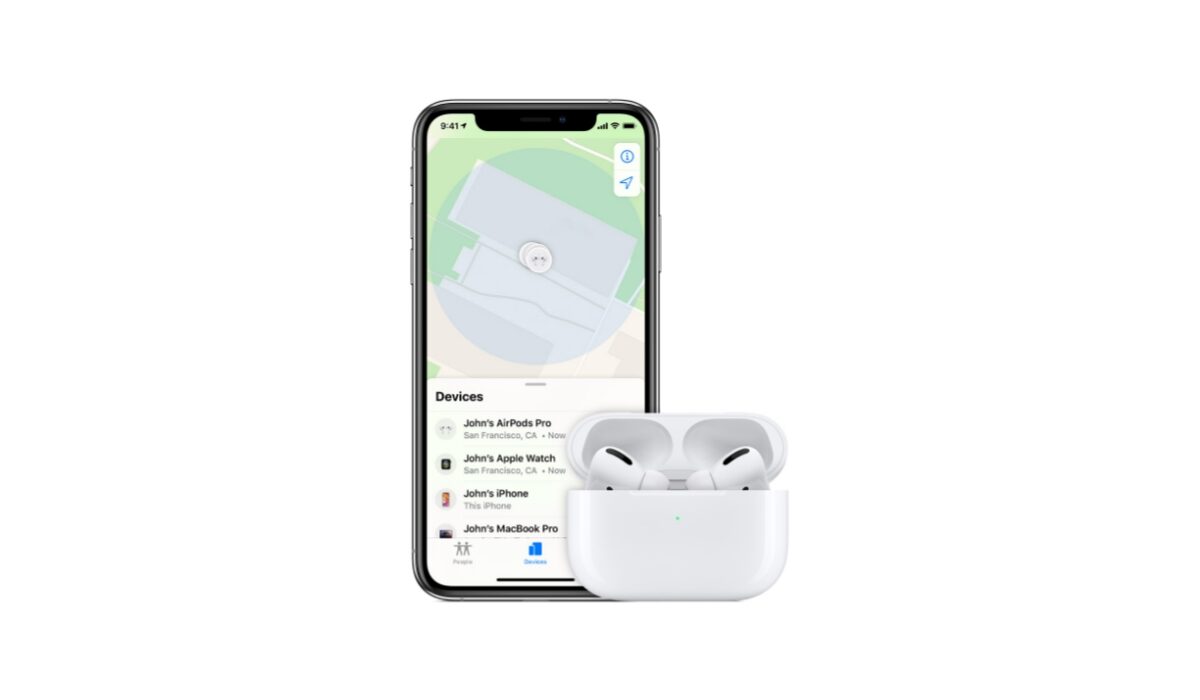
- Open the “Find my iPhone” app on your phone, if you do not have it then consider clicking on this link .
- The app has a list of all Apple products you own or have linked to this service. Now find your AirPods in the device list.
- You will see a map of where all your Apple devices are located, your AirPods should be among them.
- Tap on the AirPods icon on the map.
- Select the direction option and physically track your AirPods using the map and tell when you are getting closer to them.
- If they are still hidden from you, then select the play sound option. Your AirPods will begin to make sounds to help you better locate them.
By following these steps, you will be able to find your lost AirPods. Note that the steps will work only if your AirPods are connected to your device, so try to leave your AirPods connected to your device whenever they are out of the case, this will make it easier for you to find them in case they go missing.
It is very advisable that you leave your Bluetooth on at any given time, this is to enable your AirPods to automatically connect to your iPhone the moment they are pulled out of the case. By doing this, it will be easier for you to use the “Find” feature to get your AirPods whenever they go missing.
Now that we have seen how to use Find My feature to pinpoint the exact location of your AirPods, let us now see how to set up the Find My feature. Go to your iPhones settings, type in your name (this only works if you have an Apple ID) then go to iCloud. Now scroll down to Find My and click on it, then in the settings that show up click on Find My iPhone and toggle it on. Ensure to also turn on all other settings available, the moment you are done with this all Apple products you have connected with your iPhone will be registered.
What if you lost the AirPods at a different location? In such an instance, the “Find my iPhone” app will show you the last location where the AirPods were connected to your iPhone, and you can take it up from there.
Author:KittysTech
Tech analyst, Collins Eshiet, writes about technology. Follow me on Twitter @KittysTech.
