Add MobilityArena as a preferred source on Google
With a recent update from Apple, the Photos app now has some serious strength to flex. The Apple Photos feature offers so many capabilities, so much so that it might be time to stop using the other video and photo editing apps on your iPhone.
In this guide, we’ll show you some of the best of the new features and capabilities on the New Apple Photos for iOS 16 devices. We’ll also provide some helpful tips on how to take advantage of these features.
What are Apple Photos’ Latest Features?
There are so many wonderful new features included in Apple Photos, and we can’t wait for you to start exploring them to get a much better experience on your iPhone. Keep in mind that your iPhone must run iOS 16 in order to make use of powerful new capabilities in Photos.
If you don’t already have it running, go to Settings -> General -> Software Update to get it. Many of the improvements are also present in the still-beta versions of macOS 13 Ventura for Mac and iPadOS 16 for iPad. We’ve described some of the most exciting features below:
- Removing Backgrounds from Photos
There’s now a way to isolate the main subject in a picture and get rid of the background in Apple Photos. Simply open the desired photo in Photos, then long-press the main object to make it disappear from the background. As it does its magic, you’ll see a line glowing around the subject to let you know, and then the “Copy” and “Share” options will appear. While Share opens the default Share Sheet for the subject, Copy copies the cutout to your clipboard so you can paste it elsewhere.
It also functions for pictures in other applications including Files, Safari, and Quick Look-enabled applications. You might be able to long-press an image in those apps and select “Remove Background,” “Copy Subject,” or a related option.
- Merge or Delete Duplicate Photos
On iOS 15, you would need to either manually search for them or utilize a third-party app to perform the work for you in order to purge your picture library of duplicate photographs. However, you can open the new “Duplicates” folder on iOS 16 from your list of albums under Utilities.
You’ll see similar photographs in your library when you open “Duplicates.” They could be screenshots or any other kind of image. To create a single file that “combines the highest quality and relevant data from its duplicates,” select “Merge” next to the group of photographs and then select “Merge [#] Duplicates.”
As an alternative, you can swipe through an image’s copies to compare them and tap an image to preview it. After that, you may either discard a photo or choose “Select” and “Merge [#] Duplicates.”
- Copy and Paste Edits in Images and Videos
You can now copy and paste modifications you’ve made to a picture or video into another in iOS 16. So, instead of individually modifying each image or video, you can repeatedly apply a particular set of adjustments if you like them.
A new “Copy Edits” option will appear when you tap the new ellipsis (•••) menu when examining an edited file in Photos. Find the file to which you wish to apply those adjustments, then choose that. Use the “Paste Edits” option in the ellipsis menu of that file to match the alterations. To copy and paste edits in the photo or video editor, use the ellipsis (•••) menu.
Keep in mind that only a limited number of features, such as adjustments, filters, depth changes, and lighting intensity, can be copied and pasted into other projects. Keyframes for Live Photos, Markup, and Crops will typically not function in the same manner.
- Edit Images in Batches
As previously mentioned, you can now easily copy edits, choose the photo or video you want to apply them to, and paste the edits in. This is how you would adjust a photo or video if you wish to use the same settings as an already-edited photo or video.
Now, even though doing this on its own is incredibly amazing, it’s even more amazing when you consider how much time you may save by concurrently applying those modifications to a collection of images and movies at the same time.
To accomplish this, copy the alterations from one file, select two or more files using “Select,” press the ellipsis (•••) button, and select “Paste Edits” to batch apply the changes.
- Easily Reverse Edits
It’s also pretty easy to return files to their previous state, regardless of how long ago you made adjustments to them, or whether you simply batch-modified a number of images or videos.
To “Revert to Original,” you can use the same ellipsis (•••) menu mentioned above for copying and pasting adjustments instead of having to do it directly from the photo or video editor. Additionally, you can undo adjustments using the quick actions option.
- Undo and Redo Edits
On iOS 16, there are new undo and redo controls available while editing a photo or video. Simply hit the undo or redo button instead of having to reset the value of each effect manually each time you don’t like the change. You may revert edits all the way back to your initial edit during the current session, and they function for any edits you apply, including crops.
In summary , we think you’ll love how great picture and video editing will become on your iPhone because of iOS 16’ improvements in Apple Photos. Take a cue from this article to learn some of the best features to try first.
If you know any other iOS users who’d like to get more out of the iPhone’s photo and video experience, we encourage you to recommend this guide to them.
- Don’t miss our mobile phone reviews .
- Follow our news on Google News .
- Join our WhatsApp Group , to be notified of the most important articles and deals,
- Follow us on Instagram , Facebook , Twitter , and YouTube .
Author:Joan Agie
Add MobilityArena as a preferred source on Google
The power button is always one of the first physical components on an Android smartphone or tablet to stop working due to how frequently it is used. As its name implies, it’s the typical go-to button when switching off the device or simply locking it to pause usage for the time being.
Did you know you can lock Android phones without using the Power button? This might be news to you. Yes; you don’t always have to use your power button to lock your phone. Several alternative methods for locking Android smartphones exist that don’t involve the power button.
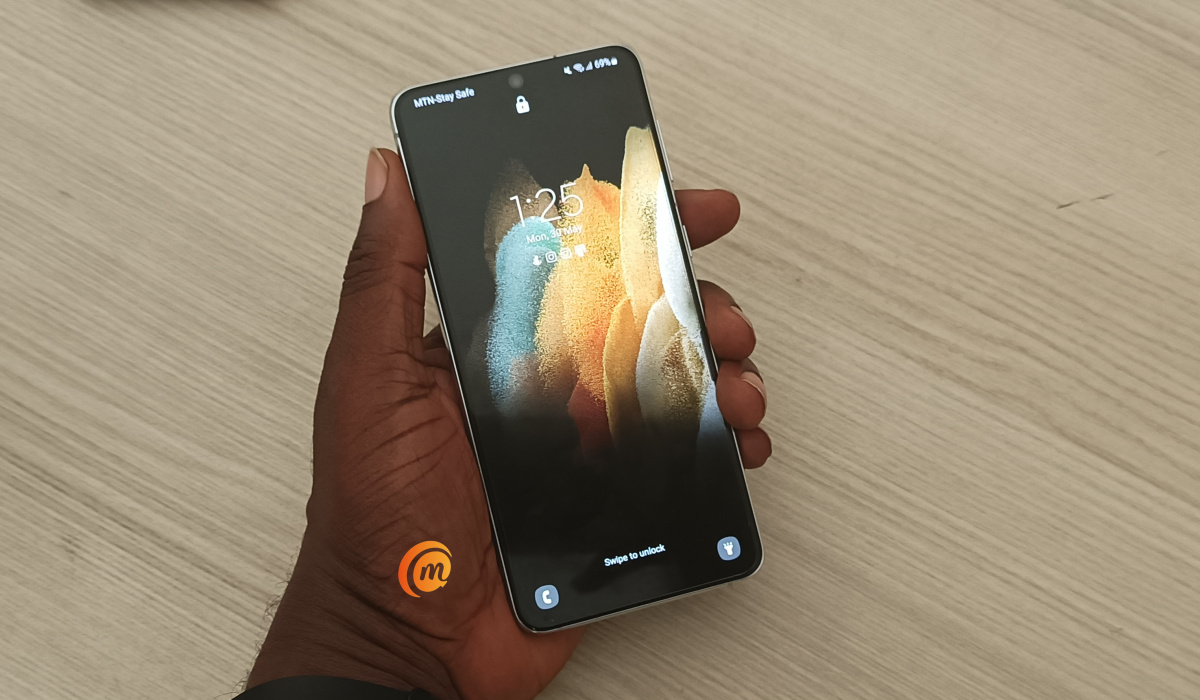
Did you know you can lock Android phones without using the Power button
Now, we know that not everyone might be aware of these alternatives, and that’s why we’ve created this guide to teach you how they work. So, keep reading to find out
Why Do I Need Alternative Methods to Lock Android Phones Screen?
Even if it doesn’t seem so, locking the device is one of the most common and minor functions of an Android smartphone’s power button. This is because there are several ways to lock the smartphone and switch off your screen without bothering with the power button.
You can basically think of these alternative methods of locking your screen as a way to use your power button less, thus increasing its lifespan in the case of malfunctioning or if you just don’t want to use it so often.
What Are The Alternative Ways to Lock My Android Screen?
There are several ways to lock your Android screen without the power button, and we’ve outlined them below:
- Lock Android Phones Using Floating Softkeys
Adding a softkey to your home screen is among the easiest ways, and it’s quite useful for locking your screen without the power button. It will be simple to use, and with just one press, you may quickly lock your device. Check out Roberto Gil’s Turn Off Screen Free , which is offered on the Google Play Store.
It will prompt you to enable it after being installed on your device. You may use the app right away by choosing Activate . You get seven days to use the majority of “Plus” features after installing this free version. After the seven days are up, those premium features are no longer available, but the app’s core functionality will remain.
- Lock Android Phones Using Gravity
Gravity Screen – On / Off is an app made by Plexnor (an Android developer) that turns the screen on and off using specific angles and motions detected by your smartphone’s sensors. Gravity Screen is available for download on Google Play in both a free and a paid pro edition.
There is no need to touch the device when using the Gravity Screen application because setting it face-down locks it for you. Simply put down your smartphone while working to save some battery life. When you pick it back up, Gravity Screen will turn on the display for you automatically.
- Lock Android Phones : Shake your Phone
Shaking your Android smartphone is also another simple way to lock it whenever you want, albeit it may appear strange to someone who catches you doing so. The shake that is necessary to get this done is on the firmer side, but a hypersensitive motion sensor helps avoid any accidents in the process.
Note that you must be using Android 4.0 (Jelly Bean) or later to use this alternative. Additionally, in order to install apps from sources other than Google Play, you must be rooted, have the Xposed Framework installed, and allow “Unknown sources” on your device.
Afterward, you can find the “Shaky” app from developer Riaz Mohamed and install it using the search feature of the Xposed Installer app, which should be located in your app drawer. Open the Shaky interface from your app drawer when the module has been activated and turn on the service.
You can choose to “Automatically Resecure” your smartphone after a predetermined amount of time or leave the screen on when locking the device. Restart your device after making your modifications, then you’ll be able to shake it to lock the screen.
- Lock Android Phones Using Swipe-Lock
You can also add a simple swiping gesture that will allow you to easily turn off the display and lock your device. This is a really easy alternative since swiping is an action we already frequently engage in when using our gadgets.
You can lock Android phones with this technique by doing the following:
- Swipe-Lock can be downloaded and installed on your device through the Play Store, so do that as the first step.
- To give the app the necessary access to lock your device, open it and follow the on-screen instructions to set it as the administrator of the device.
- To change the height, position, as well as thickness of the activation area for the screen lock, go to Settings .
- You can choose the screen’s right or left side as the activation region with the free version, but to enable swiping from the bottom of the screen, you’ll need the Pro version ($1.56).
After this setup, you’ll be able to lock your screen from anywhere on your smartphone, including within applications.
In summary , there are several ways to lock your Android smartphone’s screen without having to disturb the power button every time. You can take a cue from the tips we’ve provided in this guide to explore these alternatives.
- Don’t miss our mobile phone reviews .
- Follow our news on Google News .
- Join our WhatsApp Group , to be notified of the most important articles and deals,
- Follow us on Instagram , Facebook , Twitter , and YouTube .
