Add MobilityArena as a preferred source on Google
On most vehicles, the brake light system is a simple circuit, which includes a switch, light bulbs or lamps, a fuse, and the wiring that connects these parts. When your brake lights fail, your vehicle becomes a danger to others driving behind you, especially on highways where vehicles are moving at high speed. Being able to see when the car in front applies the brakes is a vital part of preventing accidents.
When the brake lights on your vehicle fail to work, there are several things that could be the cause: a blown fuse, a worn-out light switch, a burned out light bulb, and so many more problems. Here are some things you can do if your brake lights fail and stop working.
- IF ONE OR MORE BRAKE LIGHTS FAIL
- IF NO BRAKE LIGHTS WORK
IF ONE OR MORE BRAKE LIGHTS FAIL
The good news is that if one or more of your brake lights fail suddenly and stop working, it is relatively easy to fix. Here’s what to do:
- Check the condition of the light bulbs.
- Remove the light bulbs. To do this, push each one down and turn it counterclockwise, then pull it out.
- Take a careful look at each bulb. It could be that the bulb itself has failed and simply needs to be replaced. In this case, make sure to replace it with bulbs of the same type and wattage.
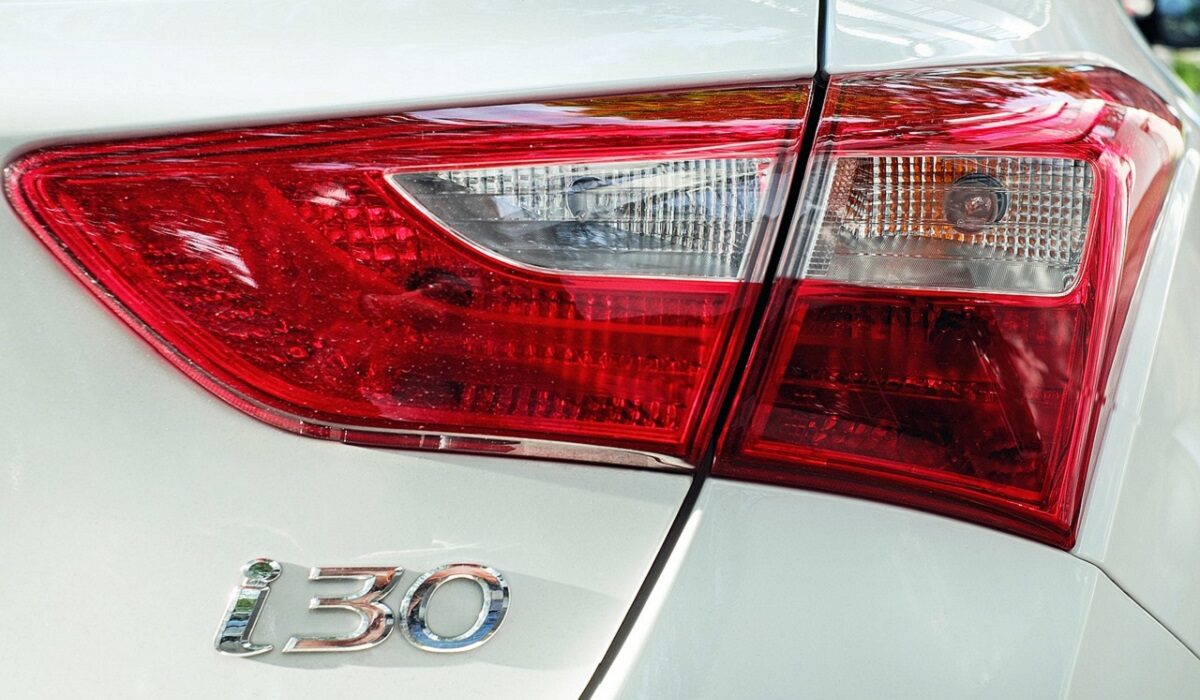
What to do should your brake lights fail
IF NO BRAKE LIGHTS WORK
If none if the brake lights work, you might have to take a critical look at the components that affect the entire circuit (the fuse, brake light switch, turn light switch etc.).
- The first thing to check in this case is the fuse. Here’s what to do:
- Find the location for the fuse. For this, consult the car owner’s manual. When you find it, remove the fuse panel lid and look for the descriptions of each fuse, to find the one you are looking for.
- When you find the fuse, pull it out. When you do that, you can tell if the fuse is blown by looking at the fuse element.
- If your fuse is blown, you need to replace it. Make sure you do so with another one of the same amperage, which you can tell by looking on the fuse case.
- You might also need to check out what caused the fuse to blow, which might be a short circuit.
- If your fuse is not the problem, check the brake light switch. You might want to have a repair manual for your vehicle model at hand for this. Here’s what to do in this case: First, find the switch in your car. Once again, you should refer to your car owner’s manual. After finding the switch, look for the electrical connector for the switch. Now, check the switch for a current. Do this by connecting a test light to a good ground under the dashboard, then connecting it to a power source. Now, back probe the terminals on the connector without unplugging it. If your brake light switch is good, your test light should come on when you probe one of the terminals. If the test light does not come on, the power side of the circuit might have an open circuit or a short circuit. Locate the issue using your car repair manual. After this, you can either adjust the brake light switch or replace it.
- On some vehicles, the brake light circuit is part of the rear section of the turn signal circuit. If you still can’t see what’s wrong with your brake lights after the above steps, check the turn signal switch. Here’s how it is done: Find the wiring diagram for your turn signal switch on your repair manual, then locate the wire that goes from the brake light switch to the turn signal switch. Next, try to connect to the electrical connector. Consult your repair manual for this. Depress the brake pedal to activate the brake light switch, then back probe the brake switch wire at the signal switch connector using a test light. The test light should glow. If not, there is an open circuit in the wire between the signal switch and the brake light switch. Depress the brake pedal again, and back probe the terminals that carry current from the signal switch to the left and right turn signal lights. If the test light does not glow, the signal switch is not working.
Note that you should only carry out any of the above steps if you feel comfortable doing DIY work on your car. If not, you might find it more prudent to take the car to the mechanic for proper attention. Whatever your skills level, do not forget that it is dangerous to drive around with brake lights that don’t work.
Author:EmmyCN
Add MobilityArena as a preferred source on Google
Sometimes you might want to take a selfie or capture some other thing on camera without making a noise. However, our smartphone cameras are programmed by default to make a shutter sound whenever we take pictures. You might want to turn this off on your smartphone. On some phones, it is as simple as dialling down your notification volume, or putting your phone on silent mode. However, it might not be so simple in some other phones. Here’s how to turn off shutter sound on various smartphones. Note that this is illegal in some countries, so be mindful of that.
SONY
On some Sony Xperia smartphones, you just need to go to your camera app, tap the menu icon, go to Settings, then set the Sound slider to Off. Some other devise simply use the volume controls.
HUAWEI
On certain Huawei devices, you need to go to the camera app, tap the menu icon, then the settings button. Next, go to Mute and enable it, which will disable the camera sound. On the Honor 8, you can either use the above method or simply use the volume keys.
ONEPLUS

Swipe in from the left side of your screen, then tap on the Settings icon. This is located on the right side of the screen. When you do that, you will see the shutter sound option in the next window. Turn it off there.
SAMSUNG
Some Samsung devices require you to hit the cog wheel in the camera app to find the Shutter Sound option. There you can switch it off. However, on some newer Samsung devices, you just need to change the master volume settings.
LG
LG’s Lollipop camera software does not have a camera shutter option. You have to put your phone on vibrate to get rid of the sound.
MOTOROLA
Some Motorola phones have a little dial, which slides in from the left side of the screen. The loudspeaker icon represents the shutter sound. Just tap on it to enable or disable it.
HTC
Some HTC models require you to tap on the menu icon, go to Settings, then untick the camera shutter sound box in General Settings. However, on the HTC 10, you just need to change your master volume settings.
Source
