Add MobilityArena as a preferred source on Google
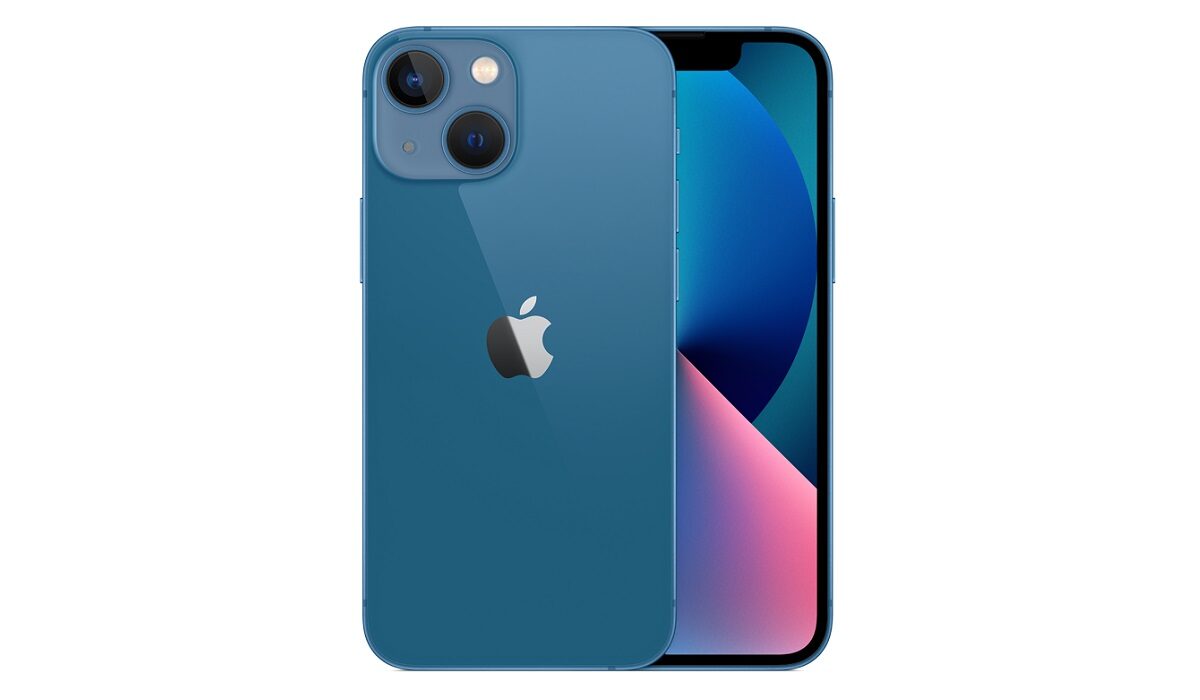
The iPhone 13, like most, if not all, iPhones over the years, has been a huge success and a fan favorite, in terms of user satisfaction overall. But some users have reported problems they have encountered while using their iPhone 13 and with the release of the iOS 16 software there have been specific complaints about increased battery drain and cellular network problems. Let’s take a look at some of these problems and how to solve them.
iPhone 13 problem:Fast Battery drain
Some iPhone 13 users have complained about the speed at which the battery drains especially after the iOS 16 software update. A particular user reports that he loses 25-30% battery power overnight, without engaging in any activity or leaving connectivity features on. That is quite alarming. Here are some ways to reduce and possibly improve this problem.
• Restart your device: restarting your iPhone 13 can temporarily solve this issue. This should be one of the first, if not the first, options you try when you realize that your battery is draining faster. Shut down your phone, let it be for a minute or two and turn the phone on.
• 5G: 5G might have all the upsides you can think of but it also drains more battery power than other network options. If you do not frequently use 5G for your activities, or you know you can do without it you should consider changing your 5G settings from “5G On” to “5G Auto” or down to LTE. Having “5G On” selected means that your phone will always use 5G when it is available. Selecting 5G Auto means your iPhone 13 will use 5G when it will not drain your phone’s battery. 5G Auto is the default option and should be your choice if you want to reduce battery drain on your iPhone 13.
• Update your iPhone: Installing new iOS updates can help solve battery drain even though they sometimes are the cause of such problems. Point updates (x.x.x) are aimed at fixing bugs and milestone upgrades (x.x) usually provide a mic of features and fixes. Although, it is never really stated that the updates include battery life/drain solutions they usually help reduce the drain and improve battery life.
• Go through your apps: there have been cases where battery drain problems are caused by one or more apps running on your phone. Go to your settings, tap on battery and check the battery usage of all your apps. If you notice that there is, indeed, one that is causing your iPhone 13 to drain faster, you can try deleting the app to see if there will be any improvements. If it is one that you barely use, you might need to investigate that app further to find out why.
•Reset All Settings: When you have made sure it’s not an issue with any of the apps you have installed, resetting the settings on your iPhone 13 is another viable option to reduce battery drain. Head into Settings, tap on General, and select “Transfer or Reset iPhone”. Tap Reset and then finally ” Reset All Settings”. Enter your passcode if you have one set up.
•Low Power Mode: Turning Low Power Mode on can help you reduce how fast the battery on your iPhone 13 drains. This usually pops up when your iPhone 13 reaches 20%. Head to Settings, select Battery, select “Low Power Mode”, and turn it on.
iPhone 13 problem:Cellular connection problem
After the iOS 16 software update, a few users have reported problems with losing Cellular connection frequently. The signal indicator appears to fall and sometimes the 5G icon is visible but the internet does not work. Restarting your iPhone 13 can solve this issue. If that doesn’t work, try turning Airplane Mode on for 30 seconds before turning it off, and try connecting to your cellular data.
If none of these options work, you can try completely shutting off your cellular data. Go to the Settings app, select Cellular, turn Cellular Data off, let it stay in this state for a minute, and then turn it back on.
iPhone 13 problem:Wi-Fi connectivity
If you are experiencing your Wi-Fi connections continually dropping and your Wi-Fi speed slowing, here are some steps you can take to possibly fix this issue. You need to investigate the Wi-Fi connection giving you problems. If you’re on your home Wi-Fi network, try unplugging the router and/or modem for a minute before plugging it back in.
If you can’t access the router and/or modem you’re connected to, go to your iPhone’s Settings app. You need to forget the Wi-Fi network that you are having problems with. Here’s how to do that:
•In your Settings, tap Wi-Fi.
•Select your connection by tapping the “i” in the circle.
•Tap Forget this Network at the top of the screen. This process will cause your iPhone SE to forget the Wi-Fi password so you’ll want to have that handy
•If this doesn’t work, try resetting your phone’s Network Settings by going to your Settings app, and tapping “General”. Tap Reset and tap on Reset Network Settings.
- Don’t miss our mobile phone reviews .
- Follow our news on Google News .
- Join our WhatsApp Group , to be notified of the most important articles and deals,
- Follow us on Instagram , Facebook , Twitter , and YouTube .
Author:Flamez
Flamez loves basketball, art, gadgets and cars.
Add MobilityArena as a preferred source on Google
A standard iPhone screenshot captures the full contents of your screen, nothing more and nothing less. However, there’s a chance that such screenshots won’t always be adequate, especially if you’re attempting to record something that goes way beyond your phone’s screen.
Thankfully, iOS has a feature called “Scrolling screenshots” that lets you take a single screenshot while scrolling through numerous pages. A scrolling screenshot makes the procedure simpler than using third-party tools to combine multiple screenshots into one larger one.
In this guide, we’ll show you how to take scrolling screenshots on your iPhone device if you’re not already familiar with the process. So, keep reading to find out the different ways to get this done.
What is a Scrolling Screenshot?
A full-page screenshot, also known as a scrolling screenshot, lets you take a single screenshot that will cover the entire page of a webpage, document, or email. For instance, you would only need to take one screenshot to get the complete 116-page document on Safari if you wanted to screenshot it.
This totally eliminates the need to capture multiple screenshots and have to go through the stress of combining or joining them.
How Do I Take A Scrolling Screenshot on iPhone?
To take a scrolling screenshot, there are some things you must first be aware of. For one, this feature only functions (as of the time of writing this article) with screenshots taken using the Safari web browser. Also take note that scrolling screenshots, which are typically saved as a PDF, can only be saved using Apple’s Files app.
Follow these steps to capture a scrolling screenshot:
● Start by taking a standard iPhone screenshot. Press the Side button and the Volume up button quickly if you have FaceID. Home button plus side/top buttons are required for Touch ID.
● Click on the screenshot preview; you’ll see it in the lower-left corner. It will only be there for about five seconds, so you’ll need to move swiftly.
● After that, select Full Page . A preview of the complete scrolling screenshot is displayed beneath Full Page , coupled with a larger preview in the center. In case the scrolling screenshot is too long, you also have tools to crop it.
● Click Done after you’re done editing the scrolling screenshot. Two options will be presented to you: one to save the scrolling screenshot and the other to remove it.
● If you want to save the scrolling screenshot, you’ll need to click on Save PDF to Files . If more than one screenshot is taken, select Save All to Files or click on the Share icon located in the top-right corner of the screen, then select Save to Files . The share button (box with an arrow pointing up) is located in the upper right corner of the screenshot. Tap it to share the file immediately via Messages, email, etc. When finished, proceed with the remaining instructions given below.
● To save the scrolling screenshot, select a folder. The Downloads folder or the most recent folder you stored something to will be chosen by default in the Files app.
You can also take a scrolling screenshot with AssistiveTouch, which is an accessibility tool that is typically included with the iPhone. Keep in mind that you must have AssistiveTouch configured in Settings > Accessibility > Touch > AssistiveTouch in order to snap a screenshot with it.
To use this technique to capture a scrolling screenshot, follow these steps:
● Use the set AssistiveTouch tool to take a screenshot of a website or a large document.
● You can take a screenshot using Back Tap if your system is configured to do so.
● Click the preview thumbnail that shows up in the lower-left corner of the screen after taking a screenshot.
● To view what the screenshot will look like, tap the Full Page tab in the top-right corner of the screen.
● When you’ve completed the process, select Done from the top-left corner of the screen. Tap Save PDF to Files to store the PDF (or click the option to Save All to Files if you took more than one screenshot).
● Choose a location to save your screenshot of the scrolling page. Once it has been saved, you can view it via the Files app.
How Do I View My Scrolling Screenshots?
All the converted scrolling screenshots are delivered as PDF files to the built-in Files app. Open the Files app, navigate to the folder where your screenshot was saved, then press the image to view it scrolling.
In conclusion , taking scrolling screenshots is really easy to achieve, as long as you have the right information to take advantage of the features on your iPhone device.
- Don’t miss our mobile phone reviews .
- Follow our news on Google News .
- Join our WhatsApp Group , to be notified of the most important articles and deals,
- Follow us on Instagram , Facebook , Twitter , and YouTube .
