Add MobilityArena as a preferred source on Google
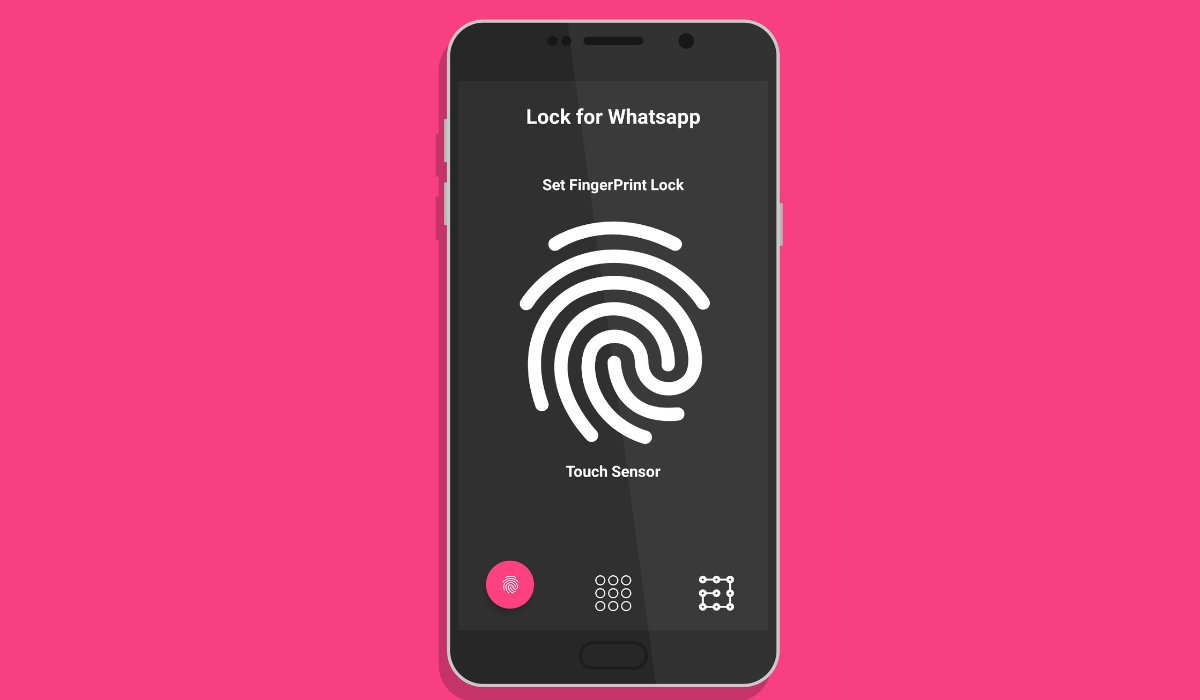
I certainly don’t want strangers snooping through my private WhatsApp messages, and I know other people feel the same way. Fortunately, WhatsApp includes a feature for the iPhone that allows you to lock the app using your device’s Face ID or Touch ID authentication.
In this article, I’ll describe how to lock WhatsApp on your iPhone with Face ID or Touch ID. Locking WhatsApp with Face ID or Touch ID is a simple solution to improve the privacy of all your conversations. You can also hide notification previews on the lock screen by using Face ID or Touch ID.
- How Can You Lock WhatsApp on Your iPhone With Face ID or Touch ID?
- Lock WhatsApp on Your iPhone With Face ID or Touch ID
- Hide WhatsApp Notification Previews on the Lock Screen of Your iPhone
How Can You Lock WhatsApp on Your iPhone With Face ID or Touch ID?
It’s pretty easy to lock WhatsApp on your iPhone, and I’d call it a wise move for an additional layer of security and privacy for your messages. It’s especially useful if your iPhone isn’t configured to automatically lock after a short period of inactivity. With this action, even if you leave your iPhone unlocked, your WhatsApp chats will remain safely hidden from view.
Below, I’ve described the steps you’ll need to lock WhatsApp on your iPhone with Face ID or Touch ID. You can take advantage of this function to protect WhatsApp privacy on your iPhone, and prevent unauthorized access to your private WhatsApp chats.
Lock WhatsApp on Your iPhone With Face ID or Touch ID
Follow the instructions below to use Face ID or Touch ID to lock WhatsApp on your iPhone and prevent unauthorized access:
- On your iPhone, launch the Settings app.
- Click on Face ID & Passcode ( or Touch ID & Passcode ) and input your passcode.
- Click Other Apps and make sure the WhatsApp toggle is turned on.
- Launch WhatsApp , go to the bottom-right corner, and select Settings .
- Select Privacy and go to Screen Lock .
- Turn on the Require Face ID (or Require Touch ID ) switch. You’ll be given the option to lock WhatsApp on your iPhone Immediately , After 1 minute , After 15 minutes , or After 1 hour .
When you access the app after that, WhatsApp will first authenticate your identity before you can use the app. To turn off this function that locks WhatsApp, you can go to the same menu and uncheck the Require Face ID or Require Touch ID checkboxes.
Please keep in mind that you cannot use a password to lock WhatsApp on your iPhone. Even though it can be locked using Face ID and Touch ID, there is no way to do this successfully with a specific password.
However, your iPhone will prompt you for your passcode if Face ID or Touch ID has been enabled previously, and they fail for some reason. For instance, if your finger is wet and prevents authentication through Touch ID or you have sunglasses on preventing authentication through Face ID. It is also not possible to create a separate passcode (different from your phone’s passcode) just to lock WhatsApp on your iPhone.
Hide WhatsApp Notification Previews on the Lock Screen of Your iPhone
It’s true that Face ID or Touch ID can successfully lock WhatsApp on your iPhone and keep strangers from opening your WhatsApp chats. However, keep in mind that someone else may still be able to read fresh notifications on your iPhone lock screen.
To prevent this, you can disable or lock WhatsApp’s notification previews on the lock screen. The steps to do this are described below:
- On your iPhone, open the Settings app.
- Scroll down and look for WhatsApp .
- Choose Notifications .
- Click Show Previews and select When Unlocked . This implies that previews will appear only if your iPhone has validated your identity using Face ID , Touch ID , or your passcode . You can choose “ Never ” for more protection.
Your iPhone’s message content will now be hidden in the Notification Center . This is a good way to prevent any bypass to security when you lock WhatsApp on your iPhone to protect your privacy. You can also check out other ways to customize your lockscreen’s function for improved security .
To summarize , I hope that this guide has helped you to use Face ID and Touch ID to lock WhatsApp on your iPhone and prevent unauthorized access. If you need further help, you can check out WhatsApp’s help page for extra information.
Note that there are numerous other iPhone apps that you can lock with Face ID or Touch ID, many of which may be more important to protect than WhatsApp. Examples are banking apps and password managers, so make sure you do not overlook them.
Author:Joan Agie
Add MobilityArena as a preferred source on Google
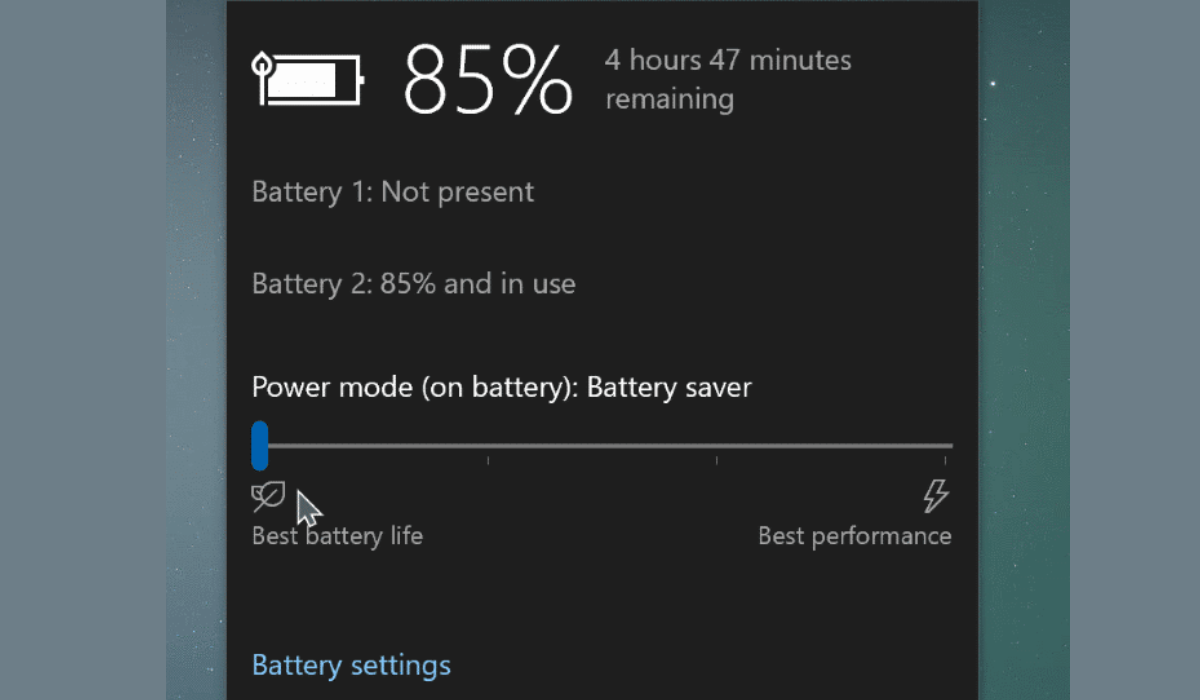
Windows has a Battery Saver option that lets you use your laptop while using less power. This can effectively boost the battery’s operating time. However, some features, such as app performance or background app updates may not work properly if battery saver mode is turned on. If you need those services, you can also turn it off.
You’ll learn how to turn Battery Saver on or off on Windows in this guide. So, follow this guide to take advantage of Windows’ Battery Saver mode to increase or decrease your battery’s operating time.
How Can You Turn Battery Saver On or Off on Windows?
You can extend the battery life of your Windows laptop by using its convenient battery saver mode. Windows compresses this by reducing screen brightness, minimizing the number of background processes, and turning off specific visual effects and animations.
Here are different ways to turn Battery Saver on or off on Windows 10 or 11 computers.
Turn Battery Saver On or Off on Windows Through Quick Settings
In Windows, the Quick Settings panel provides access to frequently used services such as Wi-Fi, Bluetooth, and Airplane Mode, among others. You can also access this panel to quickly enable or disable the battery saver mode.
To turn Battery Saver on or off on Windows through Quick Settings , press Win + A to enter the Quick Settings panel, and then select the battery saver symbol.
In case the Battery Saver icon is not already there, you can manually add it. Press the pencil symbol at the bottom, and then pick Add > Battery Saver .
Turn Battery Saver On or Off on Windows Through the Settings App
The Settings app is another way to turn Battery saver on or off on Windows. To accomplish this, follow these steps:
- Right-click the Start button and pick Settings from the list of options.
- Select Power & Battery from the System tab.
- Click on Battery Saver to expand it under Battery .
- To enable power saver mode, click the Turn on now button.
If the battery saver mode is enabled, the Turn off now button will appear instead. Additionally, plugging your laptop into a power source disables the battery conservation function.
Automatically Turn Battery Saver On or Off on Windows Through Settings
If you don’t want to manually turn Battery saver on or off on Windows all the time, you can set this up to happen automatically. Windows can automatically enable battery saver mode when the battery level falls below a certain percentage. You can set it up by using the Windows Settings app. Follow the steps listed below.
- To access the Settings app, press Win + I .
- Go to System > Power & Battery .
- To expand it, click on Battery Saver .
- Click on the drop-down menu next to Turn battery saver on automatically at and choose your preferred battery level.
You can also prevent Windows from automatically turning on battery saver mode by choosing Never . Alternatively, if you want the battery saver option to be on all the time, select Always .
Automatically Turn Battery Saver On or Off on Windows With A Command Prompt
While the Settings app is the most often used method to automatically turn Battery Saver on or off in Windows, it is not the only alternative. You can also set the battery saver mode to switch on automatically using a command-line program such as Command Prompt or Windows PowerShell . The steps are as follows.
- Open the Command Prompt or PowerShell on your PC
- In the console, type the following command and hit Enter : powercfg /setdcvalueindex scheme_current sub_energysaver esbattthreshold
In the above command, replace < BatteryPercentage > with the percentage below which you want the battery saver mode to activate automatically. Unlike the Settings app, the command line technique allows you to provide a custom battery level percentage between 0 and 100.
To conclude , Battery saver mode in Windows can come in handy when you’re away from a power source. So, with the above guidelines, I believe you can easily turn Battery saver on or off on Windows. You can also check Windows help center for more helpful information.
However, it’s important to note that leaving battery saver mode on all the time can impact certain features, such as notifications and background app sync. Hence, it’s best to enable battery saver mode only when necessary.
