Add MobilityArena as a preferred source on Google
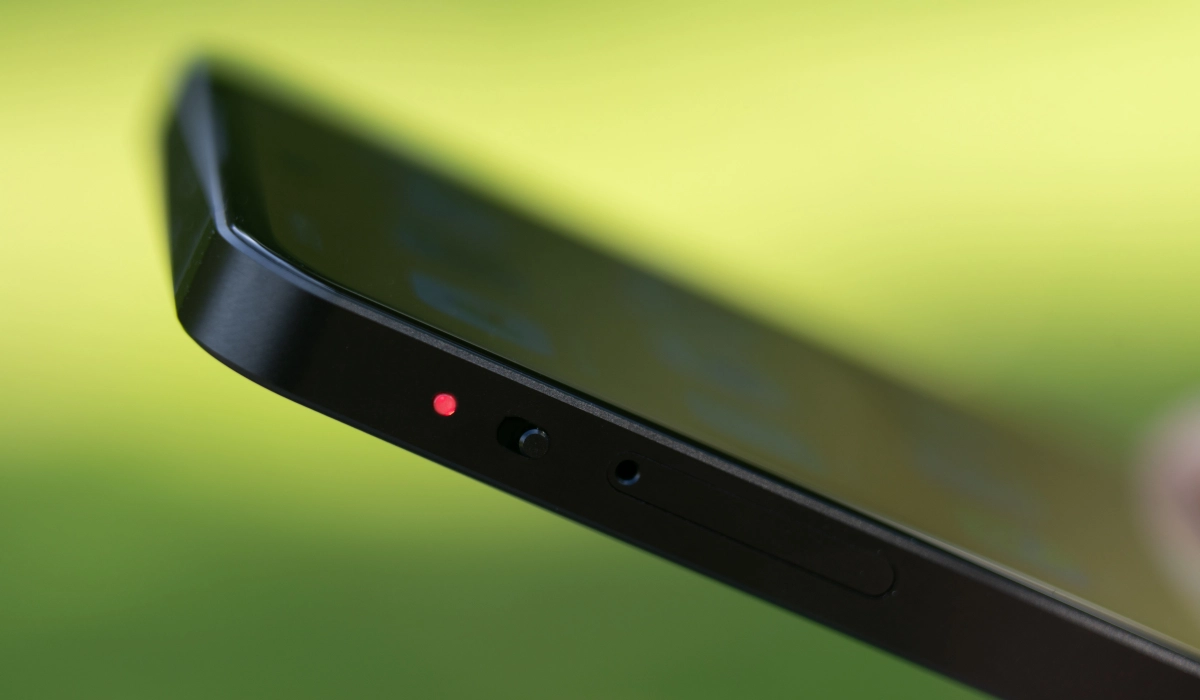
Hardware kill switches are physical buttons that can be used to disconnect a device from the mobile network, Bluetooth, power supply, etc. I have advocated that all privacy smartphones should have one. I have followed the progress of /e/OS for a few years now and I am ecstatic that they have now released Murena 2, a privacy smartphone that has not one but two hardware kill switches.
The first hardware kill switch on Murena 2 is a Privacy Switch button, allowing you to easily and instantly shut down your microphone and camera. The second hardware kill switch is a Disconnection Switch, that disconnects all network activity (calls, text messages, data) and also silencing all sounds to provide a distraction-free environment. Let’s look at the detailed specs of the device.
- Specs
- Carrier Coverage
- Price
- Can You Run Android Apps on Murena 2?
Specs
CPU: 4 X 2.1 Ghz & 4 X 2 Ghz
Operating System: /e/OS
Dimensions: 159.7mm, 73.3mm, 7.8mm
Weight: 182g
Processor: Qualcomm Snapdragon 8 Gen 1 (4 nm)
RAM: 8GB
Storage: 128GB
Max Storage Expansion: 512GB microSD
SIM Card Type: Dual, nanoSIM+nanoSIM or nanoSIM+microSD
Main Display: 6.43″ (SUPER AMOLED)
Screen Resolution: 1080 x 2400 pixels FHD+
Rear Camera: 64MP main lens + 13MP + 5MP
Front Camera: 25MP
Battery Capacity: 4000mAh
Charging: 18W Fast Charge
Wi-Fi: 2.4Ghz/5Ghz 802.11 a/b/g/n/ac
Bluetooth: 4.2
Additional connectivity: VoWiFi/VOLTE, GPRS, EGSM, WAP, EDGE
2G Bands: GSM 850/900/1800/1900 – CDMA 800
3G Bands: HSDPA 800/850/1900/2100
4G Bands: B1, B3, B4, B5, B7, B8, B12, B17, B19, B20, B26, B28A+B, B34, B38, B39, B40, B41
Cable Connector: USB TYPE-C
Location: GPS
Sensors: 360° Ambient Light Sensor, Proximity Sensor, E Compass, Accelerometer, Gyroscope,
Others: Side-mounted Fingerprint Scanner, NFC
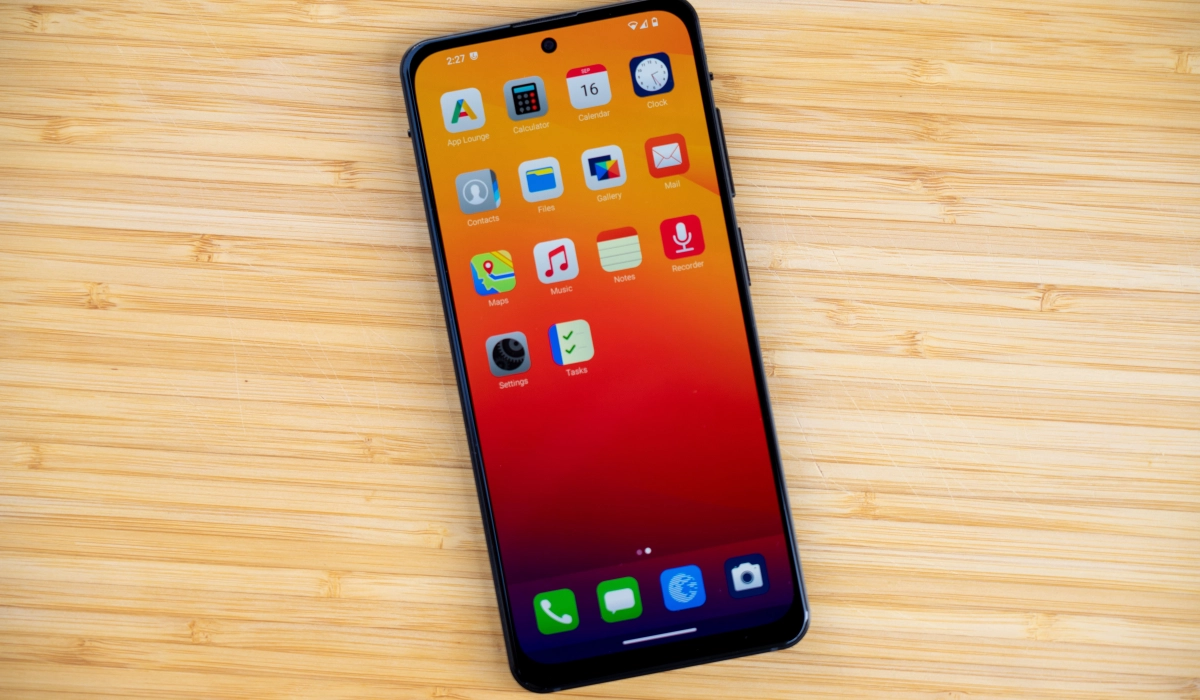
The specs of Murena 2 are quite good. I have seen a few other privacy smartphones that sacrifice up-to-date specs for privacy and it is good to see that Murena 2 does not tow that line. While E Foundation did not inclide the processor in the list of specs they published, a source of mine revealed that it uses the Snapdragon 8 Gen 1, which is a highly capable flagship rocessor from 2022. That is an excellent choice, if you ask me.
Carrier Coverage
Murena 2 works with carriers in the USA, Canada, Europe, UK and many more countries
In the USA, the manufacturer recommends using Murena 2 on T-Mobile and its MVNOS i.e. T-Mobile, Metro by T-Mobile, Simple Mobile, Speedtalk Mobile, Ultra Mobile, Red Pocket Mobile, Ting. Murena 2 isn’t compatible with Verizon network.
In Canada, Murena 2 works with Rogers, Telus, Shaw, BCE. Virgin Mobile, Fido, Freedom, Koodo.
In Europe and in the UK, Murena 2 works with all 40 carriers like Deutsche Telekom, O2, Vodafone, Orange, Bouygues, SFR, TIM, WINDTRE, Movistar, EE, Three.
Price
Murena 2 is available for $499 in the USA, C$679 in Canada, £429 in the United Kingdom, €499 in the European Union, and AUS$829 in Australia.
Can You Run Android Apps on Murena 2?
If you are new to /e/OS, it is an open source, fully deGoogled software based on Android, with no Google apps or Google services accessing your personal data.
- Google Apps have been entirely replaced by a suite of corresponding open source apps developed by the E Foundation and partners.
- Google default search engine has been removed from the OS everywhere.
- Google Services have been replaced by microG
- Connectivity checks do not use Google servers
- It does not use Google’s Network Time Protocol servers
- It does not use Google’s Domain Name System servers
- Geo-location uses Mozilla Location Services in addition to GPS.
Because its core is open-source Android OS, /e/OS is compatible with Android apps. This means you can install and run your favourite apps on Murena 2.
/e/OS is also sometimes simply called /e/ and was originally called Eelo (see Eelo is a Google-free Android OS from the past ).
Author:Mister Mobility
Digital Skills and Communication Coach | Mobile Phone Connoisseur since 2001 | Tech Blogging since 2004
Add MobilityArena as a preferred source on Google
In the guide below, I share a few tips including how I got Prime Video on a non Smart TV, without a fuss.
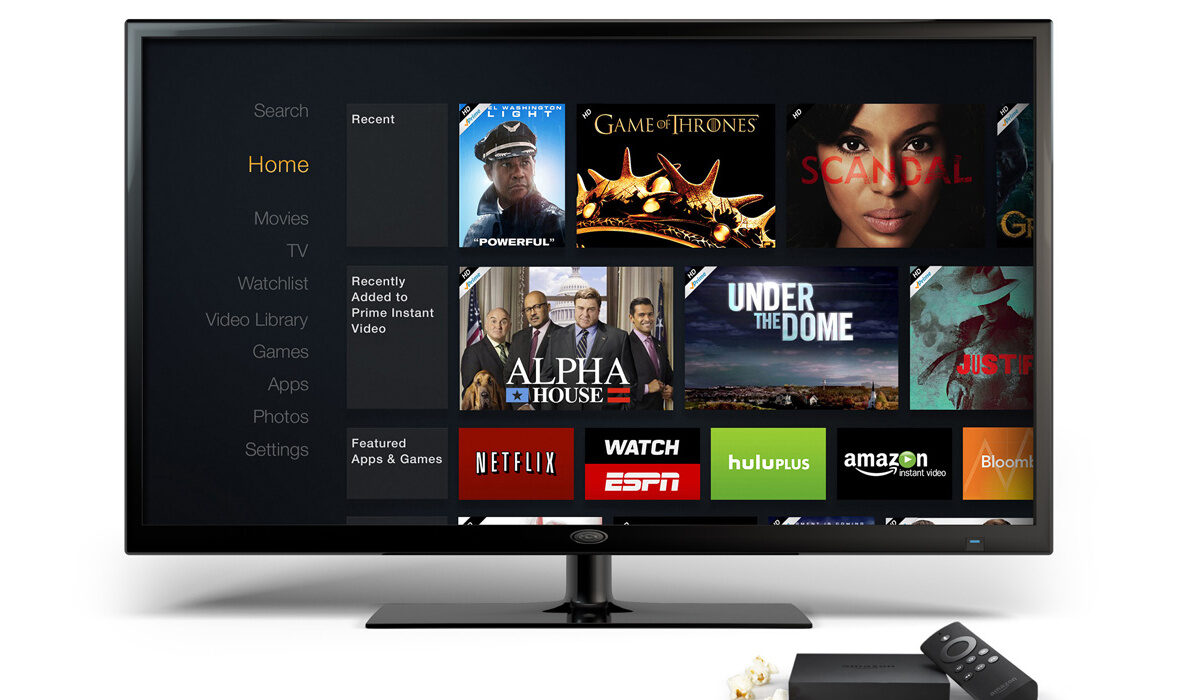
How To Get Prime Video On A Non Smart TV
- To Get Prime Video On A Non Smart TV, You Need A Dongle
- How to get Prime Video on a non Smart TV with Amazon Fire Stick
- Setup
- How to watch Prime Video on a regular TV with Chromecast With Google TV
- Summary and Final Words
To Get Prime Video On A Non Smart TV, You Need A Dongle
Because regular television sets do not come with certain features, they require an external device to enable them to connect and interact with a service like Prime Video. That external device is called a dongle.
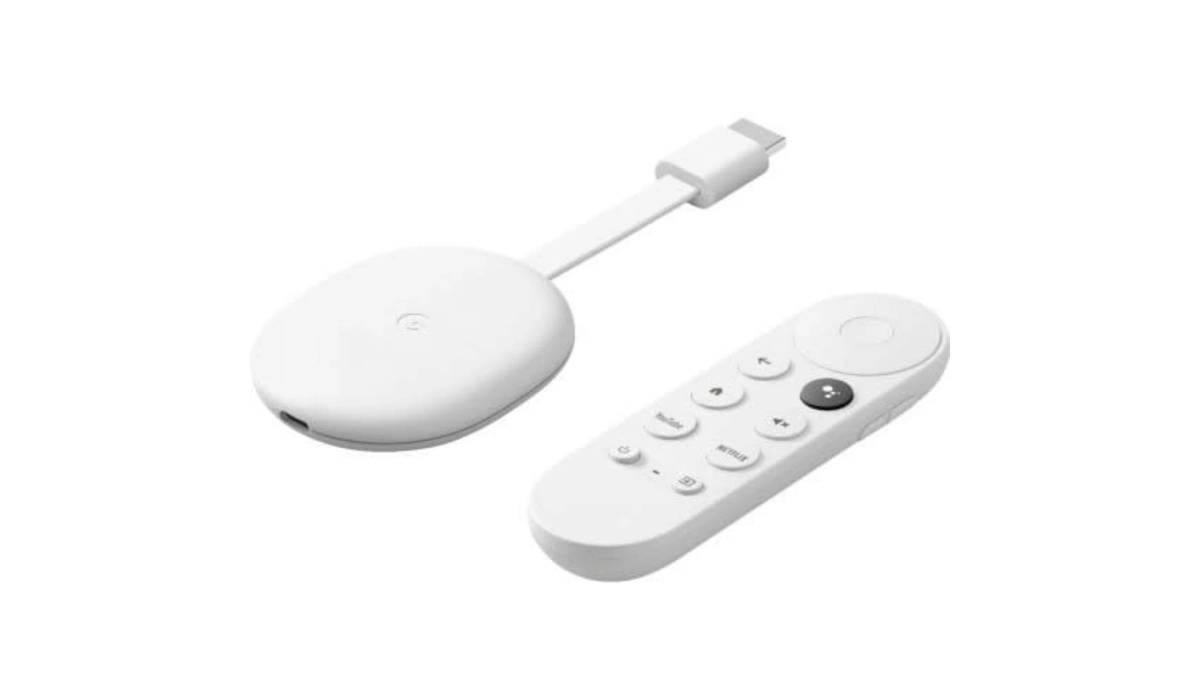
Chromecast with Google TV looks quite differently from Fire Stick, but it also comes with a remote controller. See the below image.
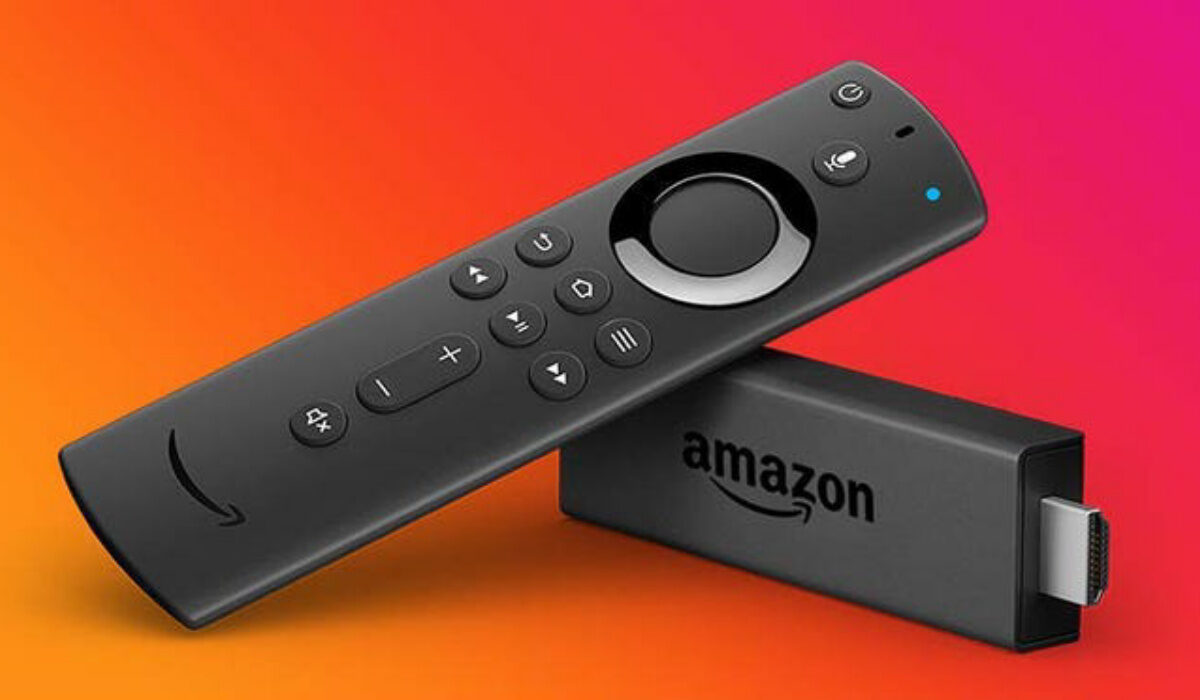
There are three models of Fire Stick. They differ in price and performance. Which means that the higher priced ones offer you better performance. Let’s look at each type.
- Fire Stick Lite: Costing only $29.99, this is the most affordable option to get and watch Prime Video on a non Smart TV. You get the full functionality to stream from Prime Video and other services like Hulu, Netflix, etc.
- The 1080p Fire Stick costs $39.99, for the benefit of having a slightly faster processor and the new Fire Remote controller. The new controller provides voice commands and volume and power controls for your television.
- Lastly, the 4K Fire Stick, as the name suggests, supports 4k resolution, in addition to the extras that the 1080l version already provide. It costs $49.99.
Setup
- Buy your preferred Fire Stick. As already mentioned, it costs anything between $20 and $50 and can be found on Amazon, Best Buy, and many other online stores.
- Plug it into your regular TV via the HDMI port. If your regular TV does not have an HDMI port, you will need an HDMI to AV (RGB) converter/adapter, or HDMI to component adapter. These are available for as low as $15. Connect the Fire Stick to the adapter and then that to your TV’s AV port.
- Make sure your Home Internet WiFi is up and running.
- Plug your Fire Stick into a power outlet. It should indicate that it is powering on.
- Use your television’s remote controller to select the input that matches the port you plugged the Fire Stick into. That should be HDMI. Once you pick the correct port, your Fire Stick boot up screen will appear on the TV display.
- Your remote should auto-pair with the Fire Stick. If it doesn’t, hold the “Home” button for about “fifteen seconds” to force it to happen.
- Next, follow the instructions on the TV screen to connect your Fire Stick to your Home Internet Wi-Fi network.
- Once connected, navigate to the app store to download the Prime Video app. Don’t get scared; if you know how to install apps on a phone, it is the same process.
- Login to your Prime Video account and begin to stream and watch your favourite movies and TV shows.
How to watch Prime Video on a regular TV with Chromecast With Google TV
Note: What you need to get Prime Video on a non smart TV is “Chromecast with Google TV”, not the older and less capable models that are called simply, “Chromecast”. Either the HD or 4K variant of Chromecast with Google TV will do. The 4K variant is the more advanced of the two, and also the more expensive, but you really should not bother with it if you do not own a 4K television set.
- Buy your Chromecast With Google dongle.
- Plug it into your regular TV via the HDMI port. If your television set does not have an HDMI port, try one of the alternatives mentioned above already.
- Make sure your home router is on and there is an active ainterbet connection.
- Plug your Chromecast device into a wall power outlet and it will power on.
- Download and install the Google Home app on your smartphone. This is important, as it is used for setting up your Chromecast.
- On the app, set up a Home and add your Chromecast a device on the Home app. Your Chromecast device will connect to your WiFi and then to TV, after which you can install all the apps you want on your TV.
- Now, it is time to login to your Prime Video account and start watching your favourite shows and movies.
Summary and Final Words
Personally, I use Chromecast with Google TV and setting up was smooth and easy. It has served me well till date without issues.
Is there any way to get Prime Video on a non Smart TV without connecting an external device? Unfortunately, there is not. It is the dongle that puts the “smart” in your regular TV. What other external devices can you use to get Prime Video on your non Smart TV? Your options include Roku ($30-39) and Apple TV ($150).
Author:Mister Mobility
Digital Skills and Communication Coach | Mobile Phone Connoisseur since 2001 | Tech Blogging since 2004
