Add MobilityArena as a preferred source on Google
To be honest, it’s not easy to completely avoid using your smartphone in the modern world, no matter how hard you try. This is because nearly every facet of our lives—communication, work, study and relaxation —relies on our cell phones, whether directly or indirectly.
This can be quite a problem when you’re trying to take some time off using your cell phone to improve your focus and productivity. However, what if we told you there’s a way to temporarily disable some of the most distracting apps on your Android device?
- Set App Time Limits with the Digital Well-being App
- Use Focus Mode to Block Specific Apps
Set App Time Limits with the Digital Well-being App
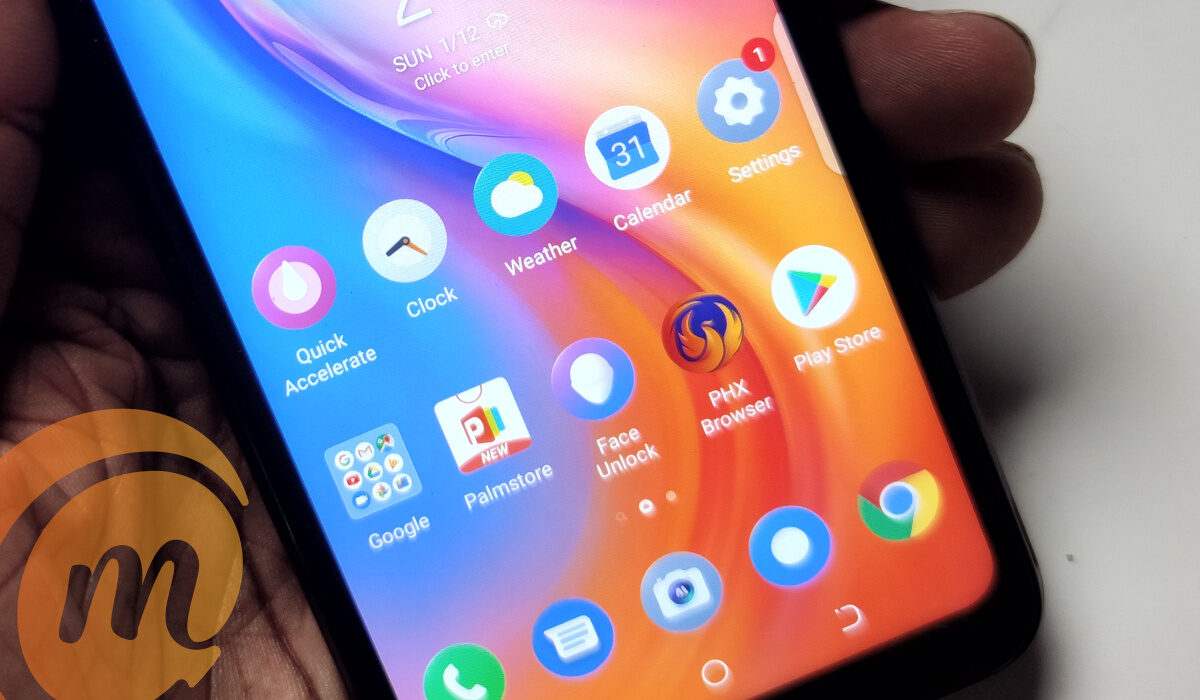
Google has a tool for controlling screen time which is called Digital Wellbeing. It is accessible on some select Android One phones running Android 9 Pie and higher, Google Pixel phones, and a few other specific phones. The Digital Wellbeing app will typically appear as a Settings item on your smartphone after you download it.
The Digital Wellbeing app keeps track of your smartphone usage. It displays your phone’s pick-up frequency, time spent in each app, and the number of alerts you’ve gotten today.
You can use this data to decide how much time you want to spend using your smartphone. The software also provides you with resources to limit your usage, such as an App Timer.
- Either scroll down on the notification shade or select the gear symbol to access Settings to use this tool (you can also open it from the app drawer). Click on “ Digital Wellbeing and Parental Controls ” after that.
- Set the time limit in the pop-up window, and then press “ OK .”
The app will suspend automatically after your allotted usage time expires. It won’t send you any notifications, and its symbol on the home screen will be grayed out. The timer then restarts the following day, and the app opens once more.
Naturally, you can always return to the Digital Wellbeing app and modify the timer as needed if you want more access to the app.
Use Focus Mode to Block Specific Apps
Focus mode is a built-in feature of Android 10 devices. This app blocking feature is still quite simple compared to other options. When Focus mode is enabled, all you can do is choose a number of distracting apps to suspend.
It functions as a manual switch to ban several apps at once. As at the time of this writing, it is not possible to set apps to automatically halt at specific times of the day, but some third-party apps (which we’ve discussed below) may be able to make this feasible.
Focus mode will be useful for you if all you need is a simple switch to disable specific programs. To do this, follow these steps:
- Click “ Digital Wellbeing and Parental Controls ” in the Settings app.
- Press “ Show Your Data .”
- Tap “ Focus Mode ” here.
- When you activate Focus mode, select the applications you want to pause. To turn on Focus mode, touch the “ Turn On Now ” button (you can come here to tap the same button to turn it off).
- If you don’t want to open the Settings app every time, you can simply add a “ Focus Mode ” tile to the notification panel. To do this, access the notification panel and click Edit (the icon that looks like a pencil).
- To the section of active tiles, drag the “ Focus Mode ” tile.
- Now, you only need to tap the “ Focus Mode ” tile to turn this function on or off.
Other Alternatives
As we’ve already noted, only a small number of Google Pixel, Android One, and other devices provide the Digital Wellbeing function. Focus mode on Android 10 is also fairly constrained even on these devices.
Now, if you want to use the app blocking functions on other Android phones, or you want Focus mode to automatically ban apps at specific periods using a schedule, you’ll be needing other apps. You can simply use third-party programs to perform both tasks successfully.
One such third-party program is Stay Focused, a screen time management software that demonstrates how you use your device. There are several ways this program aids you in limiting your consumption. You can establish a daily or hourly usage cap and restrict apps based on the frequency of launches or for a specified period of time.
To get the Stay Focused program set up on your Android device, follow these steps:
- The software requests permission for Usage Access when you first launch it. To do this, select “ Click to Grant .”
- Turn “ Permit Usage Access ” on next.
- You return to the app after that. Tap the Padlock symbol next to the annoying app after locating it.
- Here, you’ll be able to see every choice that is offered. Select “ Daily Usage Limit. “
- Choose the week days olon which you want to apply the limit, specify the time limit, and then click “ Save ” on this screen.
- The screen with the list of apps reappears. Tap “ Specific Time Intervals ” on the configuration screen of the app you’ve chosen.
- From this point, you can block an app for a certain period of time. Tap the addition sign (+) next to “ In Intervals ” after choosing the days of the week you want to apply the limit to.
- Choose the “ From ” and “ To ” times in the popup, and then touch “ OK .”
- Click “ Save .” The Stay Focused app now displays a splash screen stating that you are unable to access the controlled app if you attempt to open it outside of the periods you selected.
- To make numerous schedules for the same app, use the “Specific Time Intervals” function. You may, for instance, have a different schedule for the weekend than you would for Monday through Friday. To add an additional schedule, select “ Add Schedule ” from the configurations screen.
There are also other similar programs that will provide this same function on your Android device, but some of them might require you to pay a regular subscription fee.
Summarily, if you’ve been battling distractions that are affecting your productivity, you’ll benefit a lot from this article. Just make sure to follow all the simple instructions we’ve included and you’ll be just fine.
Also, don’t forget to recommend this article to your friends and loved ones so they can also benefit from it.
Author:Joan Agie
Add MobilityArena as a preferred source on Google
As humans, we’re bound to be forgetful sometimes; it happens even to the best among us. This is why it’s not so uncommon to find yourself forgetting something as essential as your laptop charger, especially on a day when you have a lot of work to do.
This could happen when you’re on a trip and you suddenly realize you didn’t pack your charger. Maybe your charger even gets bad, with no way for you to fix it or get a new one immediately. Naturally, you’d imagine that such a situation can’t be salvaged, but what if we told you there’s a way to charge your laptop without its charger?
How to Charge a Laptop Without its Charger
Charging your Laptop without its Charger
The most efficient way to charge your laptop battery is probably with a laptop charger, but there are other options as well. You’ll only need:
- a power supply
- a means of connecting and supplying electricity to the laptop’s battery
We’ve described three methods below:
Using a USB-C Cable
You can use a USB-C cable to charge your laptop if it has an integrated USB-C port; just make sure the cable has a plug adaptor (the box-shaped plug at your phone charger’s end that can be plugged into an outlet). In fact, some computers’ primary charger is a USB-C cord.
Using a USB-C cable to charge your laptop is pretty easy, just follow these steps:
- Connect the first end of the USB-C cord to a power source.
- Connect the USB-C cable’s opposite end to your laptop.
It’s that easy! As long as you have access to a USB-C cord, you’ll be able to navigate this situation successfully. If you don’t, consider the other options below.
Using a Car Battery
Automobiles typically have power, and you can use the power they generate to your advantage when you need to charge your laptop. You’ll find this fix especially useful if you’re without your laptop charger and you happen to be traveling by road in your own car or hiring one when your flight lands (assuming you’re taking one).
The process of using a car to charge your laptop is quite simple. However, you’ll require the following two items:
- An AC Adapter (this typically has a USB Type A connector on one end and a USB-C connector on the other end). When you have the option to charge your laptop using a car, this USB Type A to USB-C adapter is ideal to make it work successfully.
- USB car charger
Once you’re equipped with these items, charging your laptop is simple. Simply follow these steps:
- Start your vehicle’s engine
- Connect the car charger to the vehicle’s charging port (you may not even need a car charger because many newer vehicle models have USB ports you can directly plug into)
- At this point, you should connect your laptop to the USB-C port.
Make sure never to leave your laptop unattended in plain sight if you choose to charge it using this method. That might increase its susceptibility to theft or harm from overheating.
Using a Powerbank
Using a power bank is perhaps the simplest of the three alternative ways we’ve described to charge your laptop without its charger.
In essence, a power bank is a laptop battery that is portable. You only have to attach the power bank to your laptop to get started. The best part about power banks is that they can charge your laptop without needing to be plugged into an outlet.
There are many different varieties of power banks, and they aren’t all made with the same charging capacity. With a USB Type A power bank, you can conveniently charge laptops with less power.
You’ll need access to a power bank with a USB-C port if you wish to power a more powerful laptop, such as a mobile workstation. Your smartphone or tablet can also be powered by USB-C power banks in addition to other USB devices.
If you’re charging a more powerful laptop, your power bank will most likely only have the juice to recharge the laptop once or twice.
It’s thus crucial to remember to recharge the power bank itself by plugging it into an outlet. You won’t be able to recharge your laptop using your power bank after it runs out of juice, so charge it so it has enough power to last you until you can get your laptop charger.
In summary , there’s no need to feel like it’s the end of the world if you’re somehow caught somewhere without your laptop’s charger. Obviously, the feasibility of the different methods we’ve described will depend on what items you currently have available, but try to make improvisations if need be.
We hope you’ve found this article helpful so don’t hesitate to recommend it to your loved ones and friends.
- Don’t miss our mobile phone reviews .
- Follow our news on Google News .
- Join our WhatsApp Group , to be notified of the most important articles and deals,
- Follow us on Instagram , Facebook , Twitter , and YouTube .
