Add MobilityArena as a preferred source on Google
Typically, when you remove a file from your Android phone, it still remains on your device until new data replaces it in the storage. Now, this kind of implies that it is possible to recover deleted files using data recovery tools, and this is a significant privacy concern especially when you want no one accessing these files by any means.
You should note, however, that all Android phones are now by default encrypted since Android 6 (Marshmallow), making it impossible for recovery tools to access the data on them.
If, despite this reassurance, you’re still worried that your already deleted private files could end up in the wrong hands, then we’ll show you in this article how to permanently wipe your data off your Android device.
- Permanently Delete Data on Android using a File Manager
- Permanently Delete Data on Android by using a File Shredder
Permanently Delete Data on Android using a File Manager
The associated app is the worst place from which you should remove a private file on an Android device. By doing this, there is a chance that the item will be relocated to a Trash or Bin folder, rather than being deleted entirely or remaining as a synced cloud duplicate.
For instance, the Google Photos app keeps deleted photos and videos on file for 60 days until you manually empty the trash. Items will stay in your Google account even if you choose to skip this step by selecting the Delete from device option.
Using a file manager or file explorer tool to permanently delete sensitive information is a far better solution. For Android, there are many free file explorers available, including Google’s own stellar Files app.
In the file explorer, choose the file. Then select Delete from the three-dot menu or by tapping the trash icon. Tap Delete once more to confirm that you realize deletion cannot be reversed.
You should remove your files permanently on Android devices using this method.
Permanently Delete Data on Android by using a File Shredder
Consider installing a file shredder if your phone’s encryption doesn’t convince you that deleted files can’t be recovered or if you’re using an outdated version of Android. By doing this, any “free” space on your device that might still hold on to deleted data will be securely erased.
A variety of shredding algorithms are available with file shredders including iShredder, Shreddit, and Data Eraser. You can choose how often the data is replaced with random characters with this. A “pass” or “cycle” is the term for each overwrite, and the more passes there are, the slimmer the possibility that lost data can be recovered.
These programs will require access to your files (and optionally, your contacts, though we wouldn’t advise granting them this access), but they typically won’t shred anything without your consent.
One good example of a file shredder to use is the ad-free file shredder, Data Eraser. Inconveniently, this file shredder is referred to as Android Eraser in the software itself.
To use Data Eraser to permanently delete your Android data:
- On the home screen, select Internal Storage by tapping Freespace (avoid selecting Complete Erase !). The amount of free space to clean will be determined by the app.
- Select a shredding algorithm by pressing Continue . The most extensive standards are NATO Standard and BSU TL-0342, which carry out seven and eight passes, respectively. They do, however, take a long time.
- Once you confirm that you wish to move forward, Data Eraser will erase all of the free space on your phone, making it impossible to restore erased files.
- While the cleansing is being done, your phone will be sluggish, though there’s no cause for alarm. By opening the notice at the top of your screen and selecting Cancel , you can end this procedure at any time.
Despite the fact that Data Eraser is a free shredding tool to use, you are only able to shred 100MB of individual files each day. This limit is lifted by upgrading to the paid version for $4.99.
Shreddit is a 100% free alternative, however it isn’t compatible with Android 11 and its adverts can be intrusive.
Connect your Android Device to your PC
Another option you have is to connect your Android phone to your PC and wipe the data using Windows if you don’t want to install an app to completely delete a file. Using this technique, it is simpler to locate and confidently remove particular things using File Explorer.
To do this:
- Use a USB cord to connect your phone, then select Open device to see files from the AutoPlay menu. As an alternative, launch File Explorer, choose This PC , and double-tap the drive icon on your phone.
- Pull down the notification tray at the top of your phone’s screen, press USB charging this device , then choose File transfer or Transfer files if the drive seems to be empty. Alternatively, activate it under Settings > Connected Devices > USB .
- To find the file you wish to remove, go through the folders on your phone. It’s most likely located in the DCIM > Camera folder if it’s a picture or a video.
- To permanently delete an item, right-click it, select Delete , and then confirm that you wish to do so. Note that the file will no longer exist and won’t be placed in the Windows Recycle Bin.
This is a good choice if you’re wondering how to safely delete all of your data from your phone.
Other great options that work well to permanently delete data from your Android device include:
- Deleting the files from your SD card
- Performing a factory reset and selecting the option to erase all data
Summarily, even with the assurance that data recovery tools won’t be able to bring back deleted files, it’s understandable if you’ll still be needing some extra assurance.
These methods we’ve suggested in this guide will help you ensure that the deletion is permanent, with no possible way to recover the deleted files.
We hope you’ve found this article helpful, so don’t hesitate to recommend it to your friends and loved ones.
Author:Joan Agie
Add MobilityArena as a preferred source on Google
This article provides useful tips to manage and organize bookmarks in Safari on iPhone and iPad devices.
Bookmarks allow you to access specific web pages rapidly instead of having to browse or conduct a fresh search for them. In essence, a quick tap will take you to your desired web page rather than having to open a browser and type in the URL.
When you bookmark frequently and correctly, not only do you save valuable time, it also makes browsing faster. Safari, Apple’s designated browser for iOS devices, is quite effective at adding and managing bookmarks, and is complete with a ton of cool extensions.
- Organize Bookmarks in Safari Browser
- How to Add Bookmarks in Safari browser
- How to Favourite Bookmarks in Safari
- How to Access Saved Bookmarks in Safari
- How to Add your Favourite Bookmarks to a Reading List
- How to Organize Safari Bookmarks into Folders
- How to Sync Bookmarks Across Devices
- How to Add Website Shortcuts
Organize Bookmarks in Safari Browser
Safari includes a powerful bookmark manager that gives you the necessary control to organize bookmarks. Interestingly, you can also add website shortcuts to the iPhone’s home screen using the standard web browser so you can reach your favorite sites right from your home screen.
Additionally, to make sure your bookmarks are accessible everywhere, you may sync them across all of your devices using iCloud.
We’ve provided individual instructions to achieve all these below.
How to Add Bookmarks in Safari browser
Adding bookmarks in Safari is easy on iOS devices. Follow these instructions to do it successfully on your device:
- Open Safari on your iPad or iPhone. After that, go to the website you want to bookmark and click on the Share symbol there.
- In the share sheet, click Add Bookmark now.
- Next, give the bookmark a fitting name. Select the folder where you wish to keep the bookmark after tapping on Location . To finish, be sure to tap Save in the top right corner of the screen.
How to Favourite Bookmarks in Safari
You can also choose to favorite essential bookmarks for quicker access. You’ll be able to see the favorites right away on the home page.
To do this:
- Open Safari, then go to the website you wish to add to your favorites. Next, click the Share icon.
- Click Add to Favorites in the sharing sheet to continue. Then, if necessary, change the details and click Save in the top right corner.
How to Access Saved Bookmarks in Safari
All of your bookmarks which you’ve saved using the steps we described above are easily accessible in Safari. You may therefore easily navigate across them and rapidly retrieve stored websites.
To do this:
- On your iOS or iPadOS device, launch Safari, and then tap the tiny bookmark symbol (it’s shaped like an open book) near the bottom.
- You ought to now see a lengthy list of bookmarks. You can search through the bookmark folders for particular websites and click on the one you want to visit.
How to Add your Favourite Bookmarks to a Reading List
You can add a bookmark to Safari Reading List to read your favorite articles or stories anytime you want with total peace of mind.
To accomplish this:
- Launch Safari on your iPadOS/iOS device and hit the bookmark symbol at the bottom of the window.
- To add a bookmark to your reading list, tap it, then select the “Add to Reading List” option from the share sheet by tapping the bookmark’s Share button at the bottom.
- Go to Safari, click the bookmark symbol, and then select the Reading List (looks like old-fashioned spectacles) tab at the top to see everything on your reading list.
How to Organize Safari Bookmarks into Folders
Using folders, you can manage your Safari bookmarks flawlessly. It will not only make it easier for you to access specific web pages, but it will also keep Safari well organized.
- On your smartphone, launch Safari, then tap the bookmark symbol at the bottom of the screen.
- In the lower left corner of the screen, tap the New Folder button. Give your bookmark folder a name after that, and then click Done .
As an alternative, you can also make a new Safari bookmarks folder when adding bookmarks.
To do this:
- Visit the website you wish to bookmark, click the Share button, then the Add Bookmark , Location , and New Folder buttons at the bottom, then give your folder a name and save it.
How to Sync Bookmarks Across Devices
You can also use iCloud to sync your Safari bookmarks for a consistent user experience across devices.
To do this:
- Go to the Settings section of the app on your iPhone or iPad. Next, tap the top-center portion of your profile.
- Tap iCloud next. After that, scroll down until you find Safari and click the toggle switch next to it to make it active.
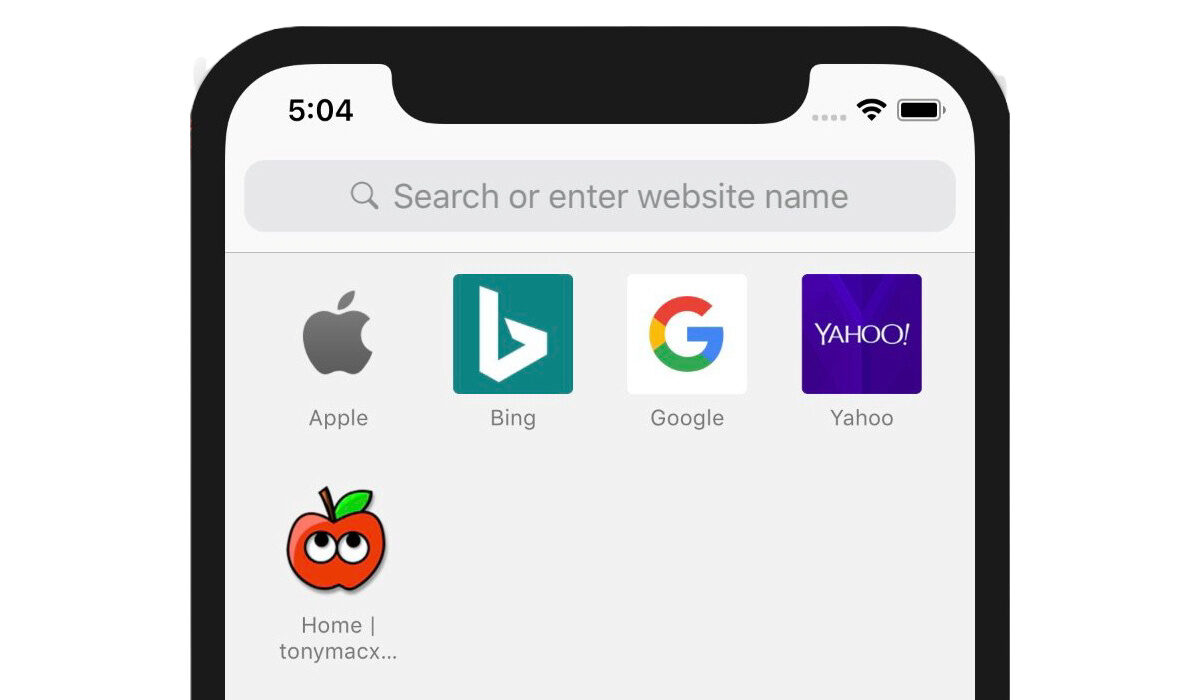
How to Add Website Shortcuts
You should consider adding a shortcut to a website on your iPhone’s home screen if you frequently visit it. This clever time-saving trick can also serve as a useful way to skip installing particular apps.
To do this:
- Open Safari on your iPhone or iPad, then go to the website you wish to add as a shortcut on your home screen. Afterward, click the share icon located at the bottom of the screen.
- Select “Add to Home Screen” from the share sheet at this point. Give the shortcut a suitable name, then click Add to complete .
Summarily, the Safari browser on iOS devices is designed for utmost convenience when browsing. As such, it’s important to make sure you’re taking advantage of this properly to improve your browsing experience. The tips we’ve provided in this guide should help you do just that.
- Don’t miss our mobile phone reviews .
- Follow our news on Google News .
- Follow us on Instagram , Facebook , Twitter , and YouTube .
