Add MobilityArena as a preferred source on Google
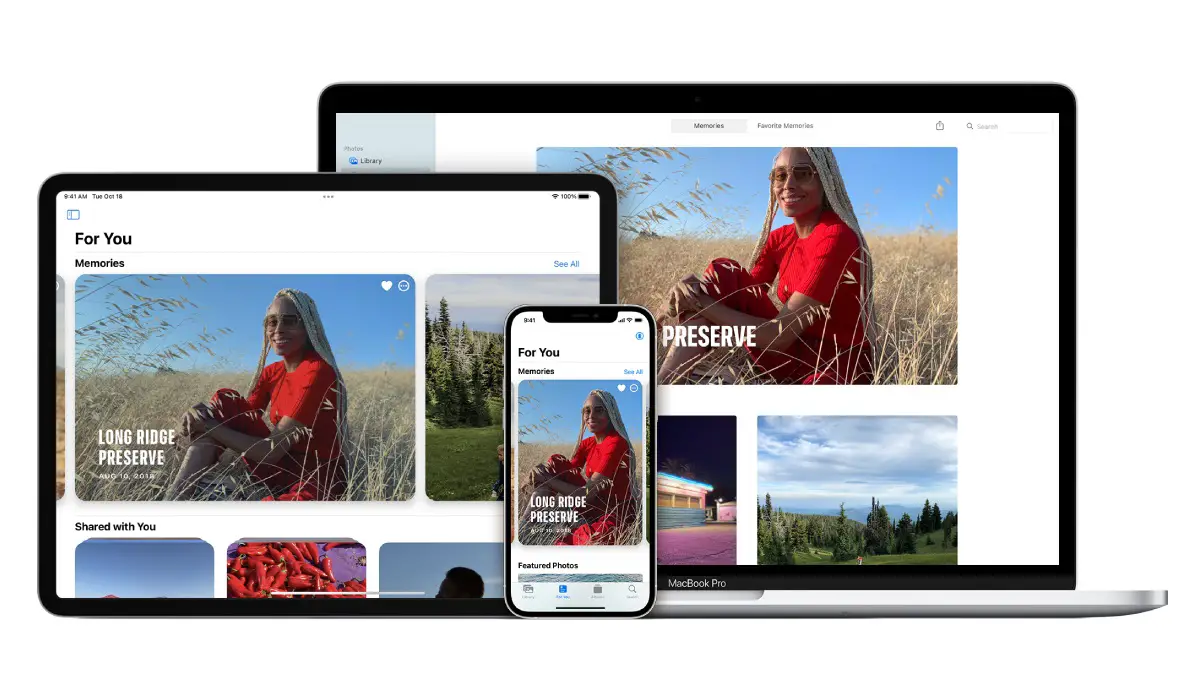
Gigabytes of storage space is now the standard for iPhones, and they can also handle several photo editing functions with ease. However, it’s possible that you might still want to transfer photos from your iPhone to your Mac, perhaps so you can edit them with more powerful tools. There could also be a need to upload your images in bulk to your Mac and archive them there to free up space on your iPhone.
Nonetheless, it’s not hard to transfer photos from an iPhone to a Mac. We’ve created this guide to show you different ways to achieve this easily.
- How Can I Transfer Photos from my iPhone to a Mac?
- Transfer Photos from iPhone to Mac with Airdrop
- Transfer Photos from iPhone to Mac with the Files App
- Transfer Photos from iPhone to Mac with the Photos App
How Can I Transfer Photos from my iPhone to a Mac?
There are different options available to try when you want to transfer photos from an iPhone to a Mac. Consider the ones we’ve described below.
Transfer Photos from iPhone to Mac with Airdrop
The seamless integration of an iPhone (or an iPad) with a Mac is the key to productivity on Apple devices. When two Apple devices are in close proximity to one another (about 30 feet), Apple’s unique technology called AirDrop allows for rapid file transfers.
Before moving on to transfer photos from iPhone to Mac, turn on Wi-Fi and Bluetooth on both devices, then follow the steps below:
- On your iPhone, launch the Photos app.
- Choose the pictures you want to download to your PC. At the bottom of the screen, click the Share icon.
- The first icon under Share is AirDrop ; click on it.
- Select your computer’s name.
- Below the name of your computer and the Mac’s toolbar, the iPhone will display a Sent message as confirmation of a successful transfer.
Note that you’ll need to log into the same iCloud account on the iPhone and Mac for the photos to be saved automatically. If not, you’ll have to select Save when the file is transferred to your computer.
Transfer Photos from iPhone to Mac with the Files App
Consider your phone’s Files app to be a file manager. To move data between devices, you can link cloud services like Google Drive, Dropbox, and Microsoft OneDrive. Using any cloud service as a bridge, this utility enables you to arrange your photo transfers, compress them if necessary, and transmit them to the Mac.
You’ll first have to enable and connect them first, follow these steps:
- Get your iPhone’s Files app open
- If you are on a different screen, click the Browse tab
- In the upper right corner, tap the ellipsis symbol
- Click Edit
- Toggle and activate the app or third-party service from the list under Locations
- Click Done
Use these Locations in the Files app to transfer photos from iPhone to Mac.
After enabling and connecting them, you can now transfer the photos from the iPhone to the Mac via the Files App with these instructions:
- Choose the image or images from your iPhone that you want to transfer
- To view the sharing sheet, tap the Share icon
- Select the Save to Files option
- Select the folder to save the photos in and the cloud service. You may make a new folder if you’d like. Before exporting a single image, you can rename it
- Click Save
- You’ll be able to view your image or video in iCloud Drive on your Mac
Transfer Photos from iPhone to Mac with the Photos App
The primary storage area for photographs and videos on your iPhone and Mac is the Photos app. Because of this, using the program to transfer photos from your iPhone to your Mac is the most organized option.
Follow these steps:
- Open the Photos app on your Mac after connecting the iPhone with a USB or USB-C cord.
- The iPhone Photos app on your Mac shows an Import screen with all the images and movies that are stored there.
- In the event that the Import screen does not show, choose the iPhone name from the Photos sidebar.
- An alert that says “ Trust This Computer ” will display on the iPhone. To proceed, press Trust .
- To transfer only a few specific photographs, click Import Selected , and to transfer all your photos from iPhone to Mac, click Import All New Photos
In summary , when transferring photos from iPhone to Mac, it makes sense to use AirDrop for a smaller batch of images. You can use the other methods as necessary for larger batches, but follow the instructions.
Author:Joan Agie
Add MobilityArena as a preferred source on Google
So, you have been a user of phones from Samsung, Motorola, Nokia, OnePlus, and others, but you have finally purchased an iPhone. You certainly need to figure out how to transfer data from an Android phone to your new iPhone.
Moving data from an old Android smartphone to a new iPhone is most important when it comes to switching smartphones. You could have pictures, videos, documents, work-related data, account information, etc, that you will most definitely need on your new device from Apple.
How do can you move data from an Android phone to your new iPhone?
The types of content that you get transferred during this process include;
- Media
- Calendars
- Camera photos and videos
- Photo albums
- WhatsApp messages
- Contacts
- Message history
- Files and folders
- Web bookmarks
- Display settings
- Mail accounts
- Accessibility settings.
Free apps that are both available on the App Store and Google Play Store will be transferred too.
- Before you begin the transfer
- How to move data from an Android phone to your new iPhone
Before you begin the transfer
Make sure that you have a stable Wi-Fi connection.
Make sure both your Android device and new iOS device are either fully charged or are plugged into power.
Ensure that the amount of data you are transferring, including your external Micro SD card content, can fit on your new iOS device.
If you have Chrome bookmarks that you want to transfer, that are important to you personally, or are work-related, update to the latest version on your Android device.
How to move data from an Android phone to your new iPhone
Turn on your iPhone and place it close to your Android device.
Follow the on-screen instructions displayed on your iPhone.
A “Quick Start” screen will appear, opt to “Set Up Manually”, and follow the on-screen instructions. You will be asked to activate your eSIM https://mobilityarena.com/how-to-set-up-an-esim-on-iphones-a-quick-and-easy-guide/
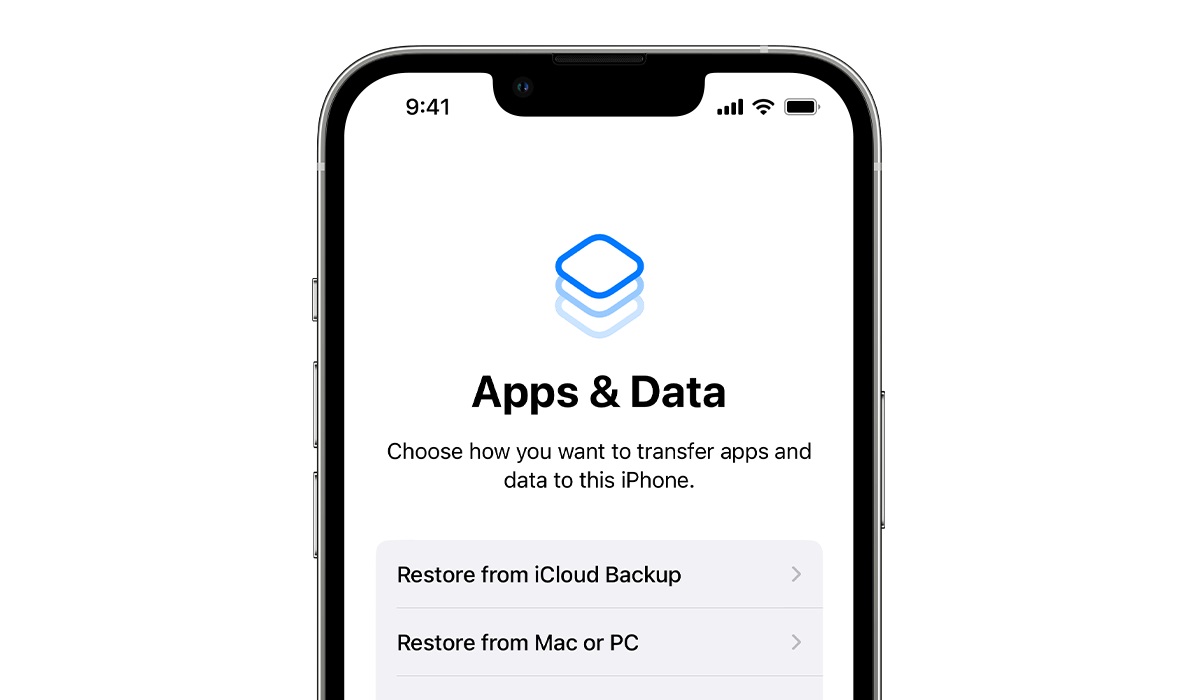
Look for the “Apps & Data Screen”. Tap on “Move data from Android”. If you already finished setting up, you need to “erase your iOS device” and start over. You can “transfer your content manually”
Open the “Move to iOS” app on your Android device. You can tap the QR code button on your new iOS device if you don’t have the Move to iOS app, and scan the QR code with your Android device’s camera. Tap Continue, then read and agree to the terms and conditions that pop up.
When you see the “Move to Android” screen on your iPhone, tap “Continue”. A six-digit or ten-digit code will be given to you. You can ignore the alert on your Android smartphone that says you have a weak internet network.
Type in the code on your Android device.
Your iPhone will create a temporary Wi-Fi network. Tap “Connect” to join that network on your Android device. Wait for the “Transfer Data” screen to appear.
Choose the content that you want to transfer to your iPhone, on your Android device. Leave both devices alone until the loading bar on your iPhone finishes, even when it shows to be complete on your Android device.
The time that it will take for the data to finish transferring depends on how much content you are transferring. So keep both devices plugged in.
When the process is complete, make sure that all of your data is transferred.
That is all there is to it. You now know how to move files from an Android phone to your new iPhone. You can use this information every time you need to switch from an Android phone to any iPhone.
- Don’t miss our mobile phone reviews .
- Join our WhatsApp Group , to be notified of the most important articles and deals,
- Follow us on Instagram , Facebook , Twitter , and YouTube .
Author:Flamez
Flamez loves basketball, art, gadgets and cars.
