Add MobilityArena as a preferred source on Google
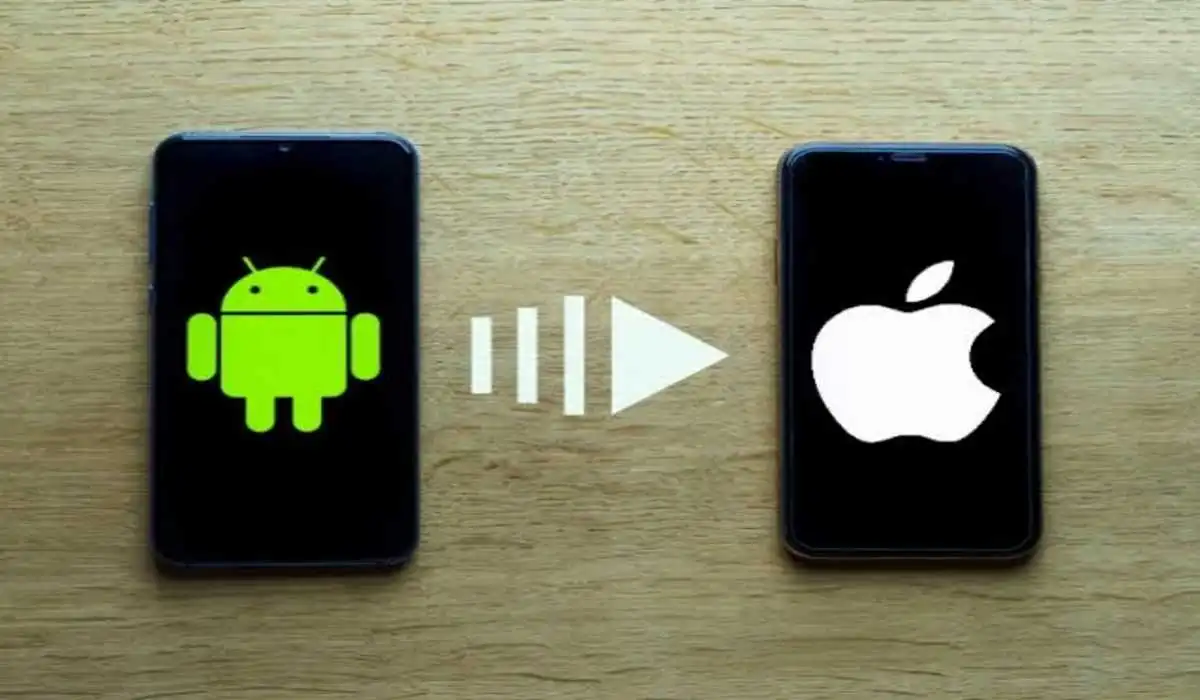
If you’re an Android user, you’ll understand how difficult it can be to share files between an Android phone and an iPhone, iPad, or Mac. Sure, there are some cross-platform file-sharing services that claim to make this easier. However, some of them are expensive, while others are untrustworthy.
In this guide, I’ll show you how to use LANDrop to transfer files between Android and Apple devices. LANDrop is free, simple to use, and allows for faster file exchange between platforms. So, keep reading to find out how to transfer files between an Android device and an iPhone, iPad, or Mac with LANDrop.
- How Can You Use LANDrop to Transfer Files Between Android and Apple Devices? How to Use LANDrop to Transfer Files Between an Android, iPhone, and an iPad How to Use LANDrop to Transfer Files Between Android and Mac
How Can You Use LANDrop to Transfer Files Between Android and Apple Devices?
Using the free and open-source LANDrop app, you can easily share files between Android, iPhone, iPad, and Mac. Here’s how to use LANDrop to transfer files between Android and Apple devices.
First, you need to have the LANDrop app installed on the devices with which you wish to share files. Download it on all of your devices, including phones, tablets, and laptops.
The iOS and iPad apps are available in the App Store, but LANDrop is not available in the Google Play Store. As a result, you must download it from the official website and manually install it on your Android device.
How to Use LANDrop to Transfer Files Between an Android, iPhone, and an iPad
The following steps can be used to transfer data from an Android smartphone to an iPhone or iPad, or from an iPhone or iPad to an Android device:
- Connect the devices that will be sharing files to the same Wi-Fi network.
- Launch the LANDrop app on your Android phone as well as the receiving device, such as a Mac or iPhone.
- To add images and videos from your phone’s gallery to the sender device, tap the Gallery icon in the top-right corner. Alternatively, you can add other file types from your internal or external storage by tapping the File icon.
- To view a list of all the devices connected to the same local network, click the downward-pointing arrow next to Devices .
- Tap the gadget you want to send the chosen files to from here. The other device’s name can be discovered in the LANDrop app.
- There will be an entry in the Receiving section on the receiving device. To accept the file and download it to your device, click the green check mark.
If the received file is a photo or video and you’re using an iPhone, it will be saved directly to the Photos app on your device. If it’s a different file, you’ll find it in the Files app’s Downloads folder.
Android automatically saves all downloaded files, regardless of their format, to the Downloads folder. You can then access it with a file manager such as Files by Google .
How to Use LANDrop to Transfer Files Between Android and Mac
The same steps that are required to use LANDrop to transfer files between Android, iPhone, and iPad are the same for transferring files from Android to Mac. Here are the steps you must take if you want to use LANDrop to transfer files between Android and Mac devices via a different set of instructions:
- Ensure that your Android phone and Mac are connected to the same network.
- Start LANDrop on your Mac and your Android phone.
- On your Mac, select Send File(s) from the menu bar by clicking the LANDrop icon.
- Select the files to be transferred and click the Add button. As an alternative, you can simply drag and drop the files onto the LANDrop window.
- Click Send , then on the next screen, choose the the other device and click Send again.
- Accept the receiving prompt on your Android phone to receive the shared file (s).
Once again, the received files will be saved to your Android phone’s Downloads directory. A file you receive on your Mac will be saved in a similar fashion to the Downloads directory.
When you use LANDrop to transfer files, it’s possible to modify the LANDrop settings to change the download location. On your Mac, open LANDrop, click the menu bar icon, then choose Settings . From here, select the download directory you want by clicking the ellipsis button next to Download Path .
Keep the following in mind when you use LANDrop to transfer files between Android and Apple devices:
With LANDrop, you can also share files on the go by using a hotspot connection. Simply turn on your Android phone’s hotspot and connect to it with your other device.
If the other device isn’t visible in the LANDrop app for some reason, it’s possible that you aren’t on the same network. Remember that the SSID must match for it to function, so if you are logged in to the same network using two different SSIDs, it won’t work.
Similarly, ensure that the receiving device is discoverable. On the iPhone, open the app and, if it isn’t already, toggle the Discoverable button on. If you’re using a Mac, go to Settings and check the box next to Discoverable .
You’ll agree that it’s pretty easy to use LANDrop to transfer files between your Android phone and other devices. Follow the instructions provided above for the best results.
Author:Joan Agie
Add MobilityArena as a preferred source on Google
If you own an iPhone, iPad, or iPod, you’ve probably seen the error message “This accessory may not be supported” a few times. Typically, the alert appears after you plug in your iPhone for charging. It may also appear when you attempt to use headphones or other accessories.
There are tested and proven methods to fix this accessory may not be supported error on iPhones. The error can sometimes disappear on its own, but if you’re stuck with a device that refuses to charge or play music due to this error message, follow the instructions in this article.
How Do I Fix This Accessory May Not Be Supported Error on an iPhone?
When you plug a charging cable or other accessory into your iPhone, does a message saying “This accessory may not be supported” show on the screen? There are several reasons why your iPhone displays this message.
Here are some options to fix this accessory may not be supported error on your iPhone:
Unplug and Replug the Device
When your accessory is not supported, one of the first fixes to try is to unplug and reconnect the accessory.
Click the Dismiss icon to turn off the alert, then remove the gadget from the iPhone’s Lightning port. Then, reconnect it to see if the same alert appears.
If it persists, unplug any other accessories that are currently connected to your iPhone. For instance, suppose you have AirPods connected via Bluetooth and now want to connect your iPhone to your PC via a cable.
This temporary error could be caused by connecting your iPhone to multiple accessories. So, take your accessories off and reconnect them one by one.
Restart Your iPhone
Minor software flaws may also result in the “accessory not supported” alert and they could be resolved by restarting your iPhone.
To restart an iPhone without a Home button, hold down the Side (or Top ) button while moving the power slider from left to right across the screen.
To restart an iPhone with Face ID, press and hold both the Side and Volume ( Up or Down ) buttons simultaneously until the Slide to Power Off option appears.
Wait about 30 seconds, then restart your iPhone and reconnect your accessory to see if you’ve been able to fix this accessory may not be supported error.
Check the Adapter
The “accessory may not be supported” warning may not be related to the Lightning cable; instead, it could be an issue with your iPhone’s power adapter. So, one option to fix this accessory may not be supported error is to check the USB port of your iPhone’s charger for any indications of damage. Try a different adapter because the one you have might be broken.
Keep Your Charging Port Clean
If the warning still keeps coming up, look for any grime or debris in the port on your iPhone and the connector on your accessory. The error warning you’re seeing can sometimes be caused by a buildup of dirt inside the Lightning port, which stops accessories from making contact.
Take a close peek inside the Lightning port on your iPhone with a flashlight. Use the SIM-eject tool to carefully clean the Lightning port if you see any dirt or debris there. Try this to see if it works to fix this accessory may not be supported error on your iPhone.
Try a Different Accessory
A malfunctioning accessory could cause an “accessory may not be supported” warning. Examine the accessory for frays or discoloration; frequently, these are indications that something is amiss with it.
Consider borrowing a cable from a friend or neighbor to use with your device if yours isn’t functioning correctly. If it functions, you can be certain that the issue was solely with the accessory and not your iPhone.
Buy MFi-Certified Accessories
If you use fake accessories, you might receive an “accessory not supported” warning. Make sure the charging cable and other accessories you use to charge your iPhone are Apple MFi-certified, which indicates that they were created in accordance with Apple’s design guidelines, to avoid this.
The term “MFi” stands for “Made for iPhone, iPad, or iPad.” Apple offers comprehensive guidelines to assist you in spotting counterfeit iPhone accessories. The simple solution, however, is to look for a discerning badge on the packaging of MFi-certified devices.
Stick as much as you can to using the cable that arrived with your iPhone to charge it, or purchase a reliable third-party cable to charge your iPad or iPhone.
Update Your iPhone
Some devices require the most recent version of iOS to function. So, ensure that you’re running the most recent edition of iOS to fix this accessory may not be supported error on iPhones.
To see if a software upgrade is available, go to Settings > General > Software upgrade . If so, you can start the upgrade by tapping Download and Install .
Reset the Settings on Your iPhone
The final option to fix this accessory may not be supported error is to restore all settings on your iPhone. This resets all settings to their original configuration without erasing any data.
Navigate to Settings > General > Transfer or reset iPhone > Reset > Reset All Settings to reset all settings.
I hope the above troubleshooting methods helped you fix this accessory may not be supported error on your iPhone. However, if none of them work, you should contact an Apple Authorized Service Provider for further assistance.
