Add MobilityArena as a preferred source on Google
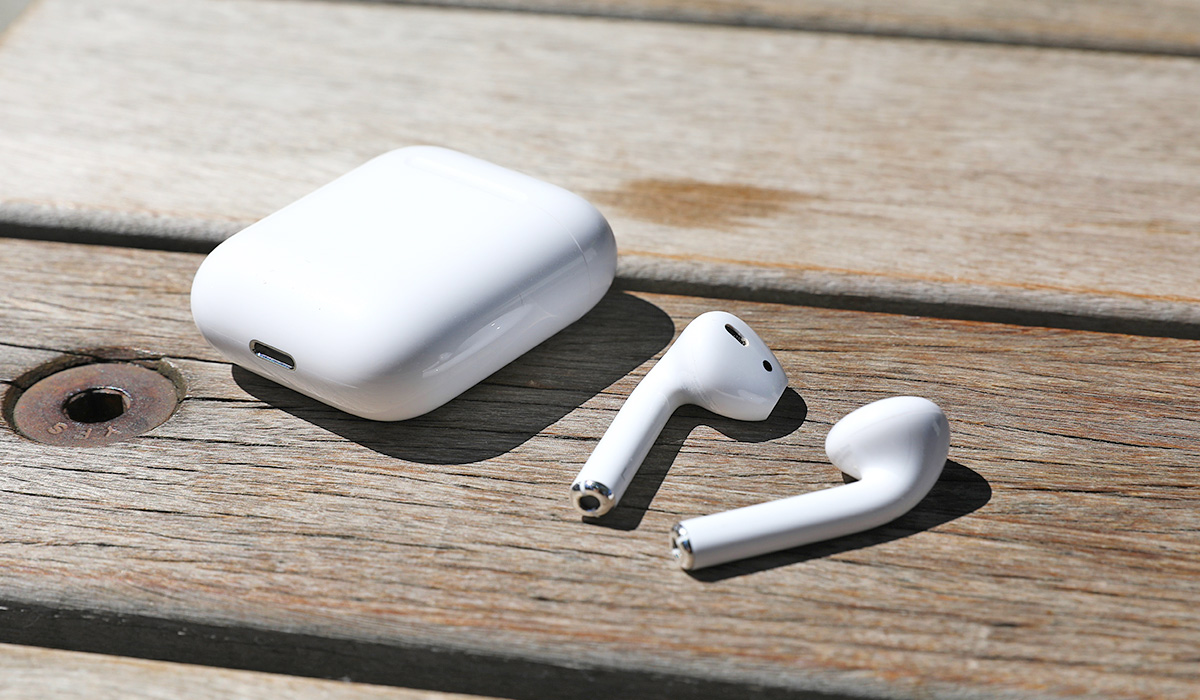
AirPods have become a must-have accessory for Apple users, offering a wireless and convenient way to listen to music, make phone calls, and interact with Siri. After successfully pairing your AirPods to your iPhone, they are added to Find My and should appear in the Find My app.
However, if this is not the case for your AirPods, there are several ways to fix when AirPods don’t show up in Find My. So, in this article, I’ll share some of the most common fixes and show you step-by-step instructions to help you solve the problem.
- How Can You Fix When AirPods Don’t Show Up in Find My? Ensure That Find My Is Active on Your Paired Device Check the Find My Server Status Activate Find My Network on Newer AirPods Use Find My on iCloud.com Unpair and Reconnect AirPods Update System Software Reset the AirPods
How Can You Fix When AirPods Don’t Show Up in Find My?
The Find My App is a useful tool in the search for lost AirPods. However, here’s how to quickly fix when AirPods don’t show up in Find My .
Ensure That Find My Is Active on Your Paired Device
Find My is enabled by default when you set up your iPhone. When you pair your AirPods with this iPhone, Find My is enabled for the AirPods as well. You don’t need to do anything else. However, turning off Find My for your iPhone will have the same effect on your AirPods.
To make sure Find My is turned on for your iPhone, keep your AirPods connected to it and take the following actions:
- Tap [ Your Name ] at the top of the Settings menu.
- Select Find My .
- If Find My iPhone is disabled, tap it to enable it on the next screen.
- Then tap Devices in the Find My app. Your AirPods should be visible here.
Check the Find My Server Status
On rare occasions, the issue may be with Apple rather than you. So, to fix when AirPods don’t show up in Find My, visit Apple’s System Status website to find out if there’s a problem with Apple. Make sure a green circle appears next to Apple ID , iCloud Account & Sign In , iCloud Web Apps , and Maps .
If these services display a yellow or red symbol, it indicates that they are experiencing a problem. You’ll need to wait until Apple resolves it. Then, launch the Find My app or navigate to iCloud.com/find to locate your AirPods.
Activate Find My Network on Newer AirPods
The Find My Network securely transmits the location of your lost AirPods to you via other nearby Apple devices. If you own an AirPods Pro, AirPods Max, or an older model of AirPods, for up to 24 hours after they were last linked to your device, you can use the Find My app to pinpoint their exact position.
You can locate your AirPods in the future by using the Find My app by following these steps to enable Find My Network for them:
- Connect your iPhone to your AirPods.
- On your iPhone, launch the Settings app and choose Bluetooth.
- Next to your AirPods, press the info i button.
- Enable the “Find My Network” switch.
Use Find My on iCloud.com
If you can’t find your AirPods in the Find My app, try this service in a browser. The steps are as follows:
- Sign in to iCloud.com with your Apple ID on your Mac, PC, iPad, or iPhone.
- Find iPhone by clicking or tapping. Your AirPods should be visible on mobile.
- Click All Devices on a computer, and your AirPods should show up in the list.
Unpair and Reconnect AirPods
You may need to unpair your AirPods and pair them again if none of the solutions above work to fix when AirPods don’t show up in Find My. These steps will demonstrate how to do so:
- Insert the AirPods into the charging case.
- On your iPhone, launch the Settings app
- and choose Bluetooth.
- Next to your AirPods, press the info i button.
- Tap Forget This Devic e and then select Forget Device .
- Start your iPhone again.
- Pair the AirPods with your device once more.
Update System Software
Running an out-of-date system software version, such as iOS 10 or macOS Sierra, can also cause problems in Find My. As a result, try to apply any pending updates to see if they fix when AirPods don’t show up in Find My.
- Open the Settings app on your iPhone, then select General > Software Update . Next, click Download & Install to install the most recent iOS updates.
- Software Update can be accessed on your Mac by opening the System Preferences application. Then, to update your macOS device, choose Update Now .
Reset the AirPods
Finally, if the problem persists, the last resort to fix when AirPods don’t show up in Find My is to reset the AirPods. This will unpair the AirPods from any previous devices you’ve paired them with, and you’ll have to reconnect them from the beginning. This resolves several major issues with the AirPods, so they may slso work to fix when AirPods don’t show up in Find My.
I believe the tips above will help you fix when AirPods don’t show up in Find My App. If you’ve already lost your AirPods and none of the above solutions have worked, visit your nearest Apple Store to get a replacement pair.
Author:Joan Agie
Add MobilityArena as a preferred source on Google
AGM announced the G2 Guardian rugged smartphone at this year’s Mobile World Congress, announcing proudly that it has the most advanced thermal imaging camera on any smartphone – a monocular thermal camera.
What is a thermal monocular camera? A thermal monocular is a device that uses thermal imaging to allow outdoors enthusiasts and professionals to see objects that are hidden to the eye by darkness, foliage, fog, smoke, fire, or even walls. It is a small, compact device that attaches to your eyeglasses and allows you to see in low-light conditions. AGM has put one in this smartphone. That is the unique proposition of the AGM G2 Guardian , and as at today, you won’t find it in any other smartphone on the planet.
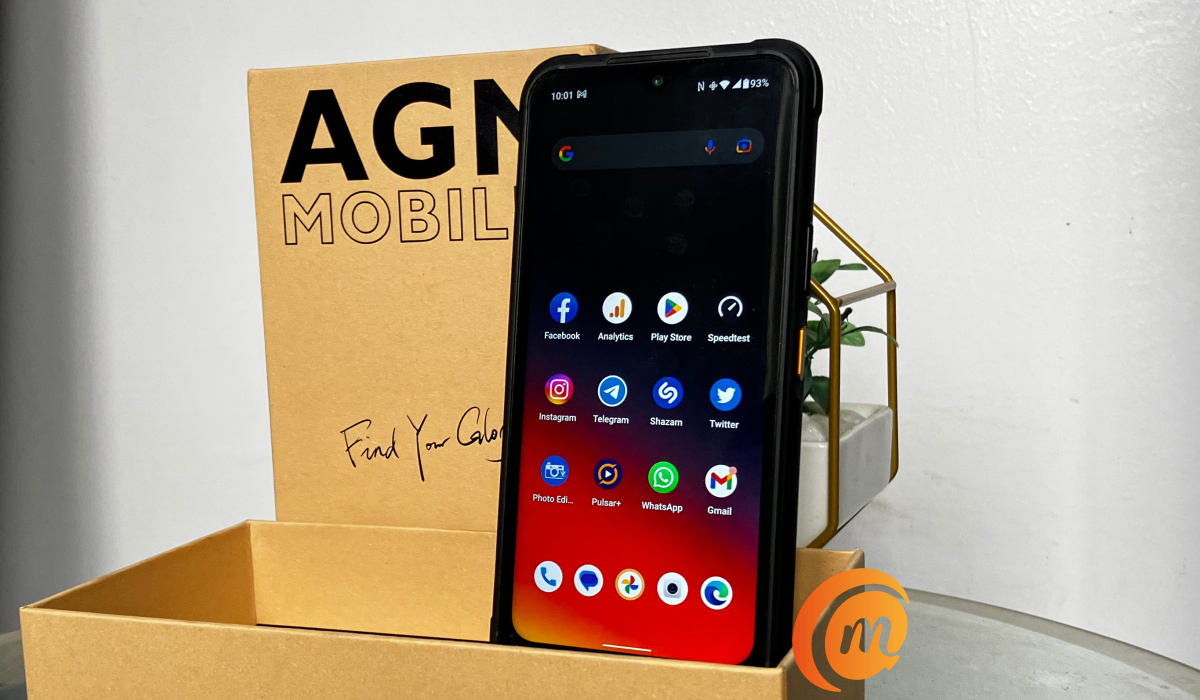
AGM G2 Guardian unboxing
As such, emergency workers like police, security, search-and-rescue, fire officers, and hikers, campers, etc, do not need to buy a dedicated monocular thermal camera anymore. With the AGM G2 Guardian, they are good to go, and we will be exploring this capability in detail in our full review of the phone.
The selfie camera is a 32-megapixel shooter, while at the back is a 108-megapixel main camera, a 20-megapixel night vision lens, and a 2-megapixel macro lens. Our experience with most 2MP macro lens is that they are useless. Does AGM buck the trend? We will find out. But these three light cameras are only a part of the G2 Guardian’s arsenal; the monocular thermal imaging camera is there, too, and you can’t miss it. It is the largest part of the camera module at the back of the phone.
But there is another pleasant surprise: AGM fixed a massive mono loudspeaker in the center of the camera module, and it is a good one, too. It is loud, the audio has depth, and we have enjoyed music playback and video audio on this bad boy.
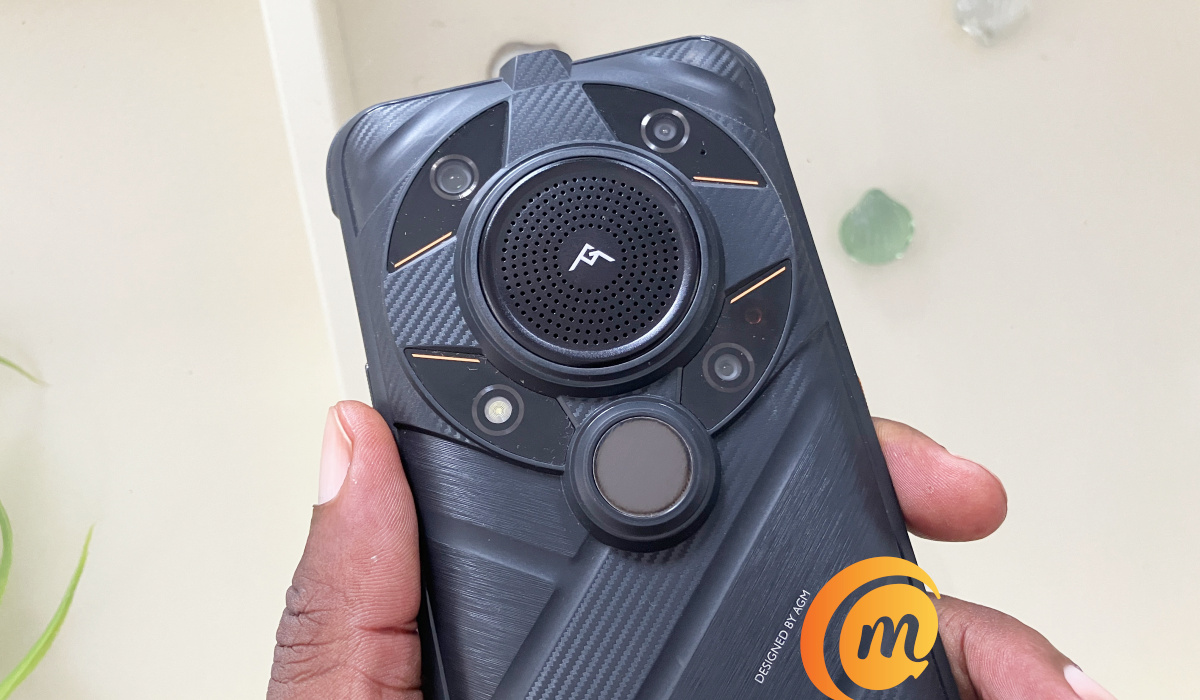
AGM G2 Guardian – four rear cameras and loudspeaker
The speaker is the branded section in the middle, while the thermal camera is the large round spot under the speaker. The rest of the layout features the three light cameras and an LED flash. Three light cameras and one thermal camera in one package.
Did we mention that the AGM G2 Guardian is big? Of course, it is. Rugged smartphones are so heavily armored that they end up big and heavy. This model weighs 406g. It isn’t the heaviest we have reviewed here at MobilityArena, but it is big.
Like all other rugged smartphones, it is built tough to withstand shocks, drops, water and dust. We are talking about MIL-STD-810H standard and IP68/69K, giving you protection from dust and allowing submersion of the device in up to 1.5 meters of water for 30 minutes.
There is a sheet of Gorilla Glass on the 6.58-inch, 120Hz IPS display. The rest of the body of the phone is plastic, which is understandable considering it is built to take hits, though a touch of metal here and there wouldn’t have been a bad thing. But plastic handles shocks and drops best, so we cannot complain.
What of performance? The G2 Guardian uses a relatively unknown chipset that is designed for industrial use (which is why it isn’t so popular), but which is quite capable, sitting firmly at the upper mid-range class. The Qualcomm QCM6490 chipset uses Kryo 670 and delivers performance a little above Snapdragon 778G and 782G. Coupled with 12GB of RAM, our review unit runs smoothly. There is an 8GB variant, too.
A smartphone designed for outdoor use like this should not have you worrying about running out of battery juice and looking for a power source out in the wilderness, in a cave, or up Mount Everest. Which is why the G2 Guardian has a 7000mAh battery. So you can top it up fairly fast, it has 18W fast charge built in and a compatible charger is included in the box.
How does a thermal photograph look?
We imagine that a number of our readers will be curious about what a thermal photo looks like. We have already taken quite a few, with interesting results. Here is an example:
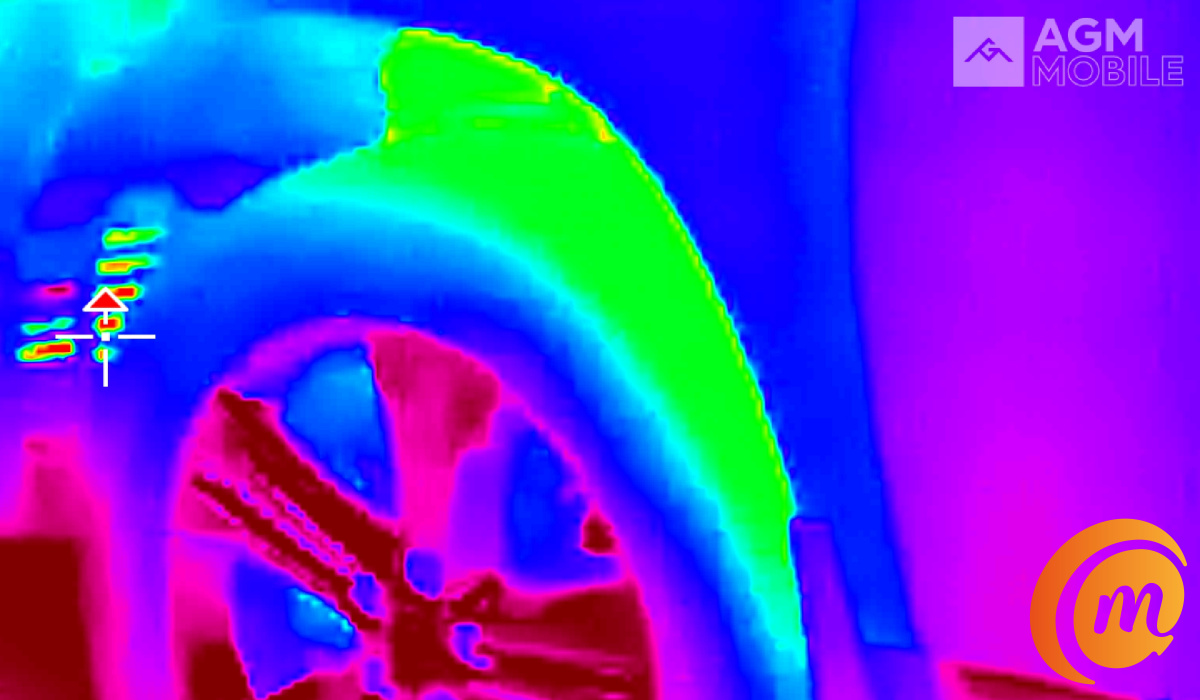
A thermal photo of a car tyre
Is a thermal photo of any use to the average person? We doubt it, but professionals and adventurers find thermal imaging very useful. For example, besides being able to pinpoint objects in that are otherwise hidden from sight, the G2 Guardian can measure the temperature of each part of that tyre or person or any other object it is pointed at. There is a whole range of uses this feature can be applied. But we will get to that in our detailed review.
Rugged smartphones and smartphones with thermal imaging cameras are a growing sub-sector of the smartphone industry. Generally referred to as the outdoor smartphone industry (though use cases are not exclusive to the outdoors), once again, mobile technology is putting convergence and added value in the hands of an industry made up of security personnel, search-and-rescue, hikers, adventurers, scientists, and more.
In a world of mobile devices that are more or less replicas of one another, the AGM G2 Guardian brings extra functionality that has us excited and exploring new frontiers. Don’t go away; keep an eye out for our full review. It promises to be exciting.
Author:MobileChic
That motivated, gadget-loving geeky chic who tries to stay on top of things. Unapologetic iFan.
